How to Configure SAML Authentication for eLegere in Azure
This document explains how to configure in Microsoft Azure Cloud the authentication with SAML Single Sign-On (SSO) for eLegere.
Follow the instruction to setup SAML Authentication for your installation.
Requirements
If you satisfy the requirements below, you can undertake this tutorial.
You must own at least one of the following Azure roles:
- Global Administrator
- Cloud Application Administrator
- You are the service principal
Enabling the SAML Authentication for the Application
Follow the steps below to set up SAML Single sign-on (SSO) authentication and download a certificate to configure accounts.
Note
The tutorial assumes that the application is called elegere.saml. Consider it a placeholder for your Azure application.
- Sign in the Microsoft Entra admin center.
-
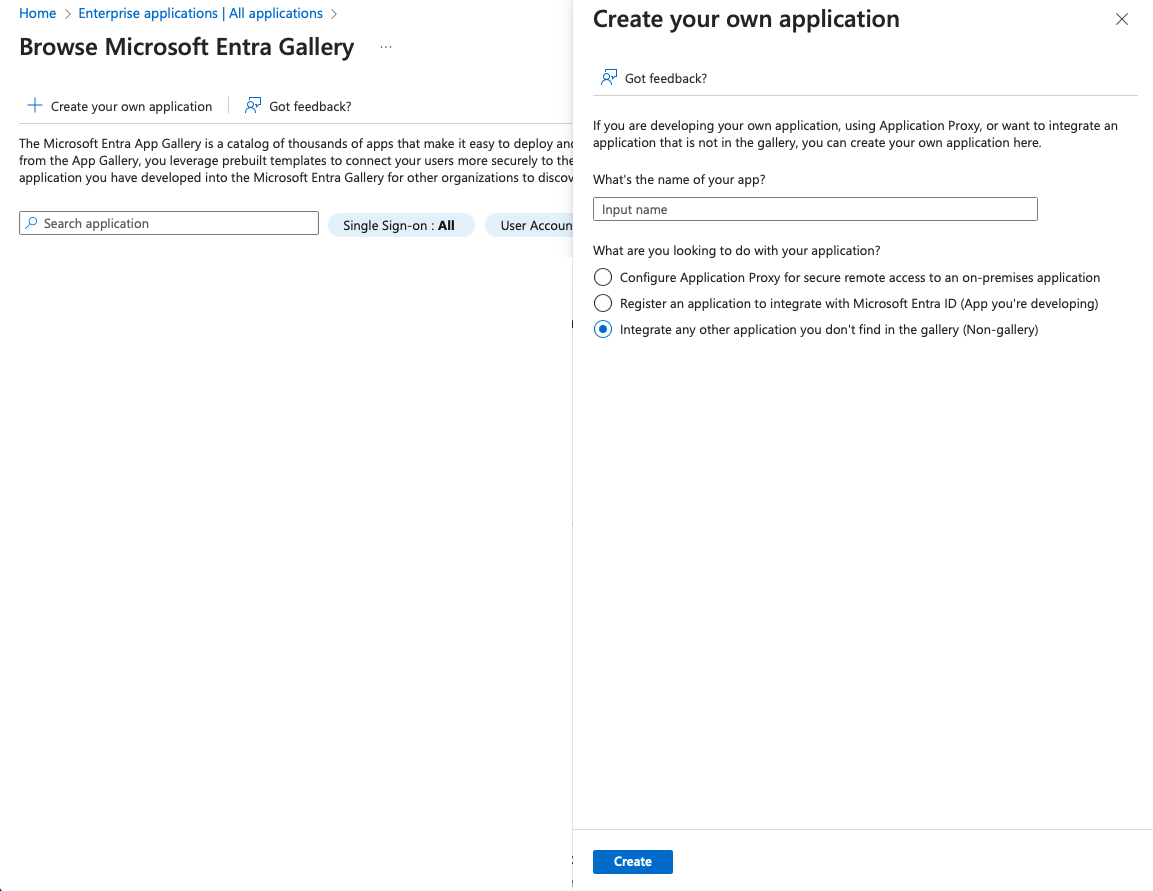
Click in the Home on Create your own application. Name it elegere.saml (or use any other name you prefer).
-
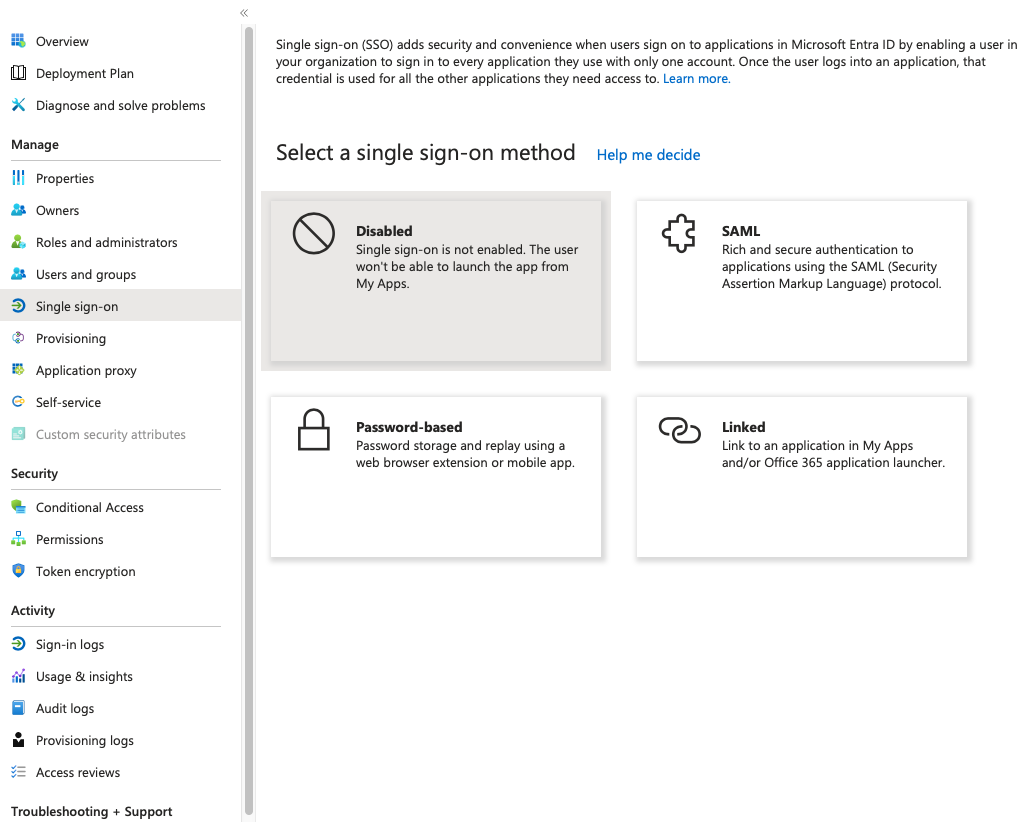
Choose Single sign-on from the Manage section on the left side-bar.
-
Choose SAML as authentication method in the Single sign-on panel.
-
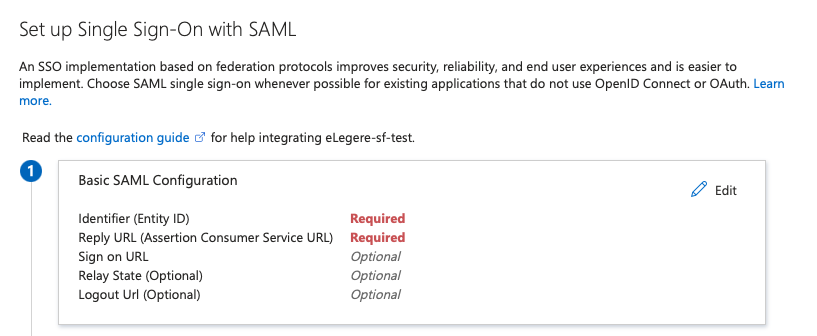
In the Single sign-on sub-panel, click on Edit in the Basic SAML Authentication section. The action enables to add the parameters for the SSO.
-
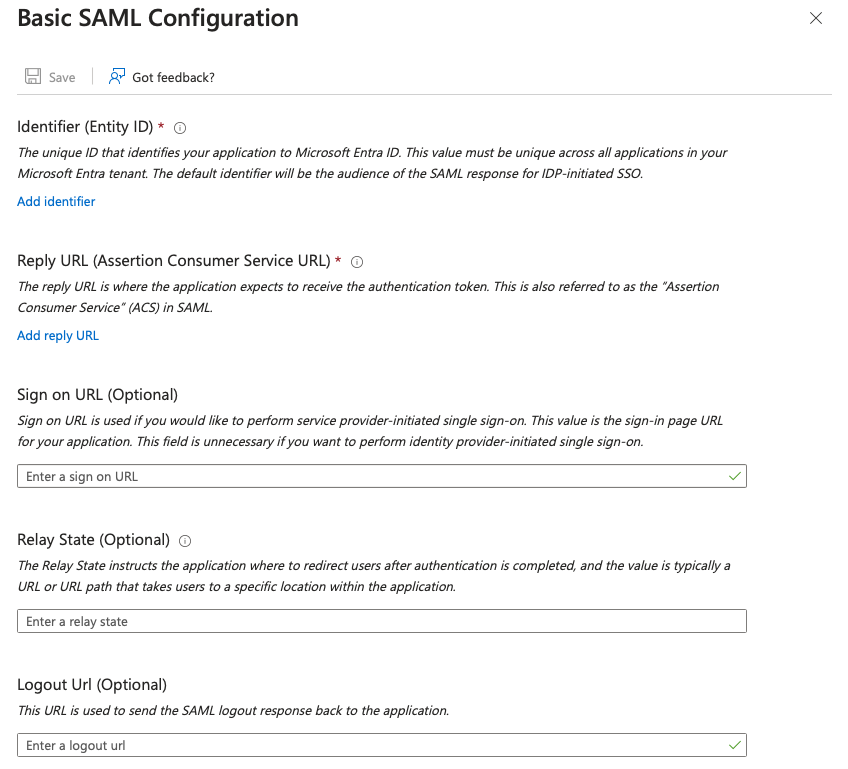
Insert the following parameters:
- Decide and type an Identifier. Note it down for step (8).
- Type
https://[basicURL]/IdentityProvider/auth/external/saml2in the Reply URL (Assertion Consumer Service URL). - Type
https://[basicURL]/in the Sign on URL (Optional), - Click on the Save button.
-
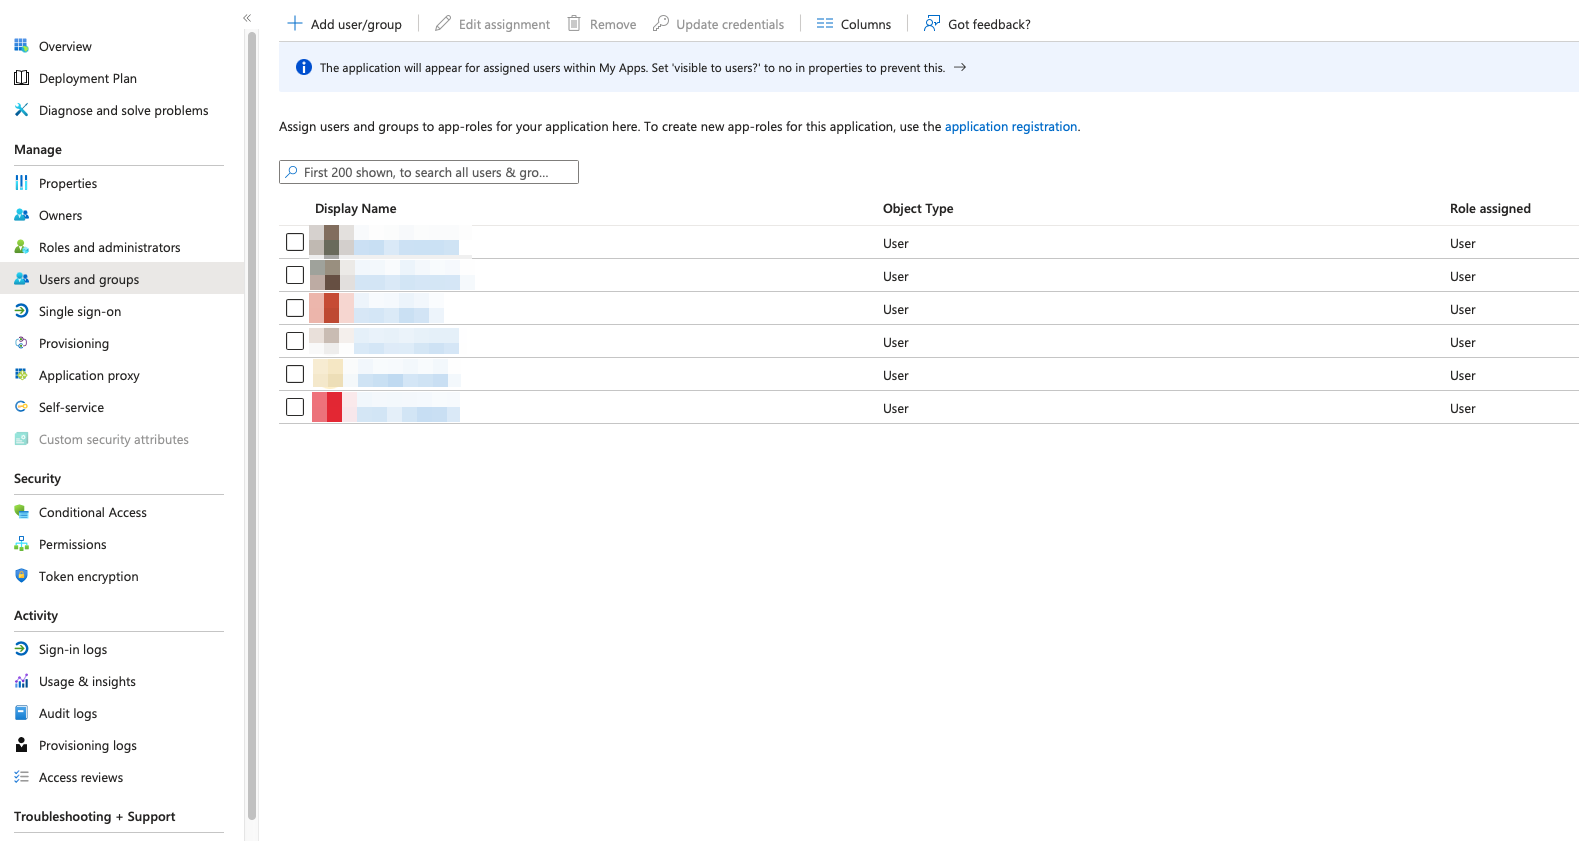
Under the Manage section, go to the Users and groups sub-panel. Select which users or groups are enabled for the eLegere authentication through this application.
-
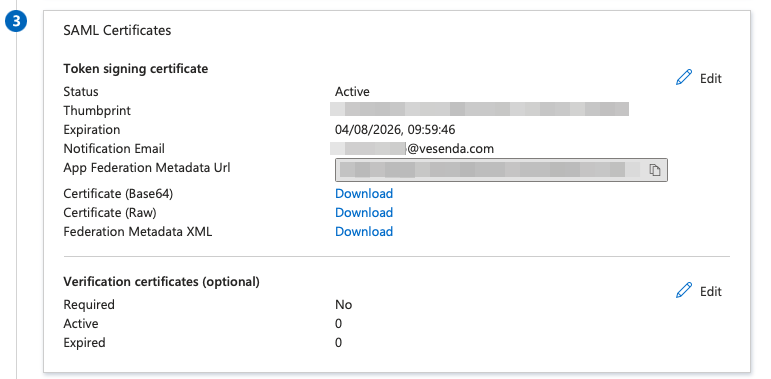
In the SAML Certificates section in the Single sign-on sub-panel, copy the App Federation Metadata URL. Provide it together with the Identifier from step (6) to your eLegere instance administrator to complete the configuration.
Success
You have enabled the SAML Single sign-on authentication for eLegere on Azure.