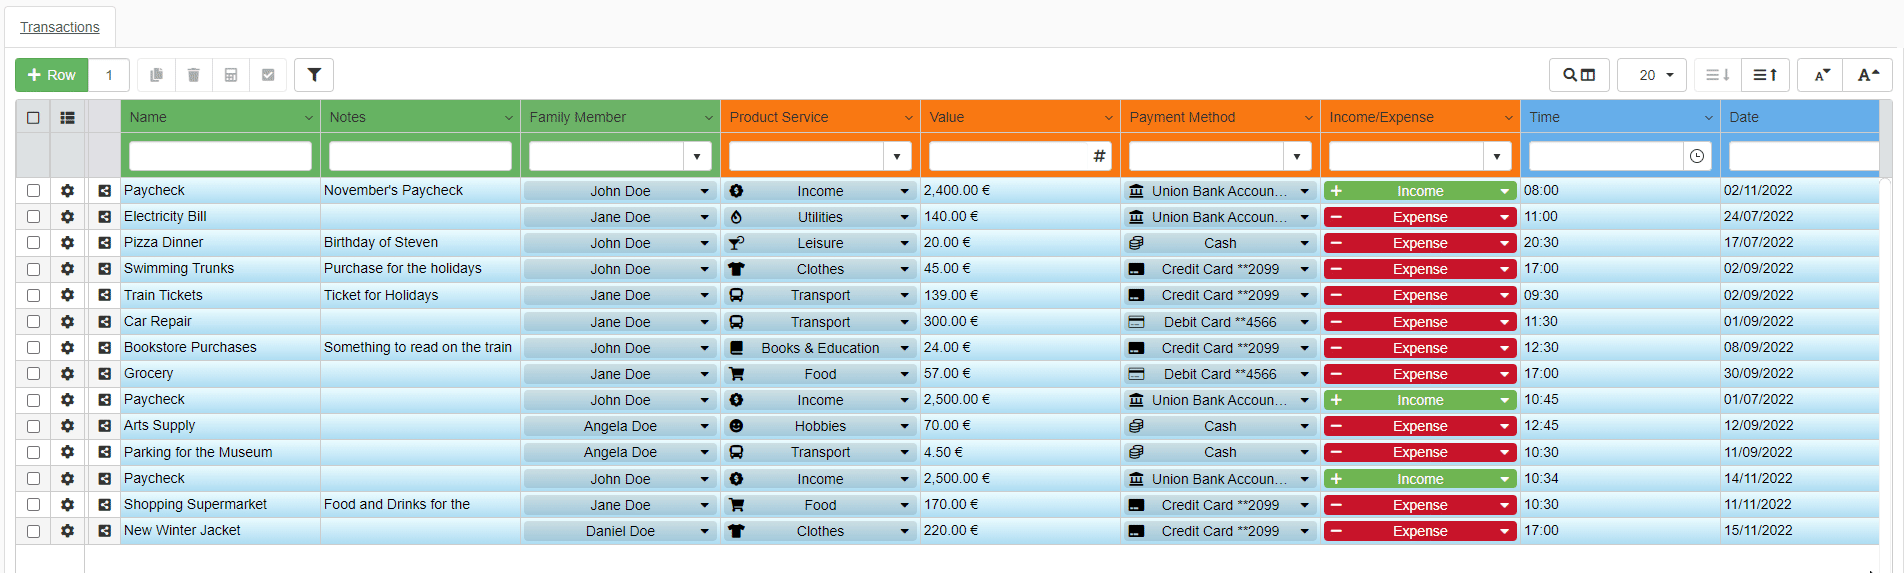
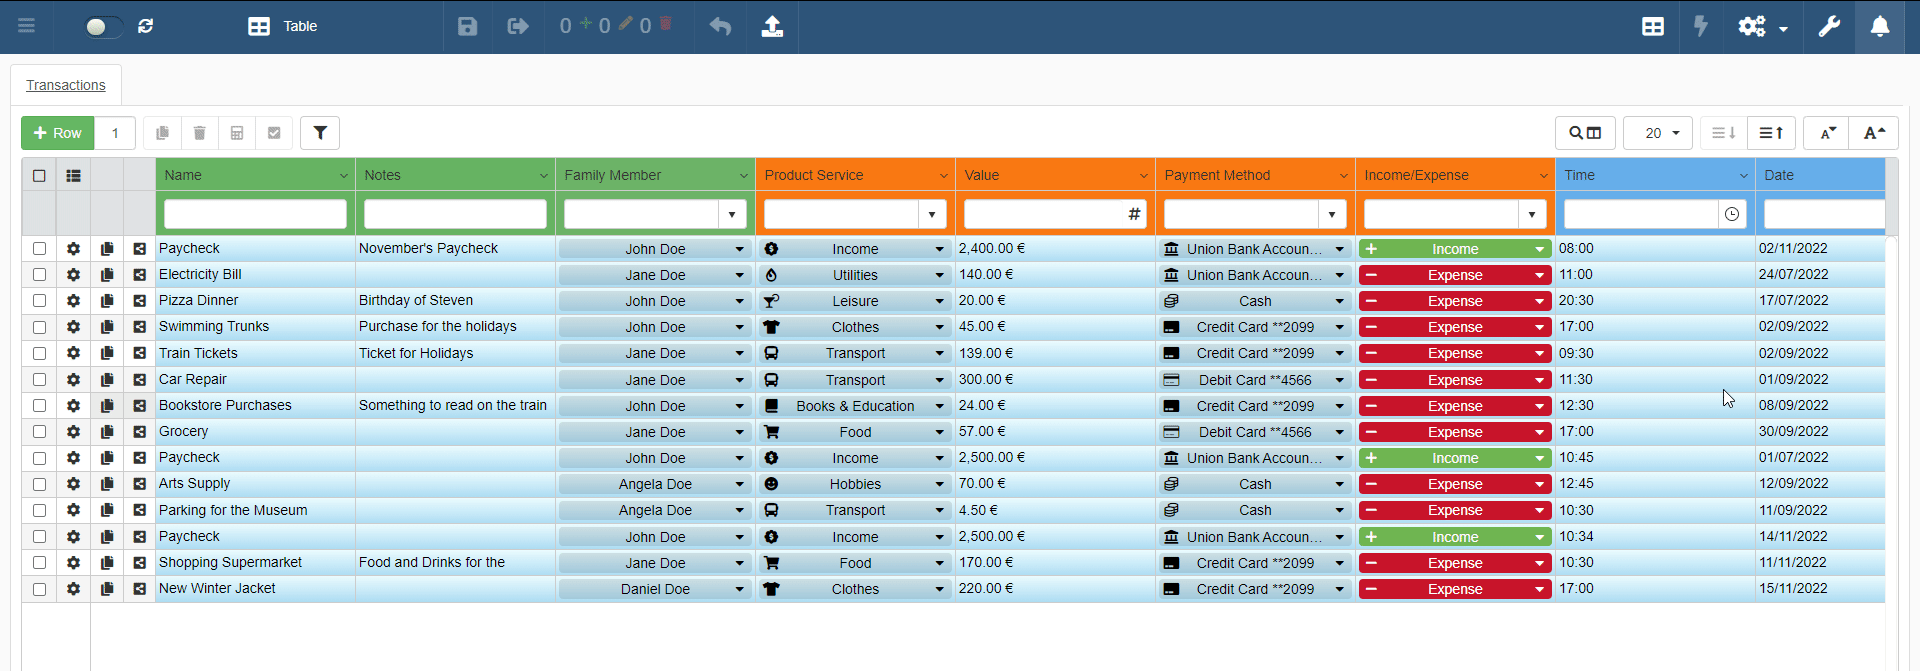
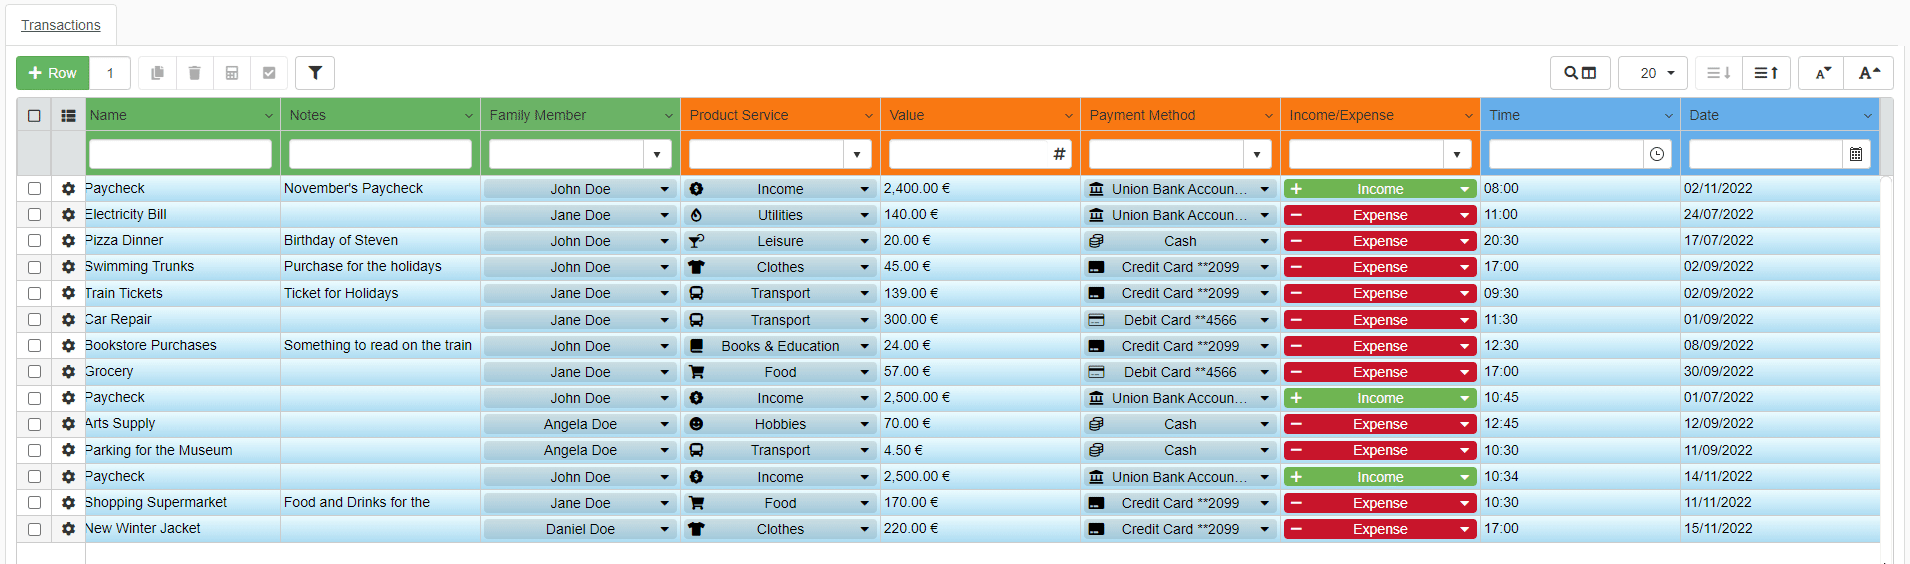
Table View Personalization
The Table View Personalization section discusses the customization of appearance, rows and columns' view and sorting. Also, how to save the view and sorting customizations to recall them later. Unless the User saves the view and sorting customizations, applications reset them at the next access. Each User can have more than one set of customizations.
Summary
- Font Size Learn how to change font size
- Row Height Learn how to change row height.
- Search Columns Learn how to search a column's headers and content.
- Hide Columns Learn how to hide table columns.
- Sorting Learn how to sort your rows on a table.
- Save Your View Setting Learn how to save and recall your table view settings.
Font Size
Learn how to customize the font size.
Users can customize the cells' font size containing text.
You can resize the font by using the two buttons on the upper-right corner of the table.

You can either increase or decrease the font size.
- Clicking on enlarges the text.
- Clicking on shrinks the text.
Hint
The font buttons will become grey and not clickable if you reach the maximum or minimum font size available.
Warning
The font resize will disappear when exiting the application. For saving the preferred font size, you must save it together with the view and sorting option. See Save Your View Settings to learn how.
Row Height
Learn how to customize the height of the table's rows.
Users can customize the cell's height of the table.
Note
The Designer might have setup a row height and size for the Users already. But the User can customize these options at any time.
You can resize the cells' height by using the two buttons on the upper-right corner of the table. The two buttons are on the left of the Font Size buttons.
- Clicking on enlarges the height.
- Clicking on shrinks the height.

Hint
The buttons will become grey and not clickable if you reach the maximum or minimum cells height available.
Warning
The preferred cells' height will disappear when exiting the application. For saving the preferred cells' height, you must save it together with the view and sorting option. See Save Your View Settings to learn how.
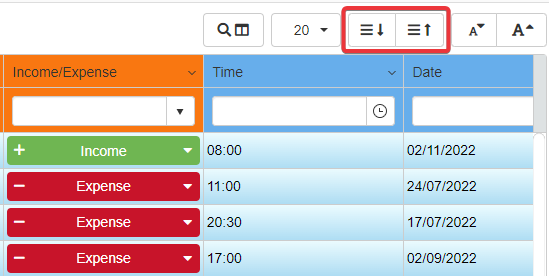
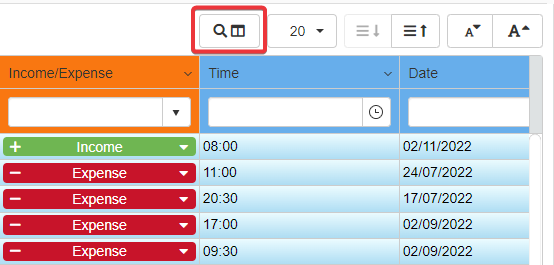
Search Columns
Learn how to search a column by name across the application's table.
Navigating applications with a huge number of columns might be difficult. Users can search a specific column within the table.
-
Click on the Search Columns button.
-
A search bar will appear. Type the name of the column you are looking for.
The application will highlight the headers with the corresponding column's name.
You can navigate the result by clicking on the icons on the search bar.
- icon to go left on the table.
- icon to go right on the table.
Close the search bar by clicking on the icon on the right of the textbox.

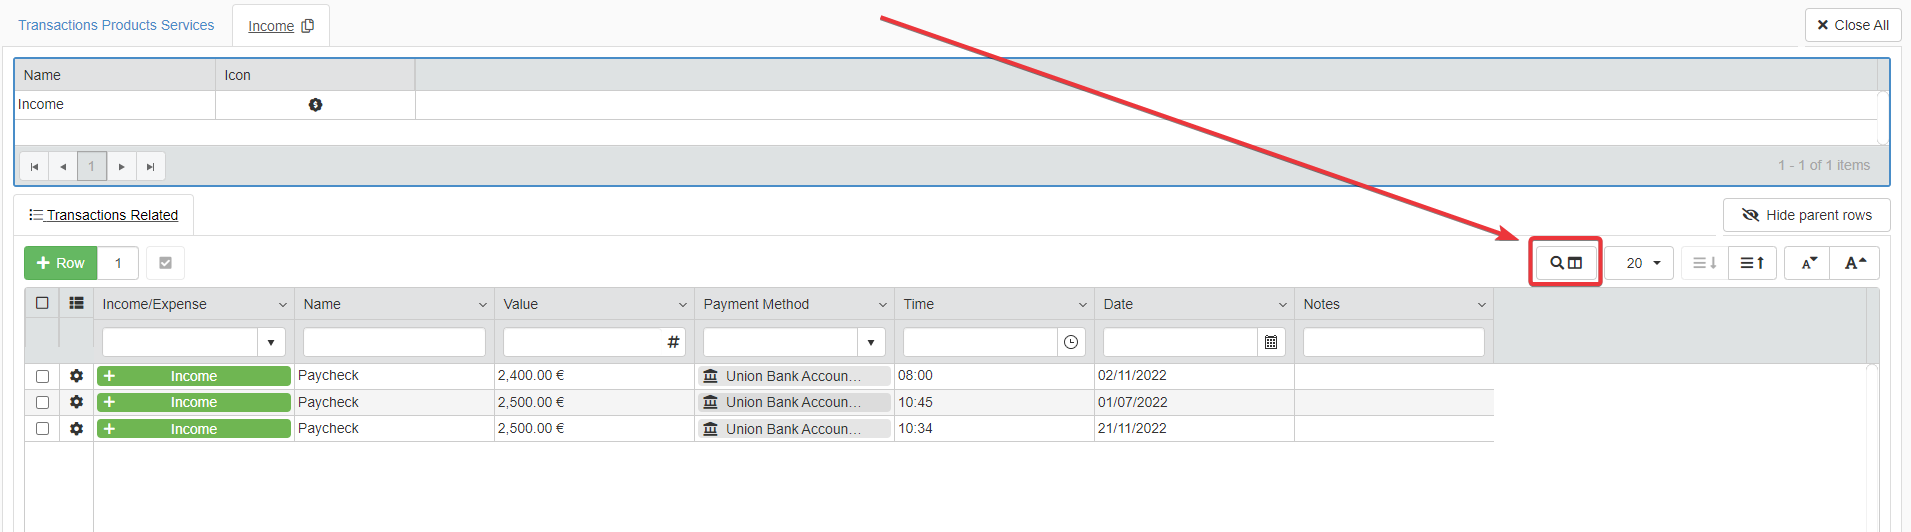
Users can make the same operations on Detail tables. You will find the Search Columns button on the upper-right corner of any Detail table.
Hide Columns
Learn how to hide the table's columns you don't need.
Users can hide the table's columns that they don't need.
-
Click on the on top on any header of the table.
-
From the drop-down list menu, go to Columns.
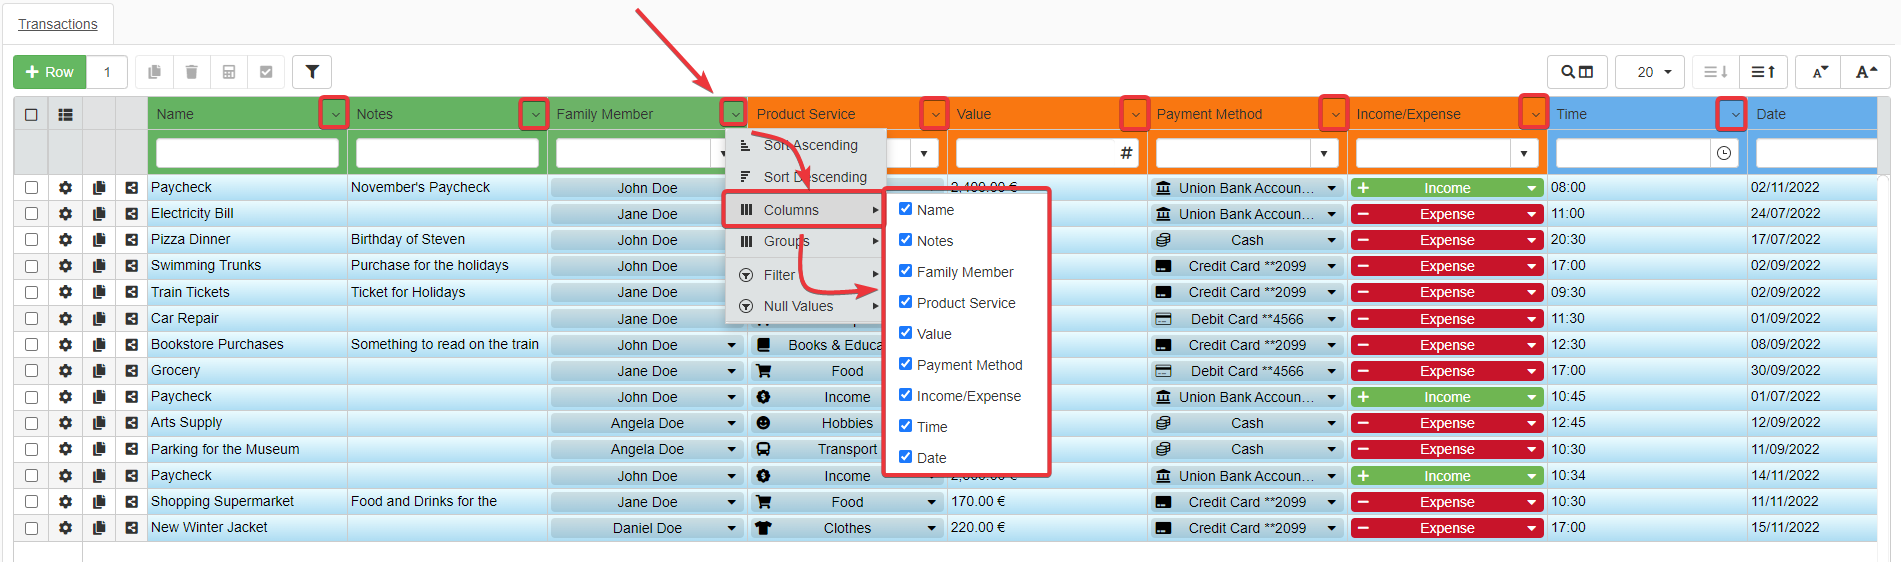
-
Deselect the columns you want to hide from the table.
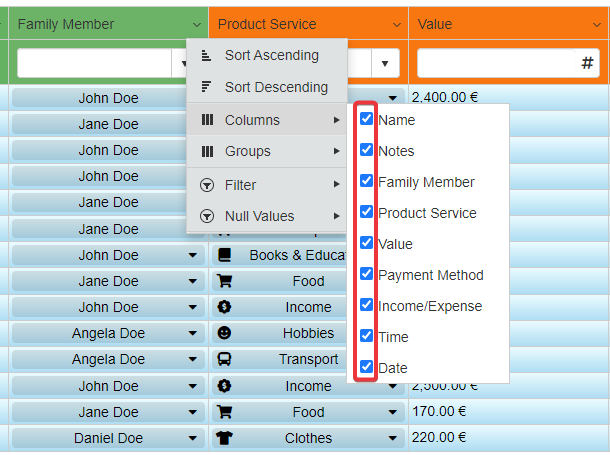
The application will hide the deselected columns.

Hint
To show again the columns, repeat the Steps 1-3 and select the hidden columns again. As alternative, reload the application.
Warning
The columns' hiding preferences will disappear when exiting the application. For saving the hiding preferences, you must save it together with the view and sorting option. See Save Your View Settings to learn how.
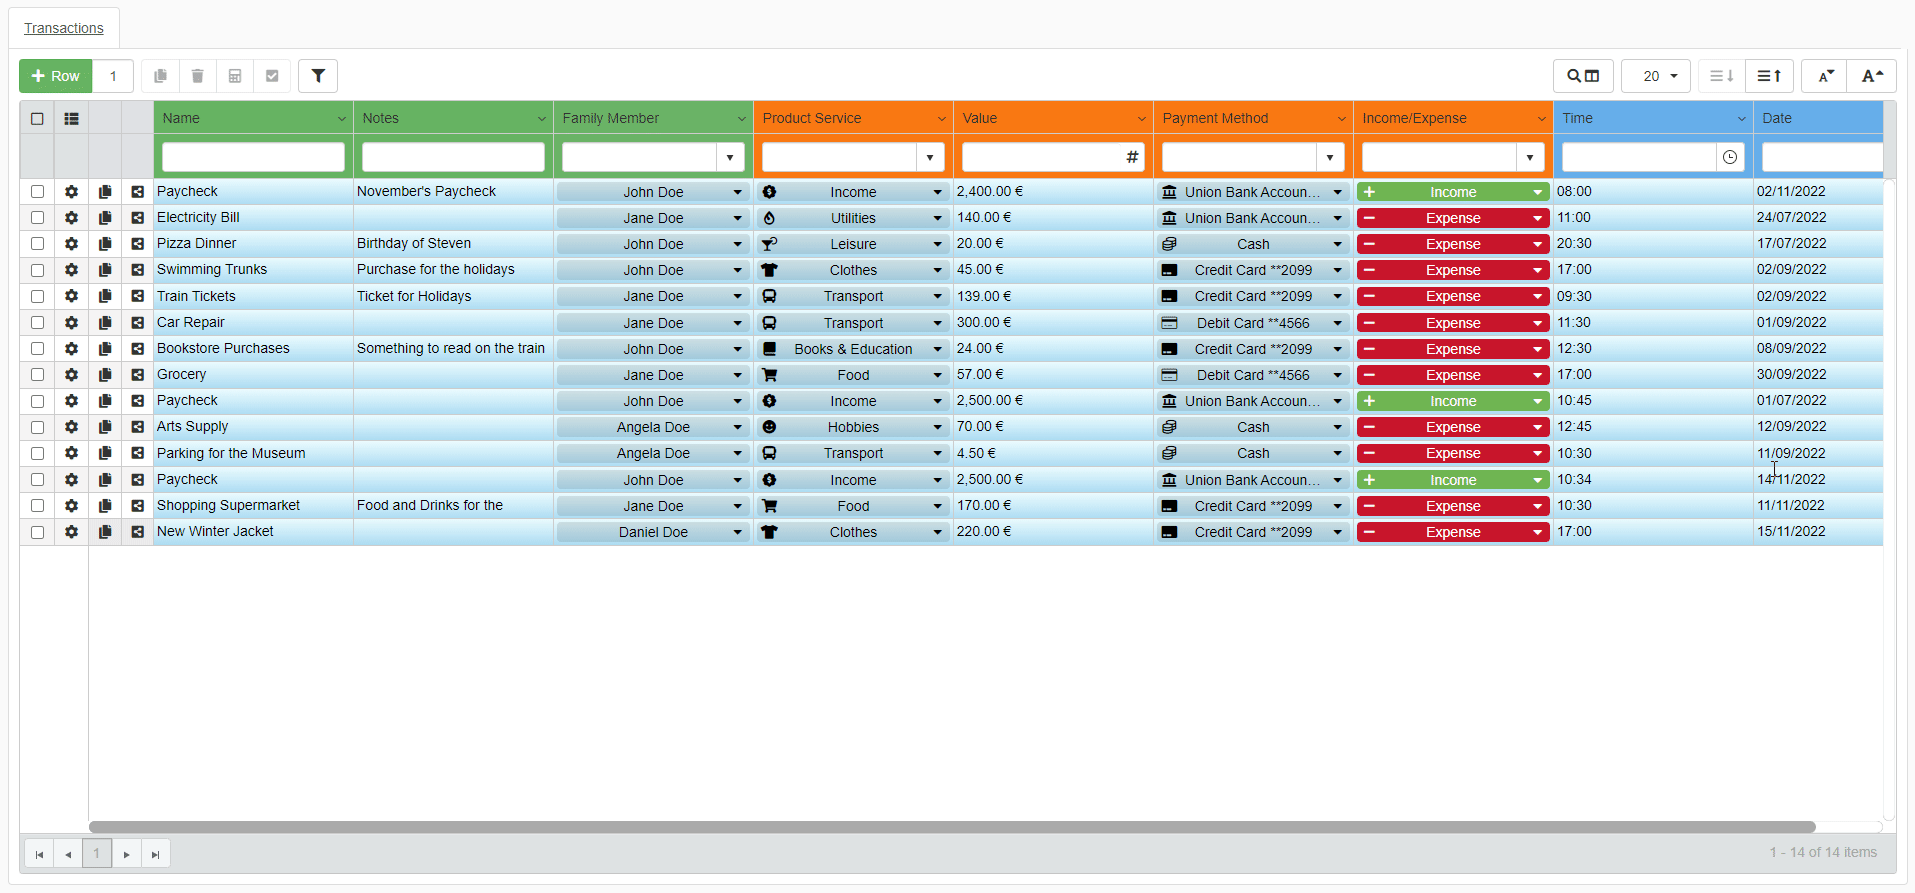
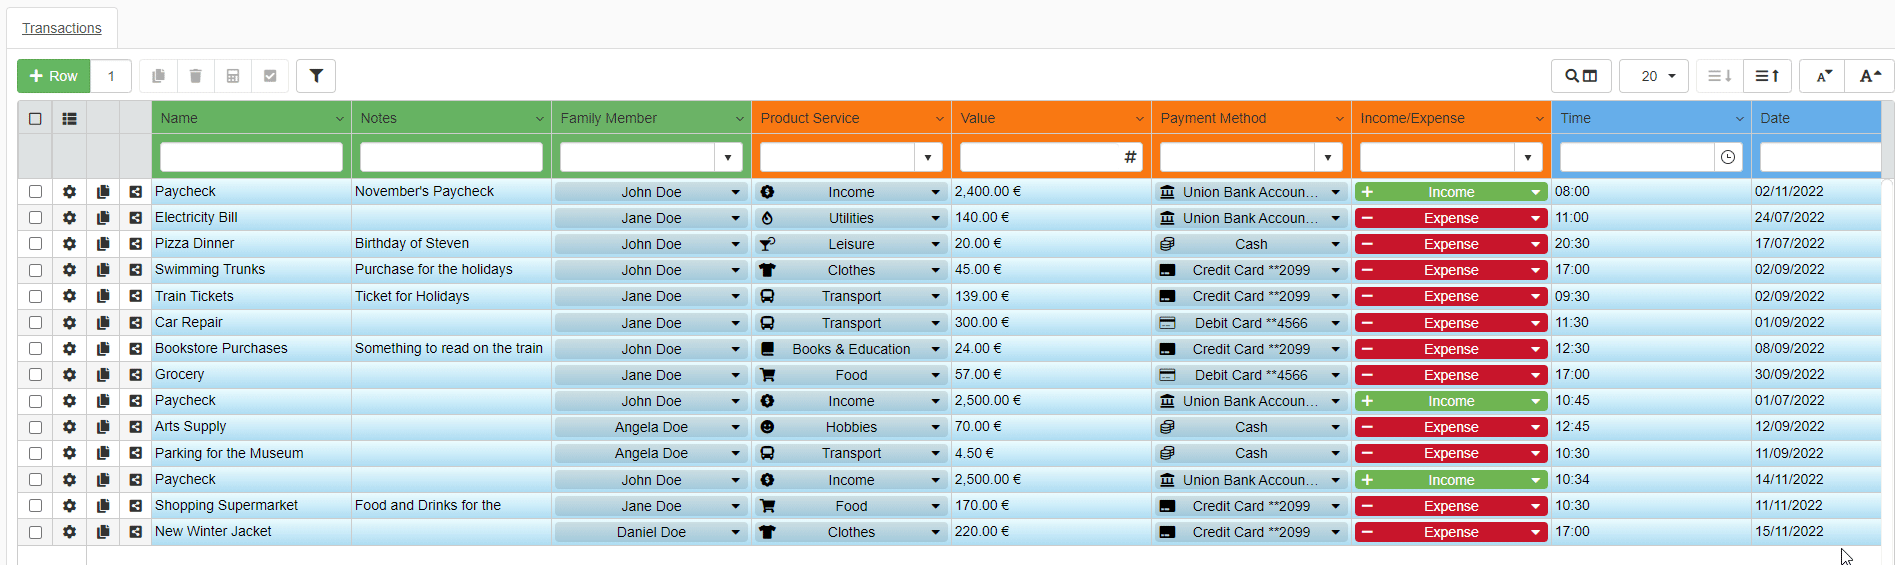
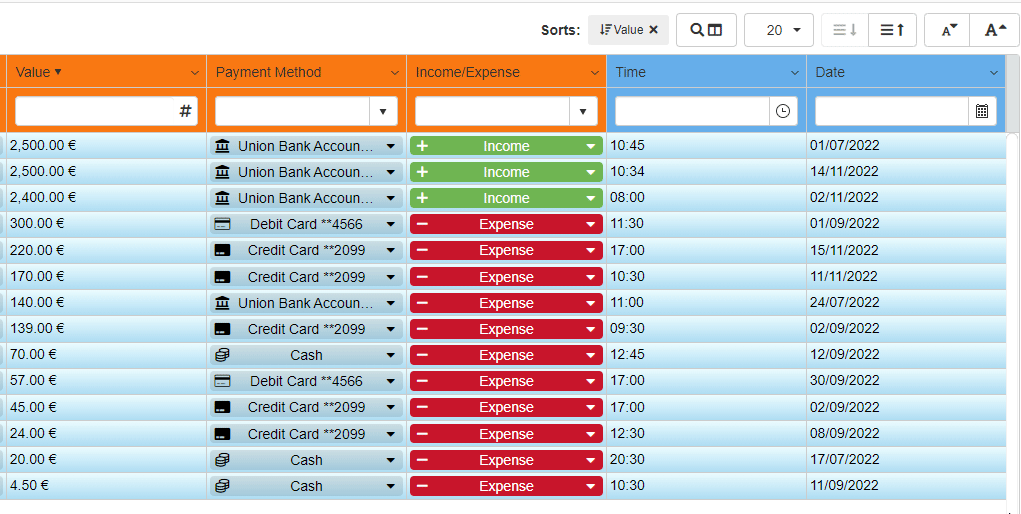
Sorting
The Users can choose how to sort the table's rows according to the cells' values of a column.
Learn how to manage the table's sorting.
Sort a Column
Learn how to sort the values of a table's column according to the preferred order.
-
Click on the on top of the column you want to sort by.
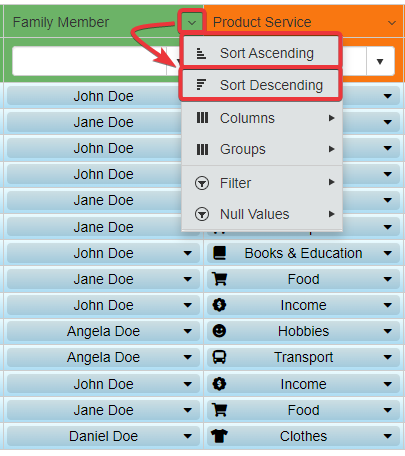
-
Choose the preferred sorting mode. a. Choose Sort Ascending to arrange the rows in ascending order. b. Choose Sort Descending to arrange the rows in descending order.
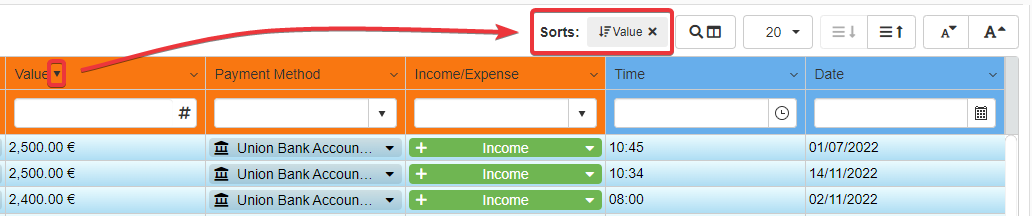
After the selection, an icon will appear next to the header's name. The icon will point the active sorting for the column.
- if Sort Descending
- if Sort Ascending
A tag describing the column and the activated sorting will appear on the upper-right corner of the table.
As alternative to the column's drop-down list menu, you can click on the column's header directly to sort the column.
One click on the header switches the sorting from one option to the other.
Warning
The sorting preferences will disappear when exiting the application. For saving the sorting preferences, you must save it together with the view and sorting option. See Save Your View Settings to learn how.
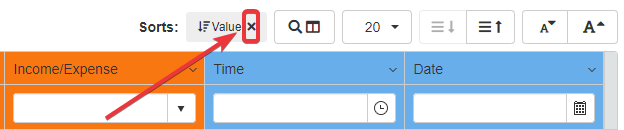
Remove a Sorting Option
Learn how to remove the sorting options applied before.
You can remove a selected sorting option by clicking on the icon on the corresponding Sort tag.
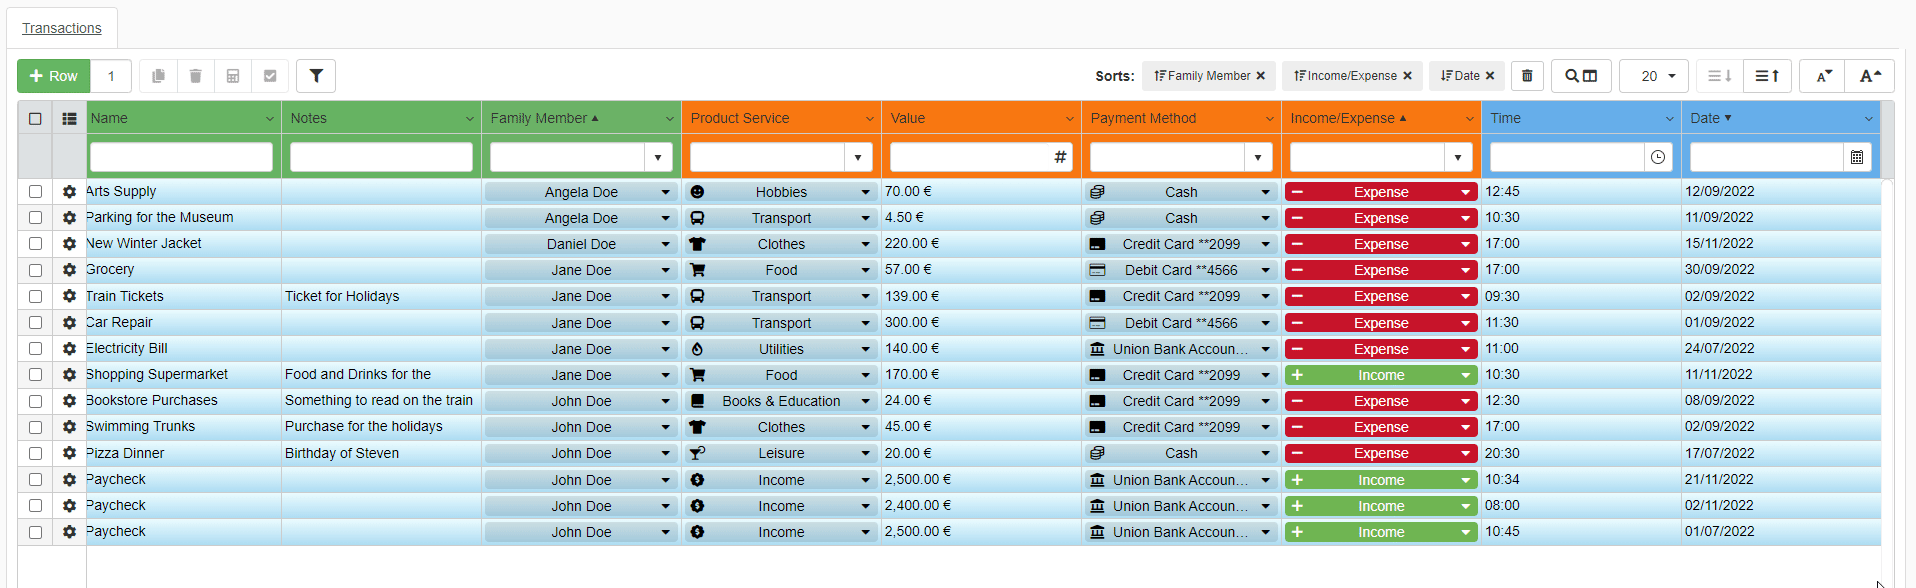
Multiple Sorting Options
Learn how to apply multiple sorting options to the table.
You can choose multiple sorting options for the application's table.
The priority for the sorting will be from the oldest to the latest sorted column.
Example
The user chooses in order the following sorting options: Descending sorting for the column Surname, Ascending sorting for the column Name, and Descending Sorting for the column Birthday. The sorting order and priority for the table's rows will be Surname, Name, and Birthday.
Repeat the Steps 1-2 of the Sort a Column section for each column you want to order by.

The tag of each activated option will appear on the upper-right corner of the table. The tags are arranged from the oldest to the latest starting from the left.

Remove Multiple Sorting Options
Learn how to remove multiple sorting options all at once.
You can remove all the activated sorting options with one action.
Click on the button next to the Sort tags on the right.

The action removes the previous selected sorting options all at once.
Save Your View Setting
Learn how to save your table view personalization as a preset.
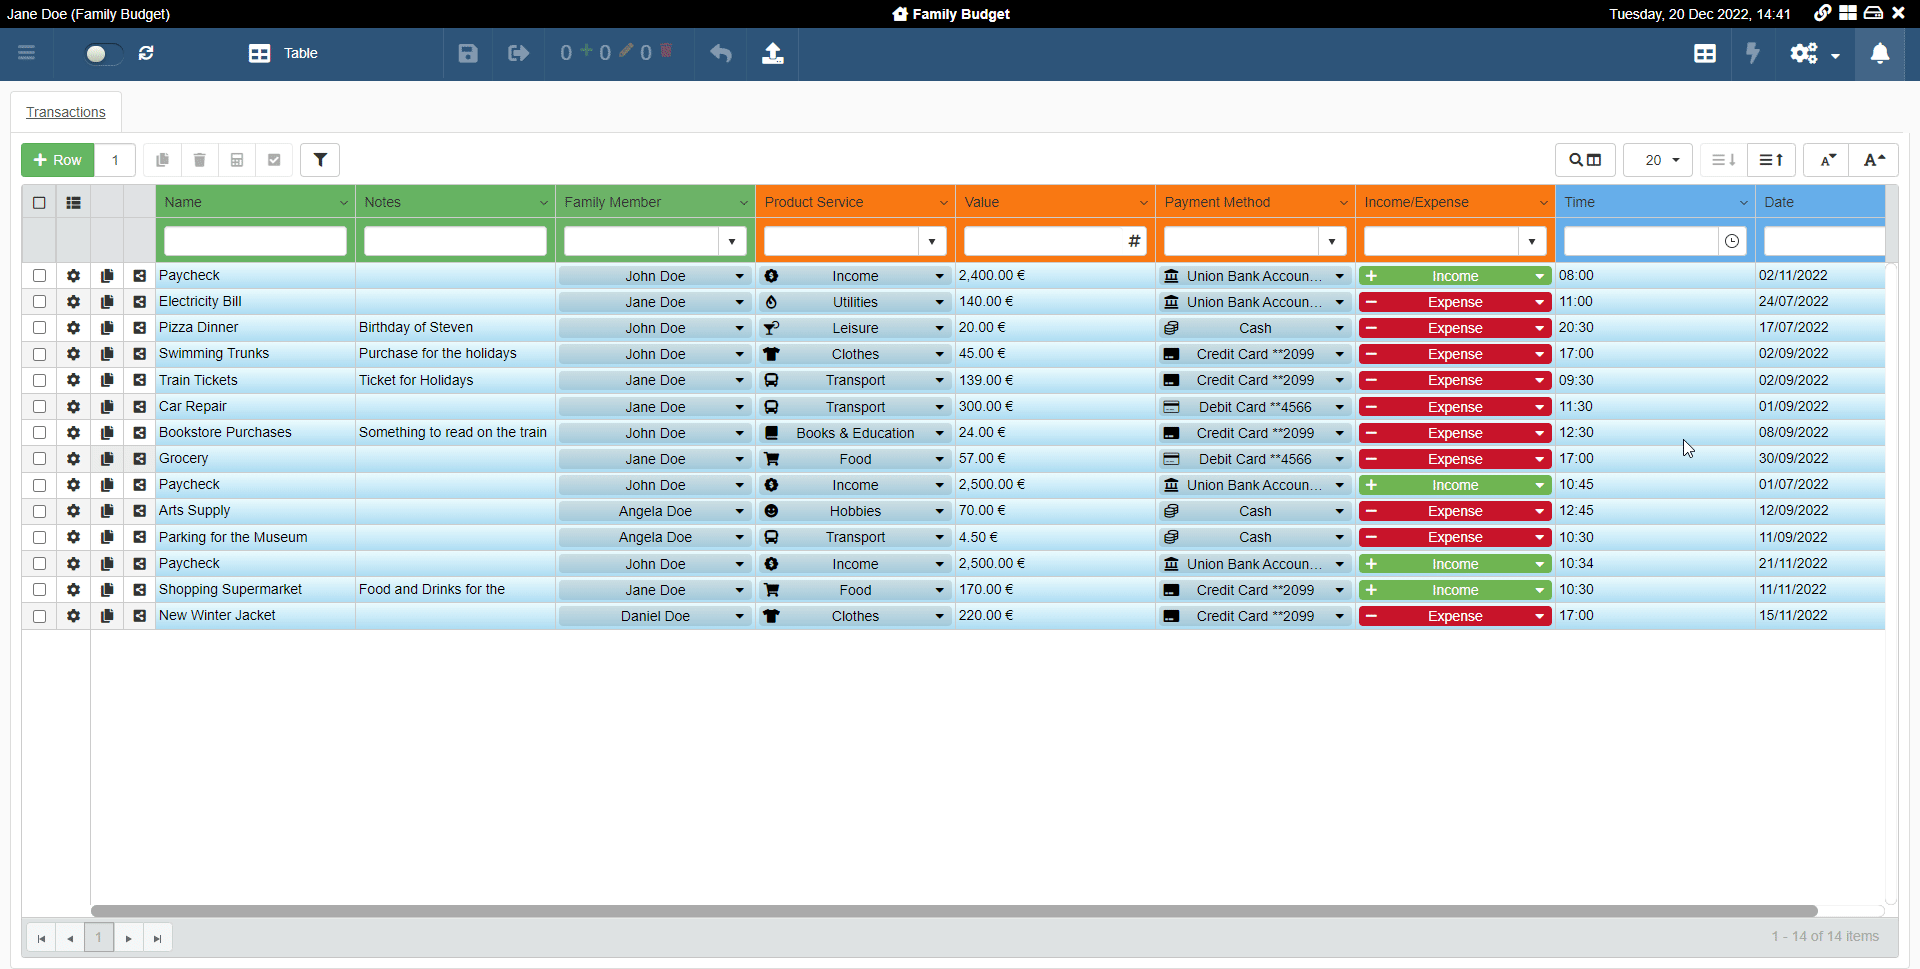
eLegere applications can save all your view and sorting options. Users can recall these custom presets of options at any time. Learn how to save your selected appearance and sorting options.
These presets are called Sessions.
You can create a Session with all your settings while working inside the application.
-
Click on the Save Session As button () on the upper-right corner of the application on the top bar.
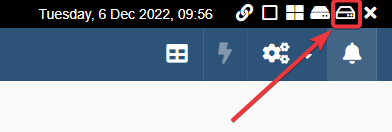
-
The Save Session window will appear.
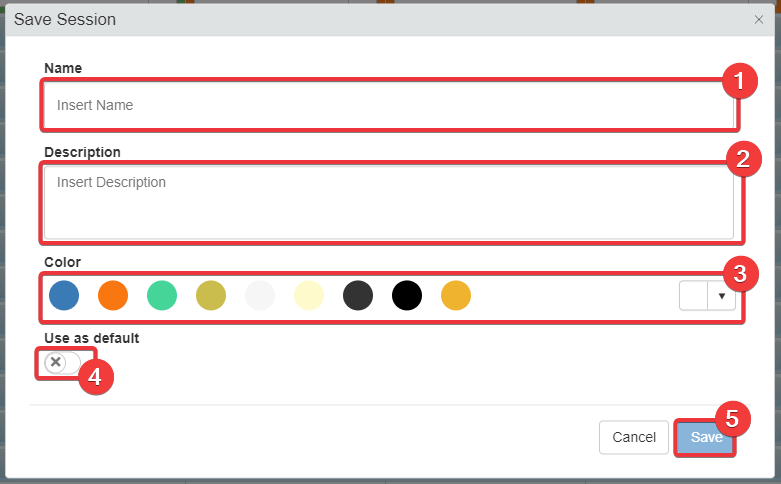
- (1) Type a Name for your Session. The Name identifies your Session among others.
- (2) Type a Description.
optional - (3) Choose a Color to identify the preset.
optional - (4) Enable the Default toggle switch if you want to see this Session every time you enter the application.
optional - (5) Click on the Save button to save the preset.
Hint
You can even choose a Session as the Default one to load it at every access to the application. Click on the Default toggle switch while creating the Session.
You will have saved the Session with all your Properties, filters, sorting, and appearance options.
You can load the preferred Session by clicking on the Sessions button ().
-
Click on the the Sessions button () on the upper-right corner of the application on the top bar.
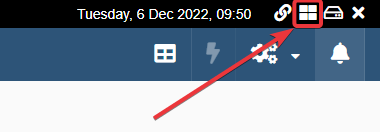
-
A drop-down list of the available Sessions will appear. Choose the preset you want to load in the application.
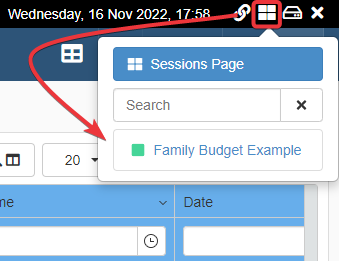
The application will load the chosen Session with all your view and sorting options.
You can restore your preferred settings at any time by loading a Session .
Note
If you have made the Session the Default one: the application will load it every time you enter.
Question
Sessions can save much more beyond view and sorting options. Check the Work with Sessions section to know more.