Export
The Export section teaches you how to export the data within the application outside eLegere. The Export function helps when you have to import data in another software or store data in a certain format somewhere else.
Summary
- Exporting Data Learn how to export and share your application's data.
- Downloading the Exported Data Learn how to download the exported data's file.
Exporting Data
eLegere enables you to export the data contained in any application.
Learn how to export and share your application's data.
Accessing the Export Panel
Learn how to access the panel with all the exporting options.
Users can export the application's rows and their data in the preferred format.
You can access the menu for the export by clicking on the Export icon () on the top bar.
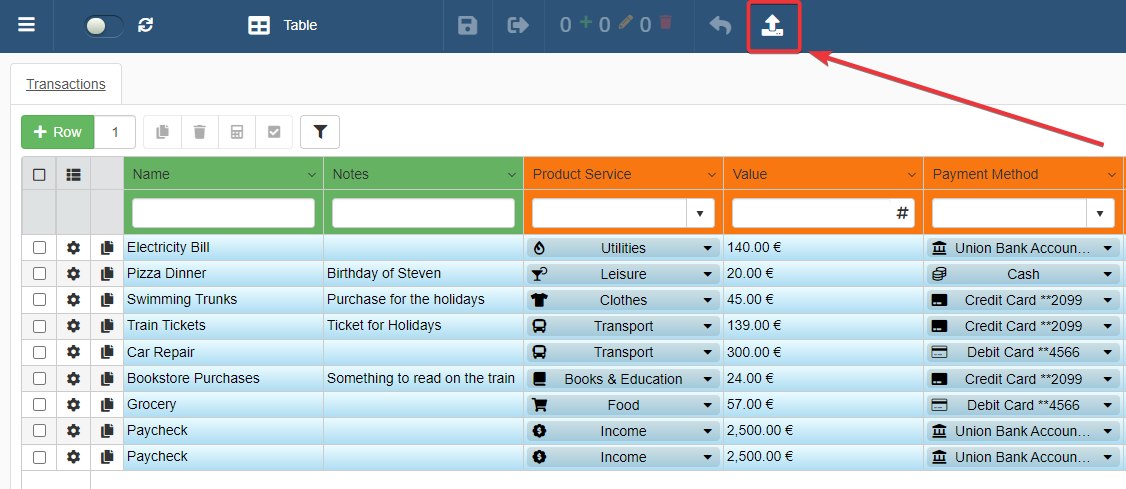
The enabled exporting options change according to what rows you want to export:
- All the Rows (See Exporting All the Rows)
- Selected Rows (See Exporting Selected Rows)

Note
If your application has Details, see also the Exporting Detail's Rows section.
Note
Note that the Designer might have disabled either All the Rows or Selected Rows or both exporting functions. The options available for the Export depend on the Designer's choice.
Exporting All the Rows
Learn how to export all the data from the application's table.
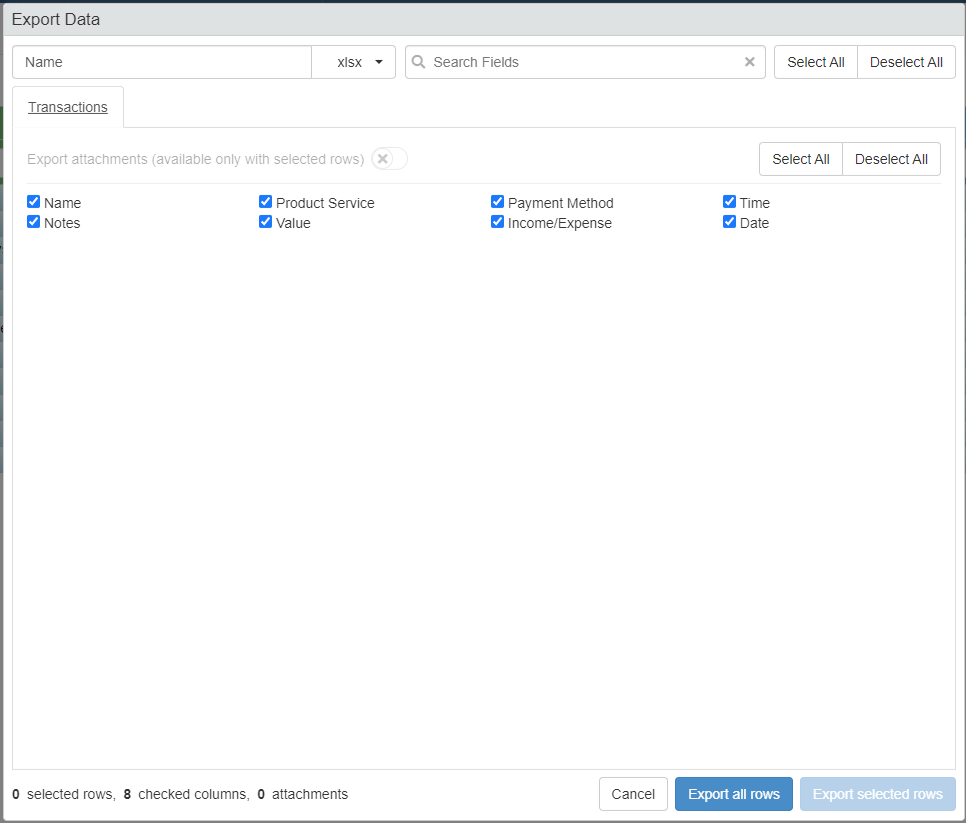
After clicking on the on the Export icon () on the top bar, the Export Data window will appear. The Export Data window
Hint
If your application has Details: check also Exporting Detail's Rows besides this section.
Note
The Export Data window enables some options if and only if you have selected one or more rows. The image below is the standard view with no specific rows selected.
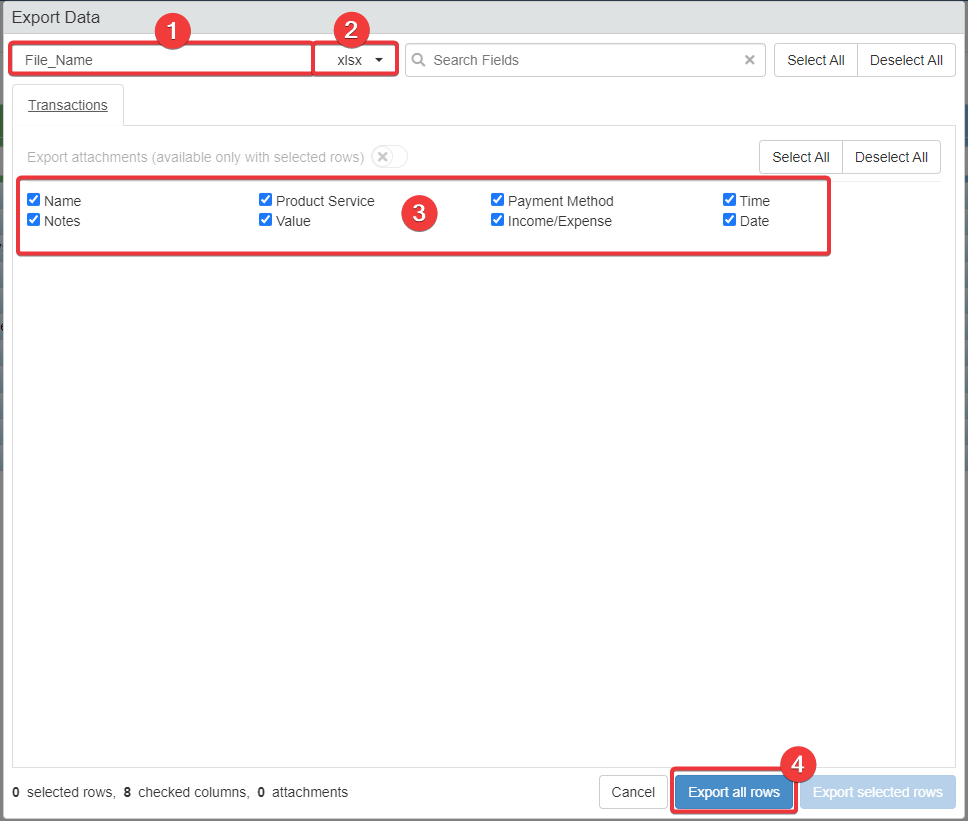
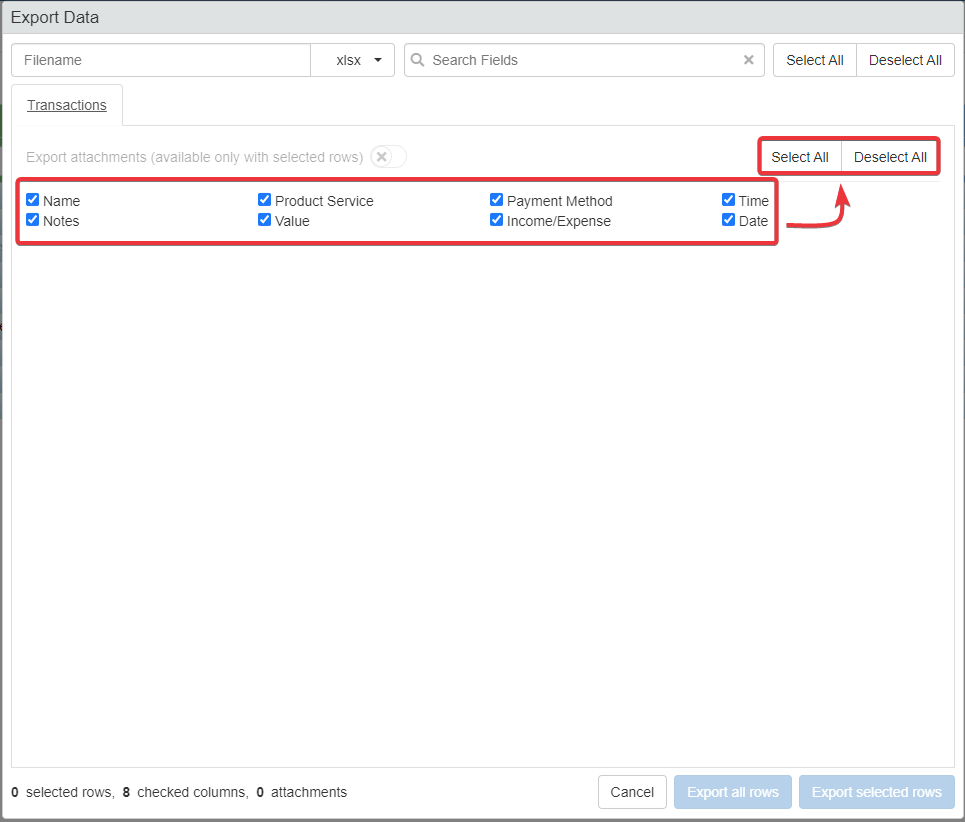
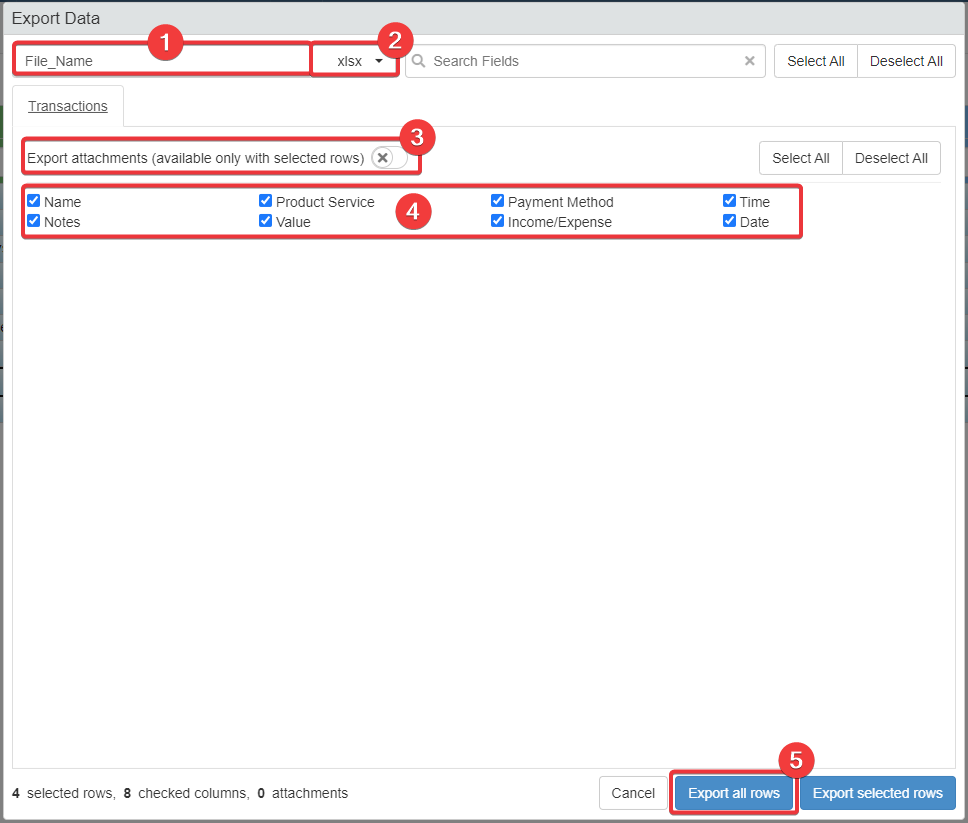
You can export all the application's data by following the steps below:
-
Type a name for the file to be exported in the textbox (in the example,
File_Name). -
Select an extension for the file to be exported. By default, the extension will be .xlsx. The file extensions available are the following:
- .xlsx
- .xls
- .csv
Note
Note that the Designer might have disabled one or more of the file extensions above.
-
Select the fields to include in the file to be exported. By Default, all the fields are checked. If you want to exclude one or more fields, uncheck the field.
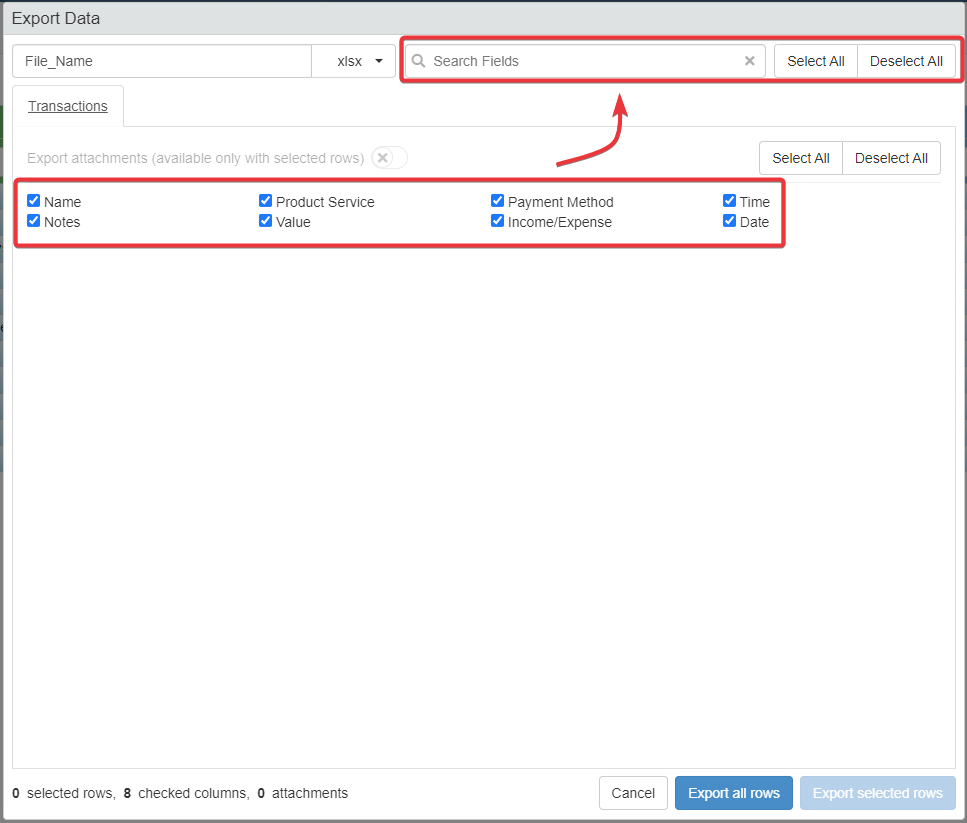
Hint
In case of an application with many column fields, the Export Data window offers three shortcuts:
- Use the Search Field bar to search a field by name.
- Click on the Select All to select all the column field.
- Click on Deselect All to deselect all the column fields.
Info
Note that the Designer decides what fields are exportable. If the Designer has chosen to not make exportable a field, the Export Data window won't list the field.
Hint
The Select All and Deselect All buttons top-right of point (3) in the screenshot enable to select or deselect all the column fields.
-
Click on the Export all rows button when ready to export. Wait for the application to complete the action.
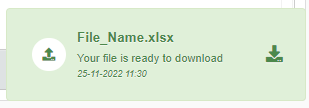
A notification will warn you of the exporting's completition.
You will have exported all the rows in the desired format with the fields that interests you.
See the Downloading the Exported Data section to learn how to download the exported data to your machine.
Exporting Selected Rows
Learn how to export the selected rows' data.
You can pick up one or more row for the export and including their data in the exported file by following the steps below.
Hint
If your application has Details: check also Exporting Detail's Rows besides this section.
-
Select one or more rows from the table.
-
Click on the Export icon () on the top bar, the Export Data window will appear.

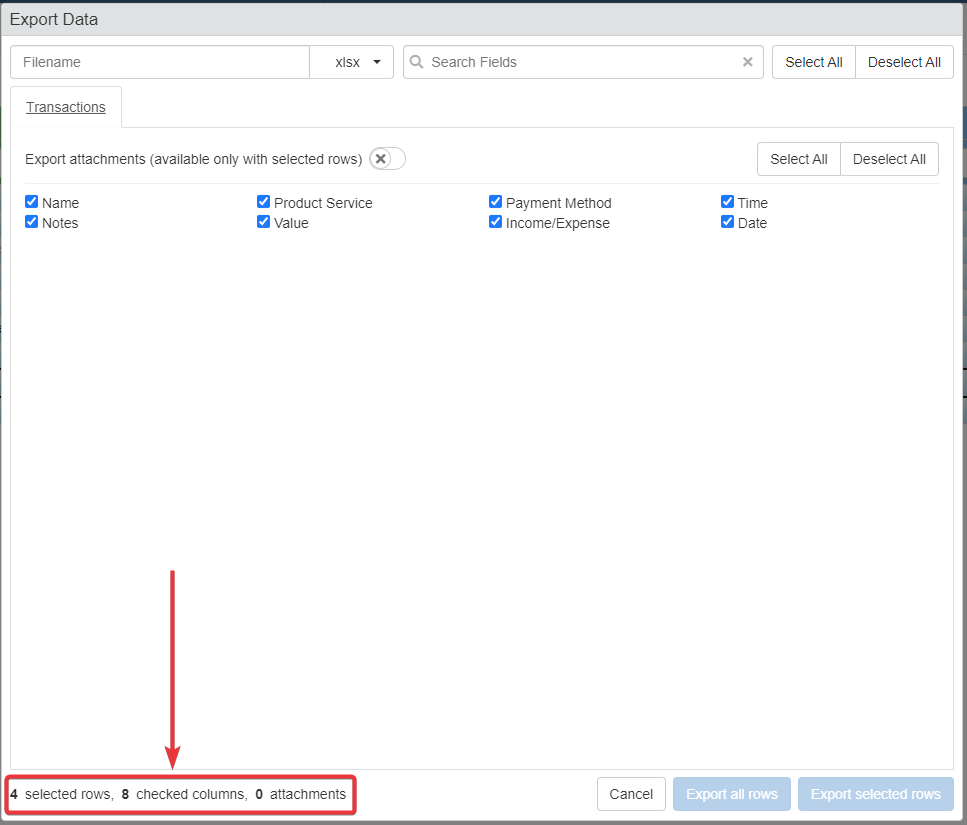
Note in the Export Data window the counter in the bottom-left corner of the window. From left to the right:
- The selected rows
- Number of column fields selected
- Number of attachments
Choosing elements to be either included or not included updates the counter.
You can export all the selected rows' data by following the steps below:
-
Type a name for the file to be exported in the textbox (in the example,
File_Name). -
Choose an extension for the file to be exported. By default, the extension will be .xlsx. The file extensions available are the following:
- .xlsx
- .xls
- .csv
Note
Note that the Designer might have disabled one or two of the file extensions above.
-
Click on the toggle switch if you want to export the selected rows' attachments together with the rows' data.

-
Select the fields to include in the file to be exported. By Default, all the fields are checked. If you want to exclude one or more fields, uncheck the checkbox of the field.
Hint
In case of an application with many column fields, the Export Data window offers three shortcuts:
- Search Field searches a field by name.
- Select All selects all the column fields.
- Deselect All to deselect all the column fields.
Hint
Note that the Designer decides what fields are exportable. If the Designer has chosen to not make exportable a field, the Export Data window won't list the field.
Hint
The Select All and Deselect All buttons top-right of point (4) in the screenshot enable to select or deselect all the column fields.
-
Click on the Export all rows button when ready to export. Wait for the application to complete the action.
A notification will warn you of the exporting's completition.
You will have exported the selected rows in the desired format with the fields that interests you.

See the Downloading the Exported Data section to learn how to download the exported data to your machine.
Exporting Detail Rows
Learn how to export a Detail's data.
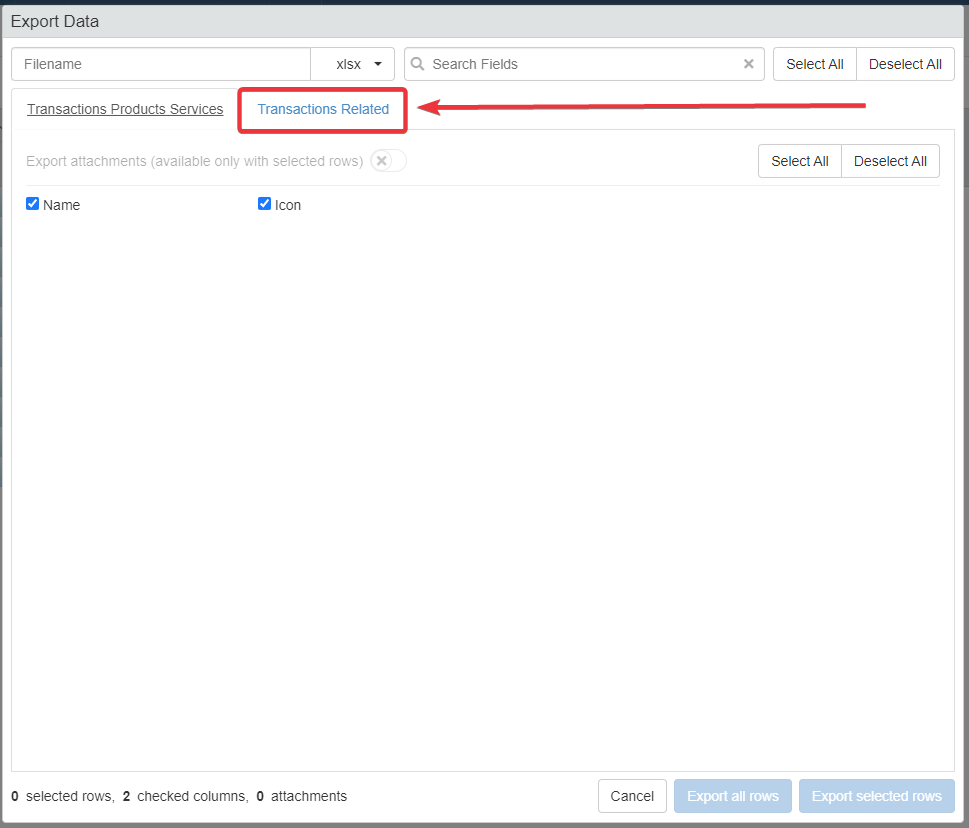
In case the application has one or more Details: the procedure is identical to Exporting All the Rows and Exporting Selected Rows with one difference.
The Export Data window (see Exporting All the Rows and Exporting Selected Rows sections above) displays a tab for each Detail beyond the Master table. Clicking on the related tab opens the column fields' list for the Detail of the same name.
Note
The Designer decides if the Details are exportable and what column fields. You can export the Details' data if: (a) the Designer has enabled the exporting options; and (b) the Designer has made one or more Detail's column fields as exportable.
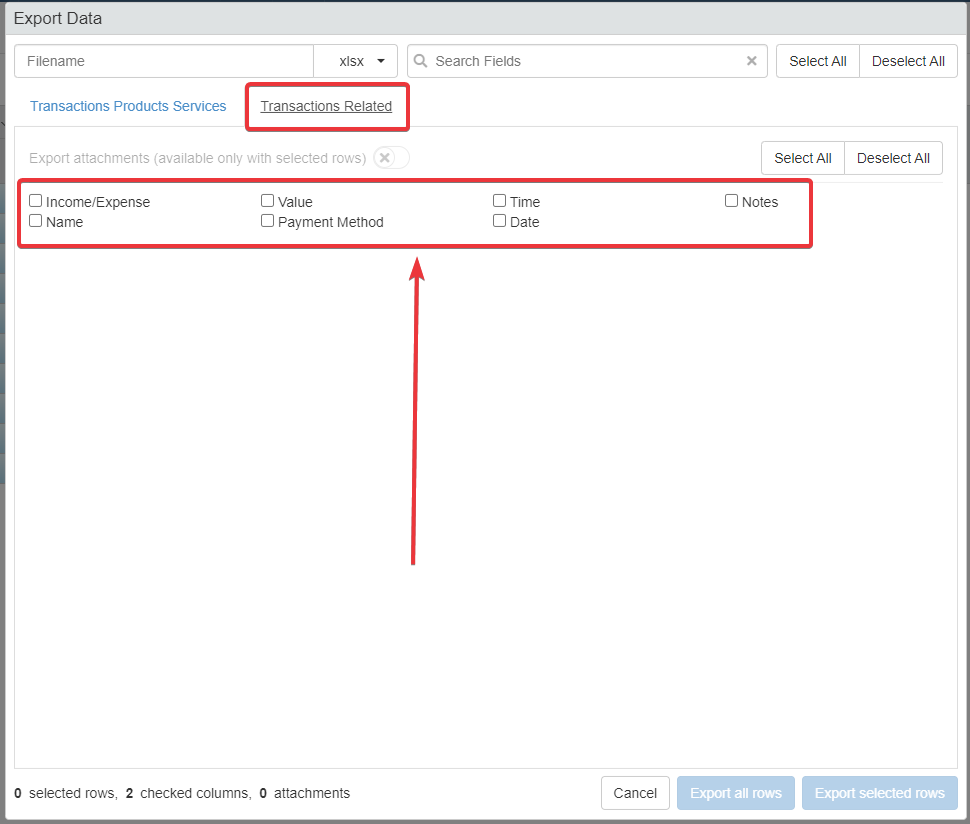
Attention
By Default, all the Detail's column fields are not selected.
Select the column fields you want to export from the Detail before exporting the file.
Hint
Use the Select All and Deselect All buttons to speed up the process.
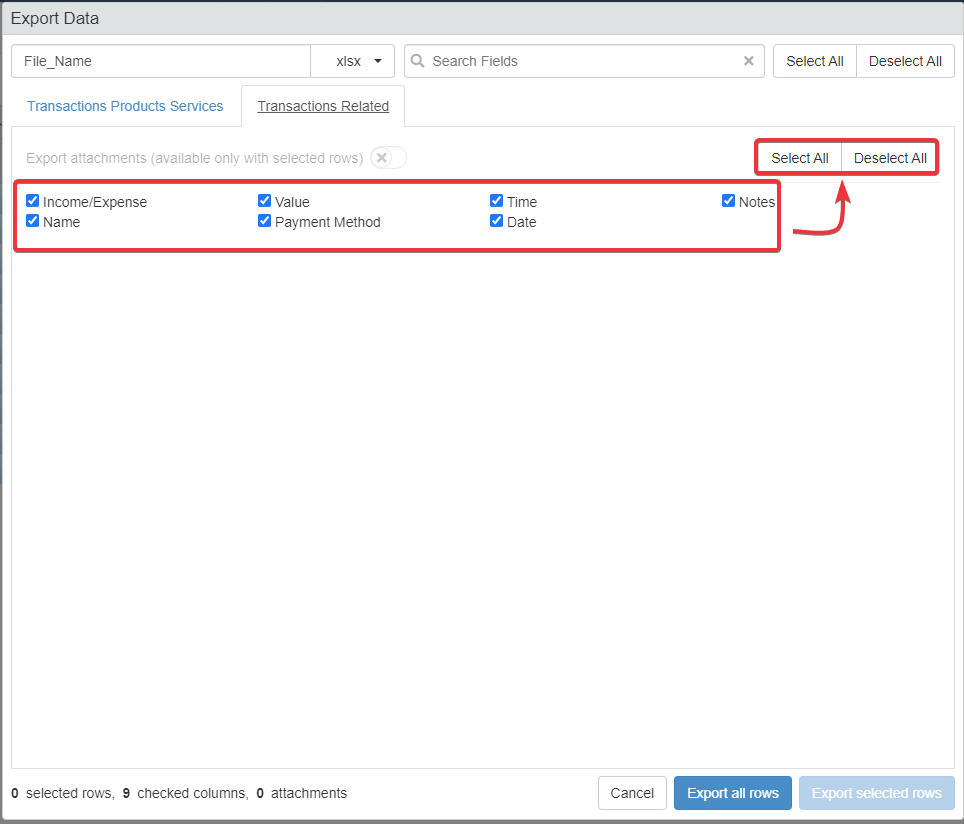
When done, click on Export all rows to export all the Master and Detail rows for the selected fields. Otherwise, click on Exported selected rows to export only the selected rows for the selected fields from the Master and Detail tables.
See the Downloading the Exported Data section to learn how to download the exported data to your machine.
Downloading the Exported Data
Learn how to download the data after an Export action.
After having exported in the desired format either all or only the selected Master or Detail rows' data, the User must download the file with the data.
You can download the file with the exported data through the following methods.
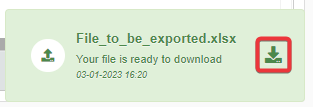
From the notification's message
Click on the icon on the notification of completition to download the file on your machine.
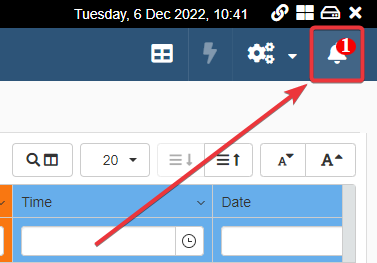
From the list of notifications
Follow the two steps below to download the exported file from the notifications' list in the application.
-
Click on the Notifications button (). You can find the Notification button on the top bar's top-right corner. The action will open the notification panel on the right side.
-
Click on the icon on the exporting's notification to download the file.
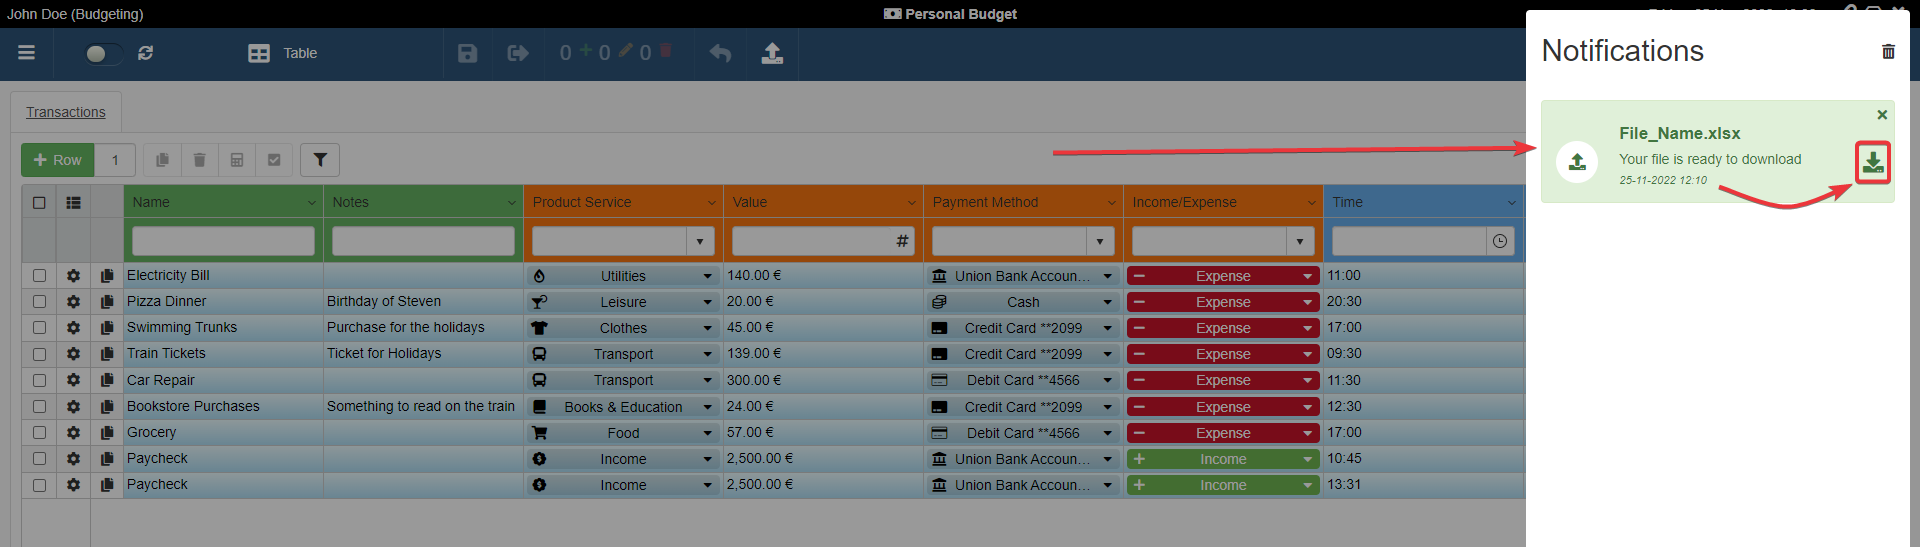
Following the above steps will download the file with all the exported data.