Users and Permissions in the Domain
Note
This tutorial presupposes what done in Automate Your Application tutorial. If you have missed or skipped the previous tutorials or you want to experiment and go back, do not worry! You can import this .eap file to sync or restore with what you see in this documentation. Learn about resetting by using .eap files. If you don't use the .eap, what you see might differ slightly from the screenshots.
This section will teach you how to manage users accounts, permissions, how to show or hide applications, and restrictions.
Change the name of the Personal Budget application you developed in Your First Application to Family Budget. Change the tile's color and choose another icon (for example, search house in the Icon drop-down menu).
In this section you will create the Users and the Permissions for the restrictions you will apply to the Family Budget application in Application's Restrictions for Users and Groups.
Manage Users' Accounts
If you are a Delegate or a Domain Admin, access to a Domain enables inviting or creating users.
Follow the steps below to create the users for the Doe family.
-
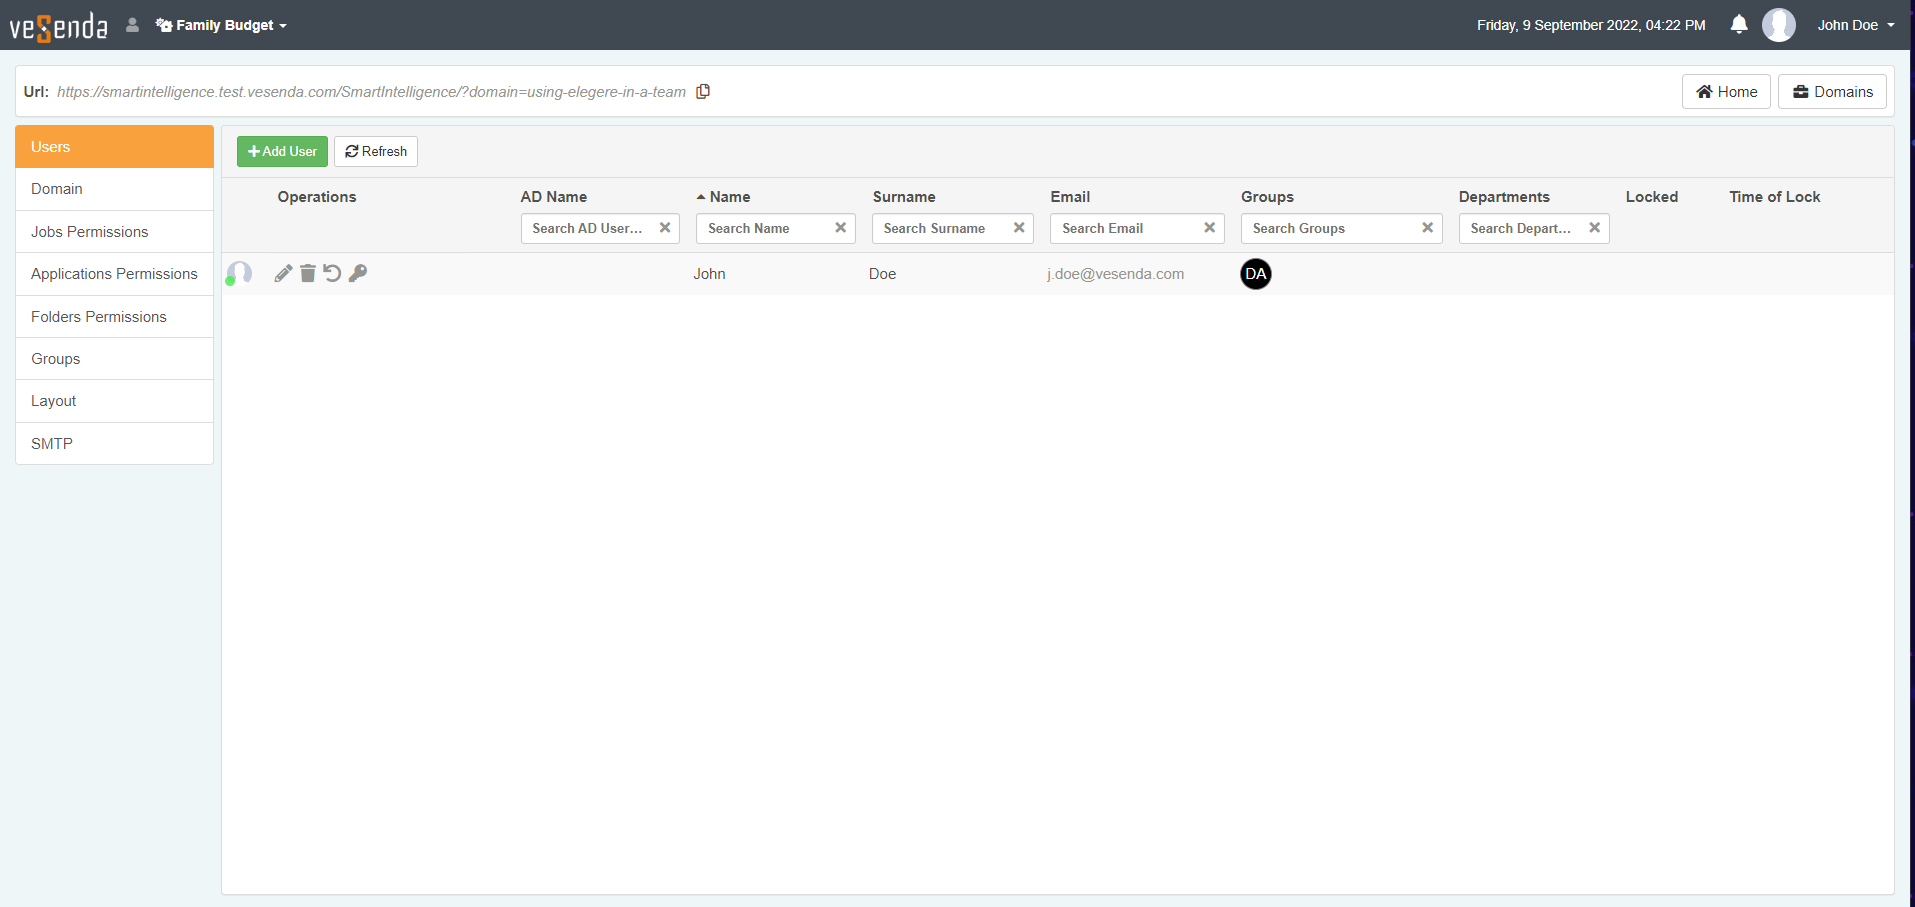
Access the Domain settings panel. (See What are Domains? for more info about how to access the panel.)
-
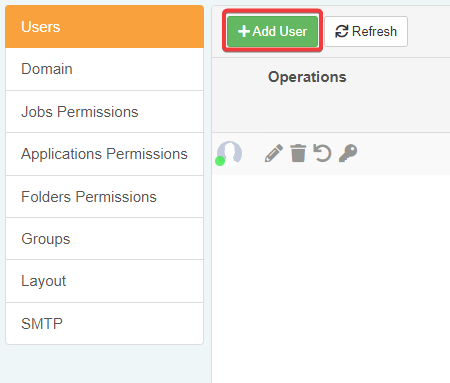
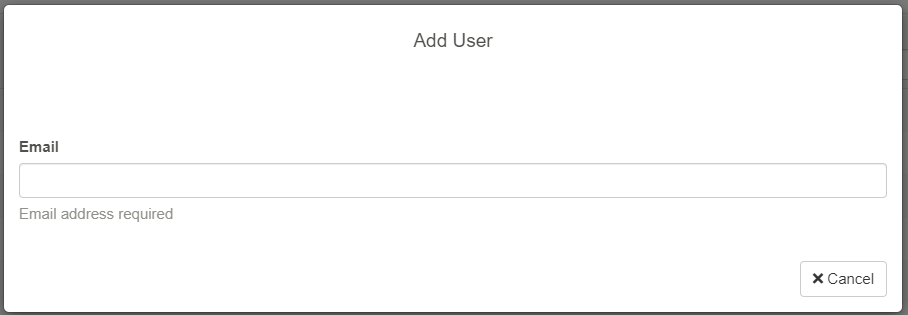
Click on +Add User on the left corner of the panel next to the task bar.
-
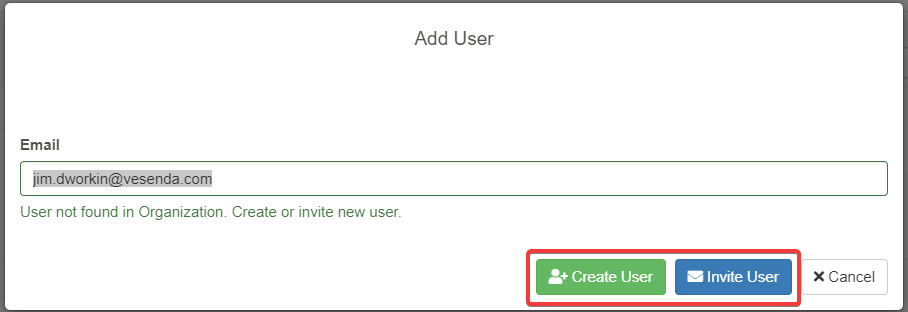
Type the user's email in the window that appears.
-
eLegere warns that the User doesn't belong to any Organization or Environment. eLegere suggests to create the account or invite by email the user. Click on Create User to insert the user's account's data manually. (Invite User sends an email invitation enabling the user to register by themselves. You won't make use of Invite User in this tutorial.)
Creating a User Account
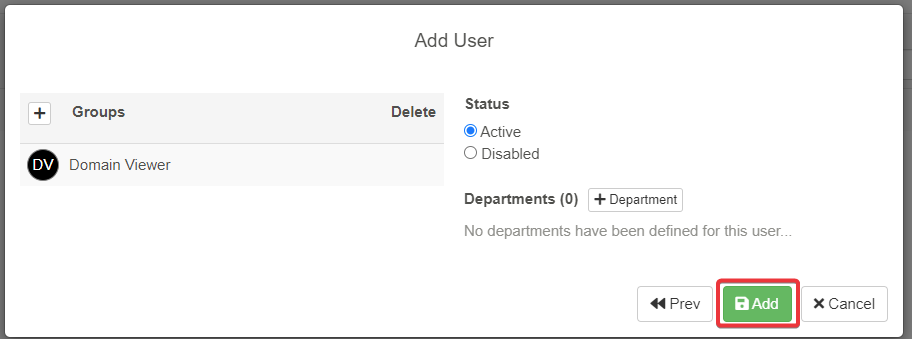
There are no further actions to do in the Add User window besides adding Groups. (You will do it later in the tutorial after you have created the groups). Ignore the Status and Department options: they do not concern the creation of new accounts.
Note
Ignore for the moment the Groups. You will return to this window to add the Groups in the next section Add Users to a Group. For now, it is enough adding the user's account.
Click on Add to complete the creation of the User in the Domain.
In the case of the tutorial, create the User accounts for the family members:
| Name | Family Relation | |
|---|---|---|
| Angela Doe | Daughter | a.doe@vesenda.com |
| Daniel Doe | Son | d.doe@vesenda.com |
| Jane Doe | Wife | ja.doe@vesenda.com |

Change User Credentials
You can choose after the account creation the access credentials for the user.
Change Password
- From the Users sub-panel click on the icon next to the user's row.

-
In the Password management window you can:
-
Generate a password randomly.
- Type the password by hand.
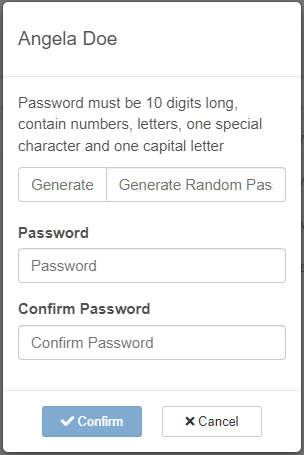
Generate or type a password.
- Click on Confirm to change the password.
Change User's Name and Surname
You can edit further user's information like name and surname from the Edit panel.
- From the Users sub-panel click on the icon next to the user's row.
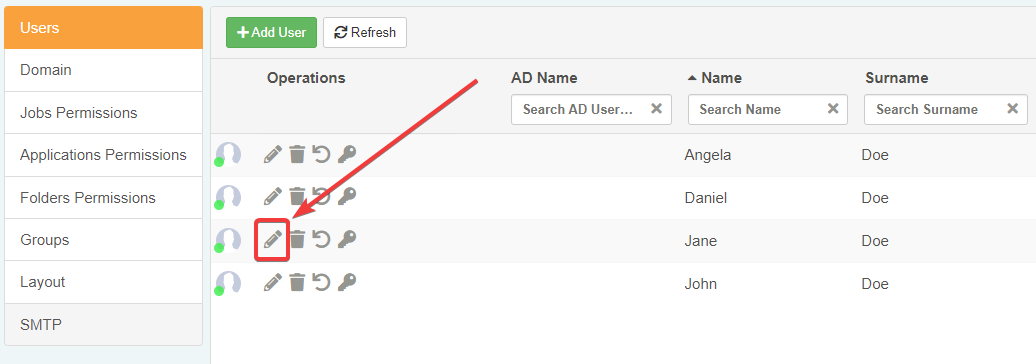
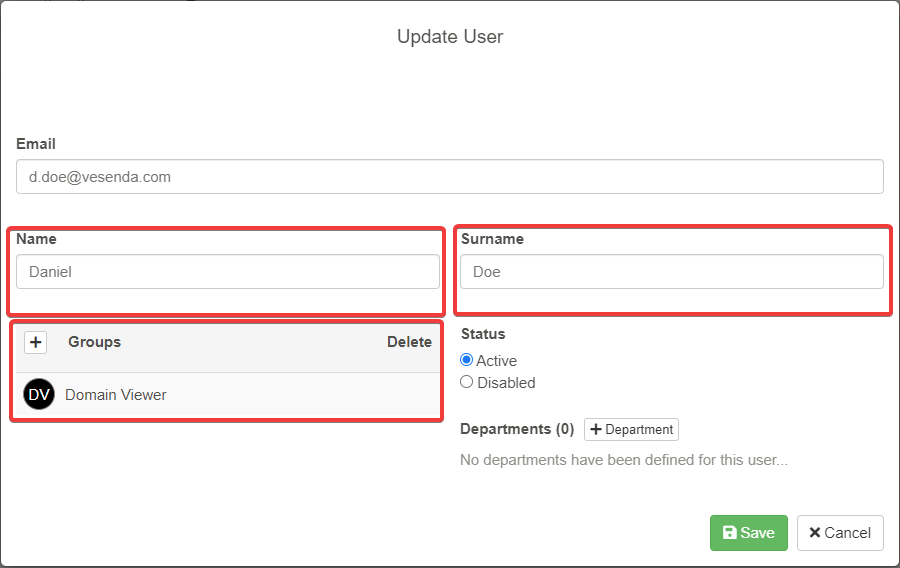
- The Update User window will appear. From the Update User window, you can change Name, Surname, and Groups of the selected User.
- Click on Confirm to save the changes.
Manage Users' Permissions
You will learn how to assign permissions to users and group.
Create Groups
You can manage the Users' permission through Groups.
Groups determine what a User can see or do within the Domain.
You will create three groups to manage the permissions for the Family Budget application.
Family MembersGroup of family members who can access Family Budget.ParentsGroup of the parents in the family.-
Budget ManagerGroup of users who can view everything, design, and manage all the applications. -
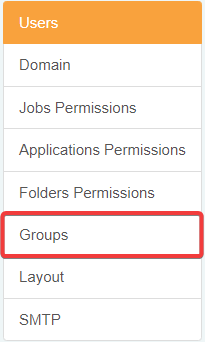
Click on Groups on the left task bar of the Domain Settings.
-
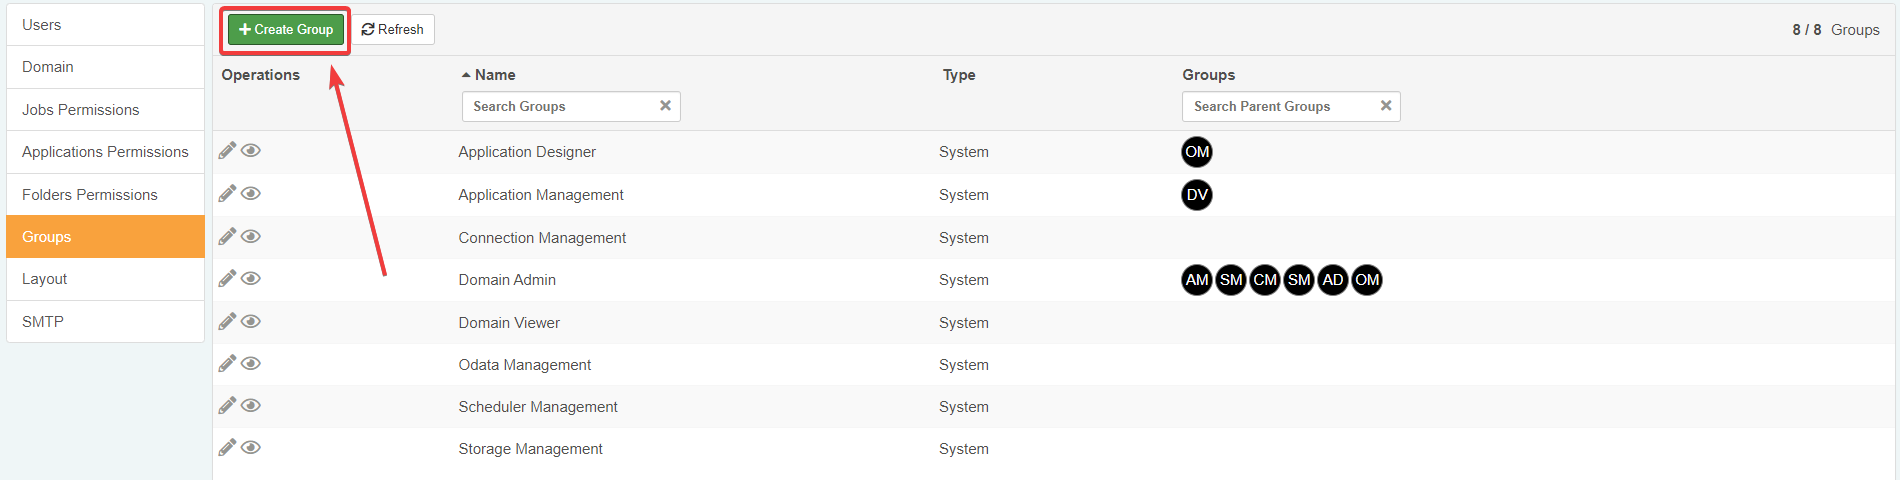
Click on Create Group on the upper left corner of the panel next to the taskbar.
-
Type in the textbox the name of the group
Family Membersand click on Confirm.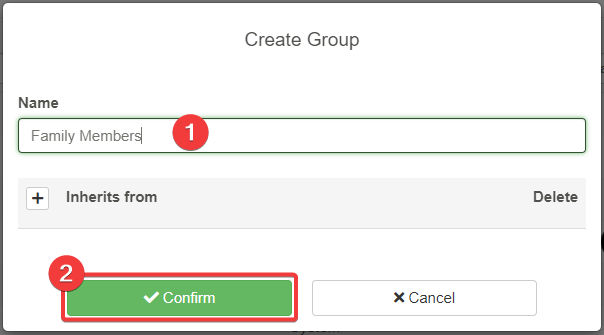
-
Repeat the previous Step 3 to create the other two User groups
ParentsandBudget Manager.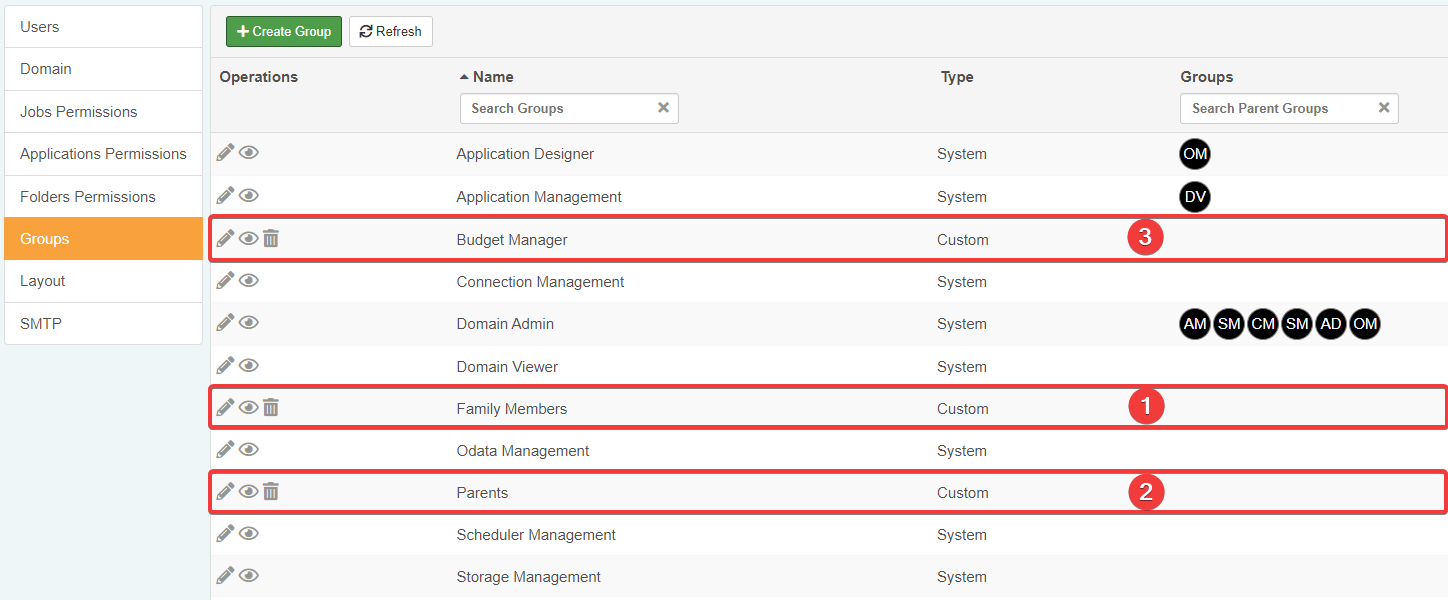
Add Users to a Group
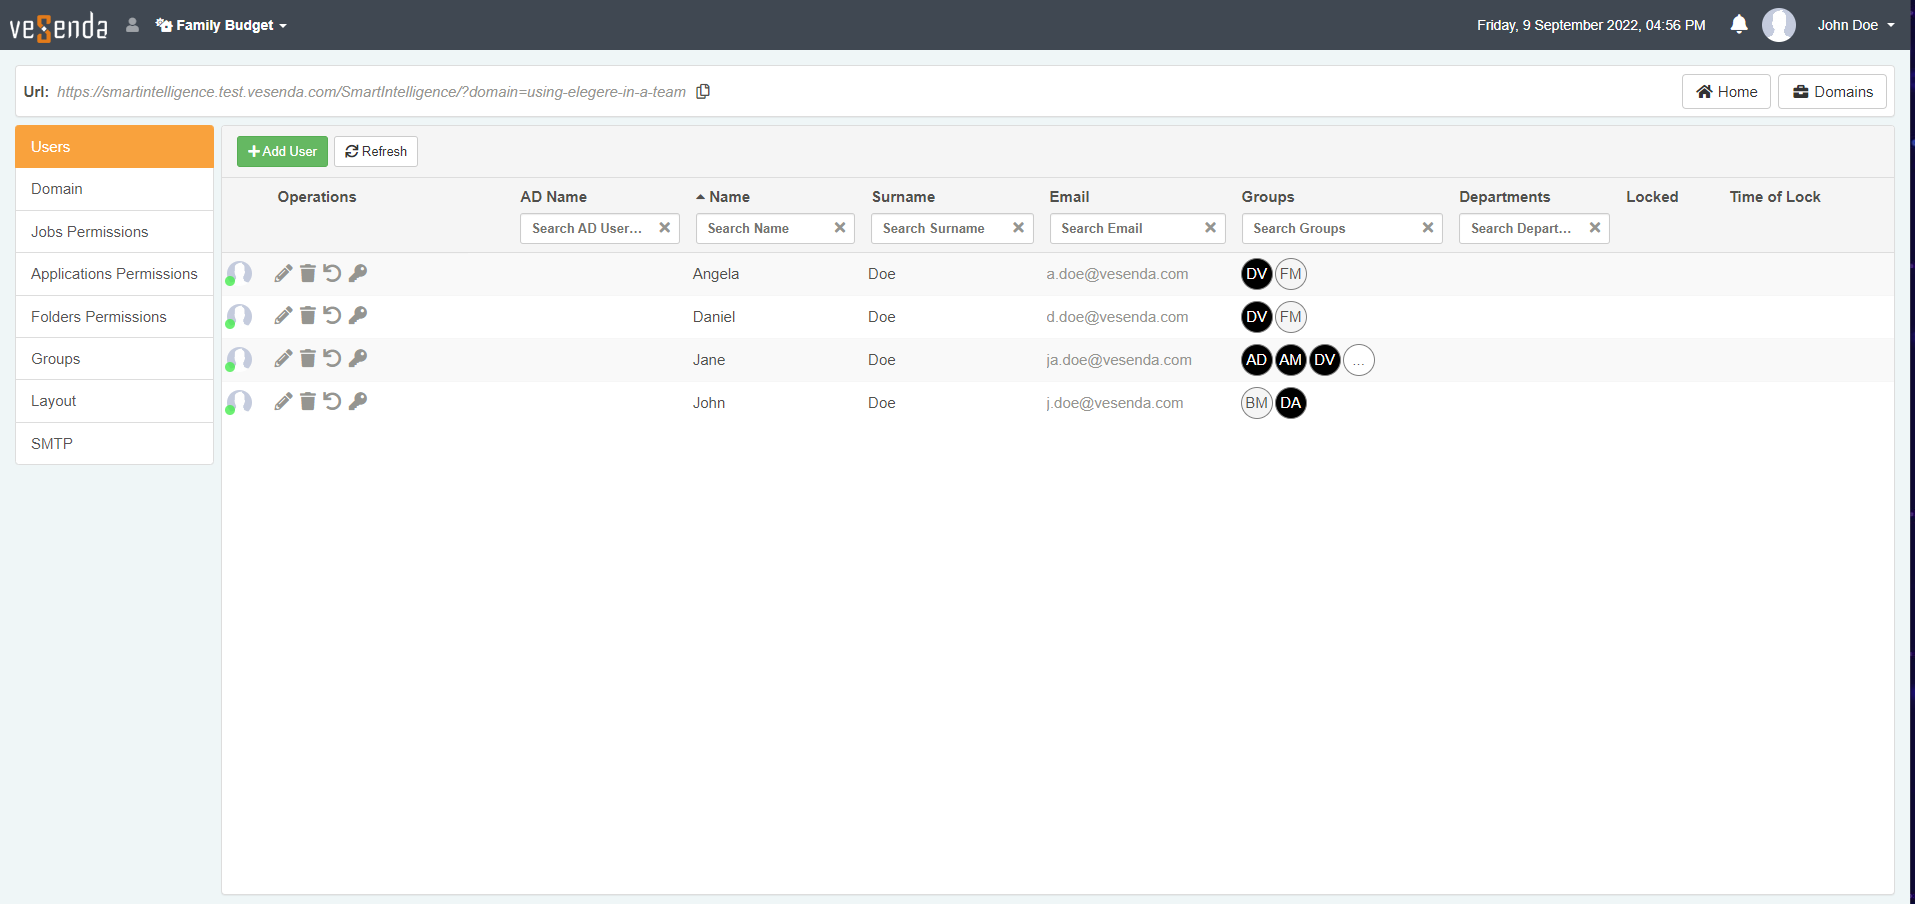
You have created the Groups. You must add the Users to each Groups. Add "Jane Doe" to Parents and "Daniel Doe" and "Angela Doe" to the Family Members group.
-
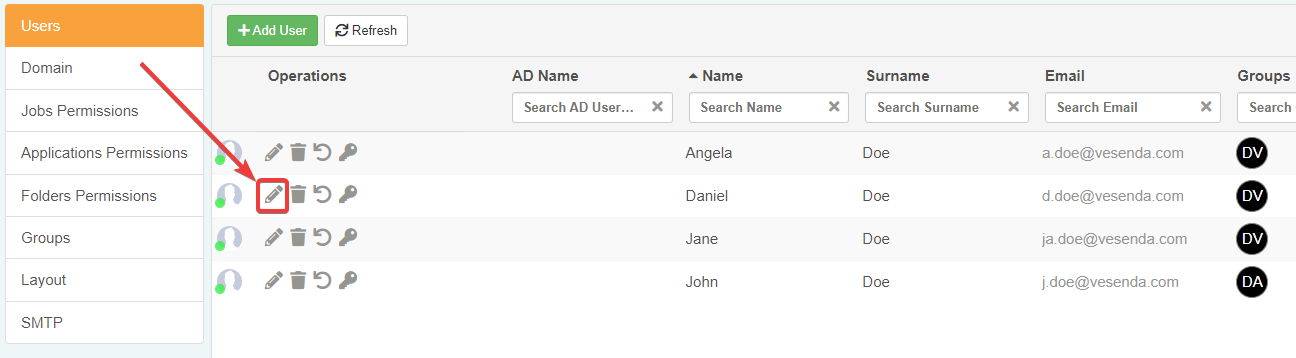
Go back to the Users panel.
-
Click on the icon to update the information about the User.
-
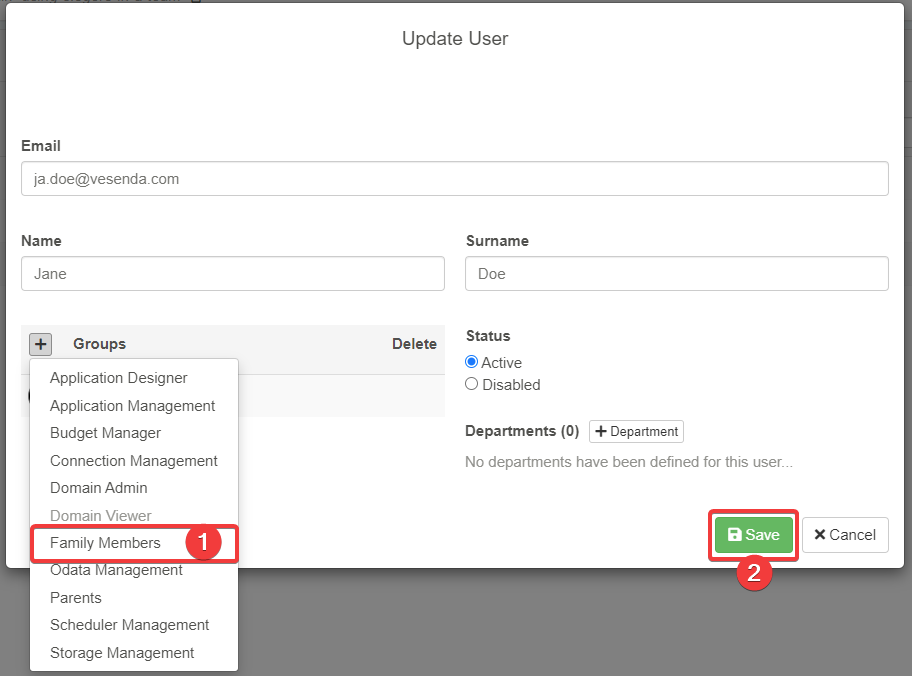
Click on the icon next to Groups.
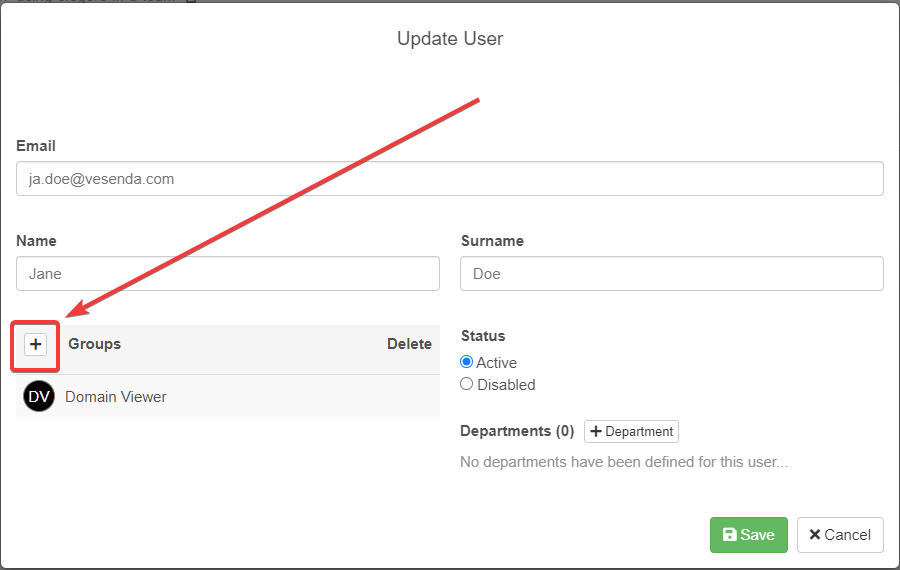
-
The drop-down list with all the Groups of the Domain will appear. Select the group and click on the Save button.
-
Do Step 2, Step 3, and Step 4 to "Daniel Doe" and "Angela Doe" to
Family Members. -
Repeat the Steps 2, Step 3, and Step 4 to add "Jane Doe" to the
ParentsGroup. -
Repeat the Steps 2, Step 3, and Step 4 to add "John Doe" to the
Budget ManagerGroup.
The final result must be the following:
| User | Family Member | Parents | Budget Manager |
|---|---|---|---|
| Angela Doe (a.doe@vesenda.com) | X | ||
| Daniel Doe (d.doe@vesenda.com) | X | ||
| Jane Doe (ja.doe@vesenda.com) | X | ||
| John Doe (j.doe@vesenda.com) | X |
Attention
This tutorial assumes that who is managing the Domain is John Doe. John Doe belongs to Budget Manager. But it is you doing all the steps. Add your email as well to the Budget Manager User Group. The action enables you to see the results of the following tutorials. Otherwise, you won't see some of the results because you wouldn't belong to any User Group.
System Groups: Grant Permissions to Design Mode, Storages, and Scheduled Jobs
You can grant permissions to access the Design Mode, Storages, Connections, and Scheduled Jobs by doing the steps from Add Users to a Group.
Add a User to one of the System Groups created by default to grant them the corresponding system privileges. (E.g. Adding a user to Application Designer makes the user a Designer.)
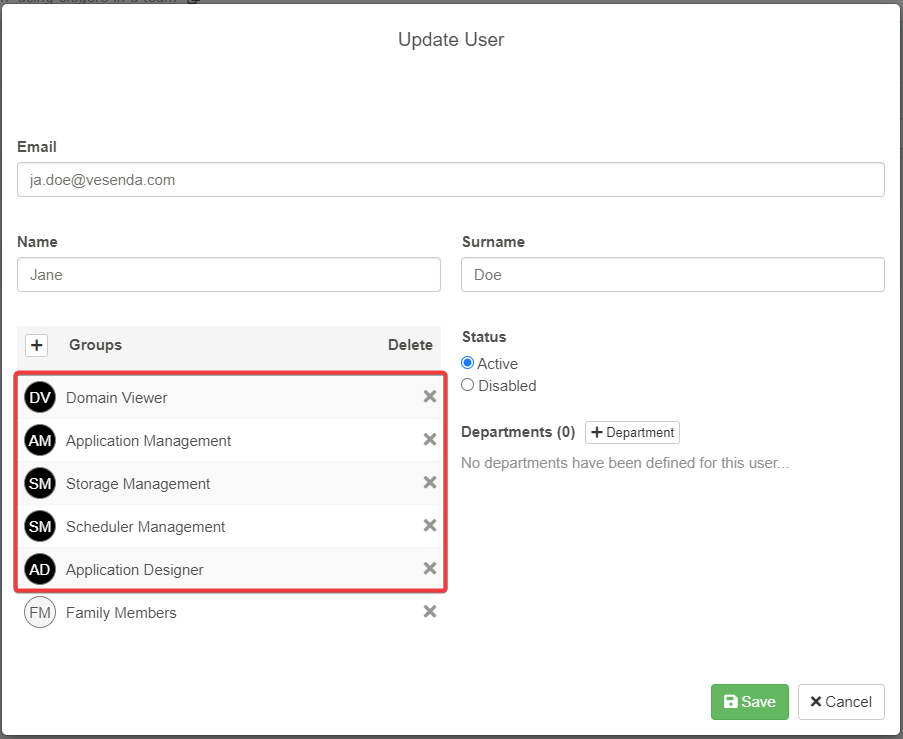
Follow the steps from Add Users to a Group the following system groups to Jane Doe:
- Application Management Grants the user to manage Applications: create, rename, and delete.
- Storage Management Grants the user to create and manage Storages.
- Scheduler Management Grants the user to configure Scheduled Jobs.
-
Application Designer Grants the user to enter the Design Mode.
Show or Hide Applications to Specific Groups
Groups enables to display certain apps only to certain people.
Each family member should view and access in their Home to the following applications:
| Family Budget | Transactions Products Services | Income Expense Type | Payment Methods | Family Members Register | |
|---|---|---|---|---|---|
| Angela Doe | X | ||||
| Daniel Doe | X | ||||
| Jane Doe | X | X | X | ||
| John Doe | X | X | X | X | X |
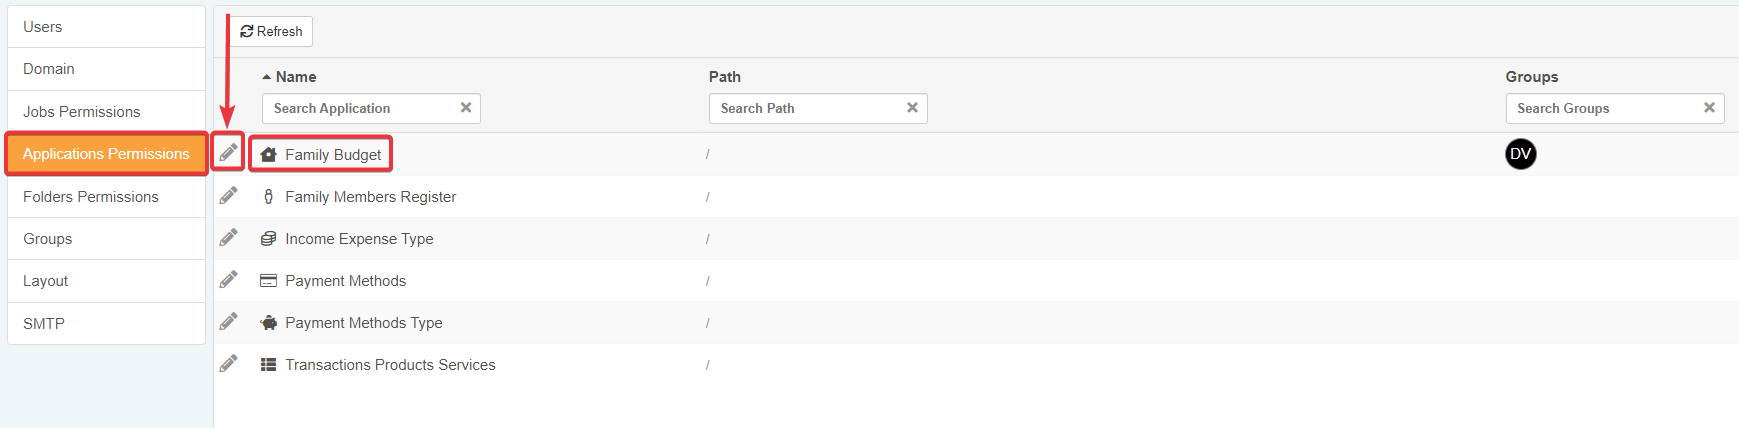
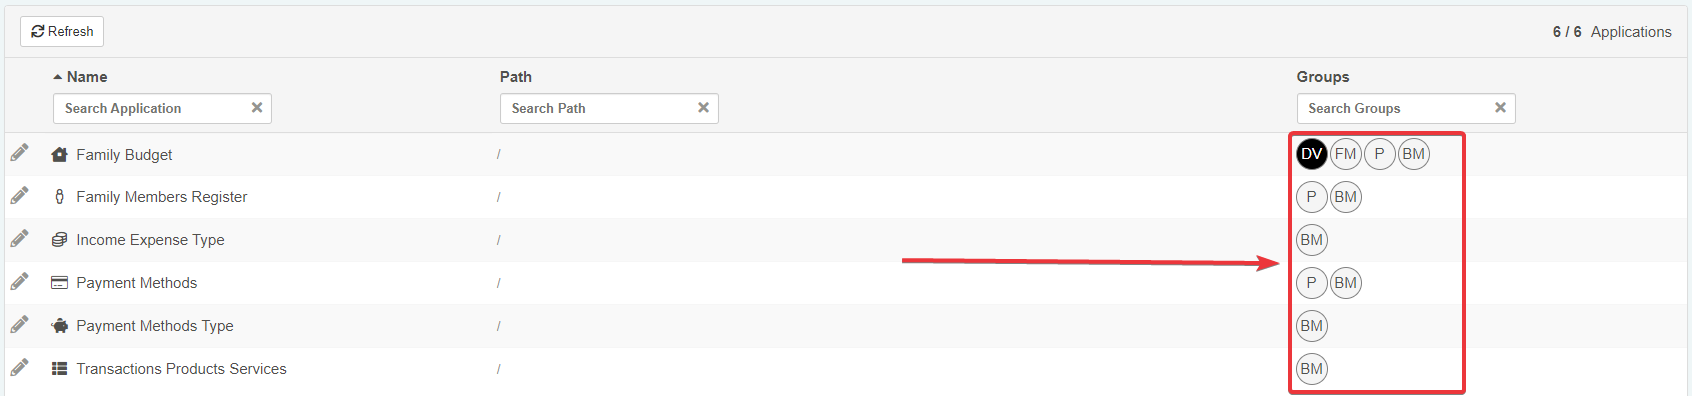
- Click on Application Permissions in the taskbar.
-
The list of the applications in the Domain will appear in the panel. Click on the icon next to the application's name Family Budget.
-
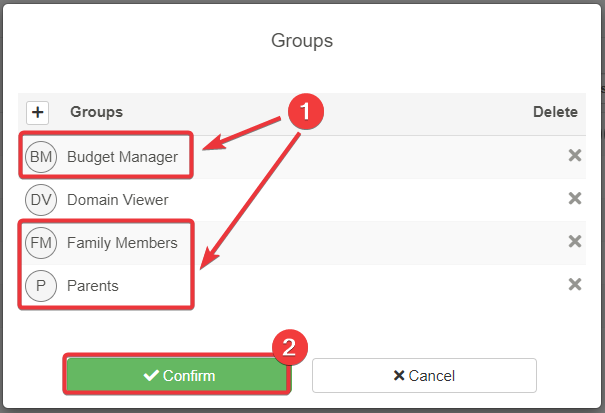
Click on the icon next to Groups to add the Groups.

-
Add all the groups created in Create Groups to the permissions of Family Budget:
Family Members,Parents, andBudget Manager. Everyone in these groups must access Family Budget. Click Confirm when done.
- Repeat Step 1, Step 2, Step 3, and Step 4 to grant each group the viewing permissions for the applications.
- Budget Manager group can view all the applications.
-
Parents group can access only to Family Budget e Payment Methods. (In the next tutorial, you will have to add the new Family Members Register application to this list.)
You have granted access by Group to each application. Congratulations!
Success
Learn in the next tutorial Application's Restrictions for Users and Groups how to apply restrictions to eLegere applications. Restrictions enables you to restrict what data users can see and what operations can do in an application.