Custom Actions
Info
Custom Actions are configurable advances operation that give the possibility to:
- Draw WKT
- Generate AppLink
- Invoke Powershell Script
- Invoke Store Procedure
- Create Push Notification
- Send Email
- Share Row
Design Mode
To enable the module from Design Mode, click on the Custom Actions icon in the Toolbar (1) and Enable Module (2):

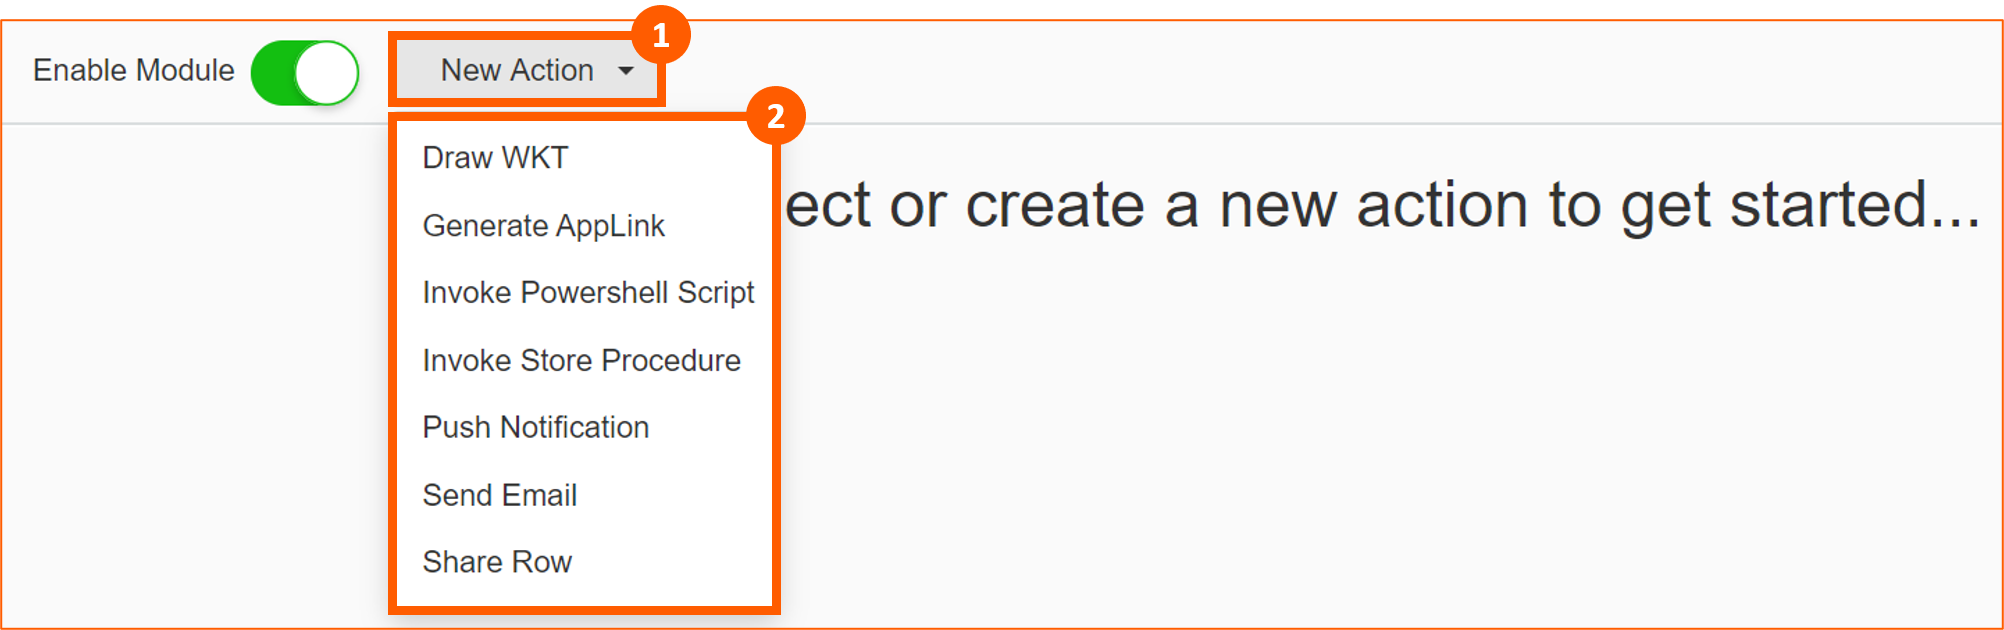
Then to create an action, select New Action (1) drop down menu and choose one of the available (2):
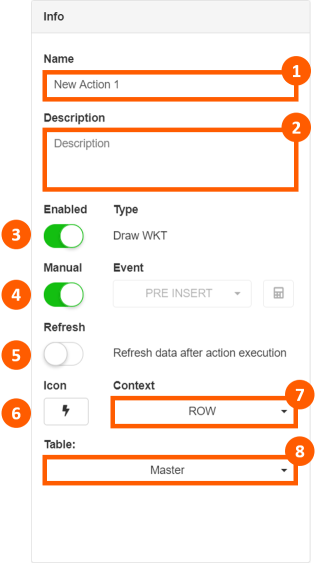
For each action you have the same Info section where you can:
- Assign a name to the action
- Put a description
- Enable / disable the action
- Enable if the action is manual or automatic
- Enable / disable the automatic refreshing data after action excecution
- Choose an icon
- Choose the context:
- ROW: executable from Row Option and depends on the row
- APPLICATION: executable from Custom Actions module and depends on the entire App
- Choose table where it will be insert the action
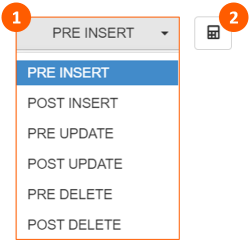
If Manual option is disable, you have the possibility to setup the Event (1) that automatically will run the action. You can also put an Event formula condition by (2):
Draw WKT
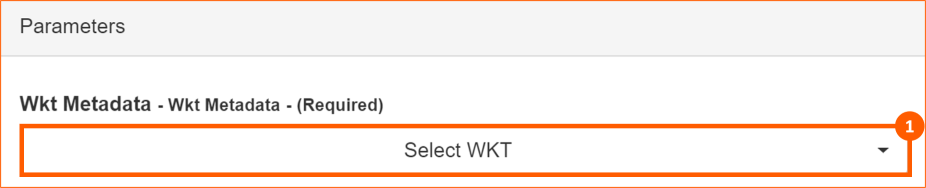
Action to draw WKT Shape.
After setup Info section, you have to choose in the Parameters section which field contains WKT Shape:
Generate AppLink
Action to generate a link to another App.
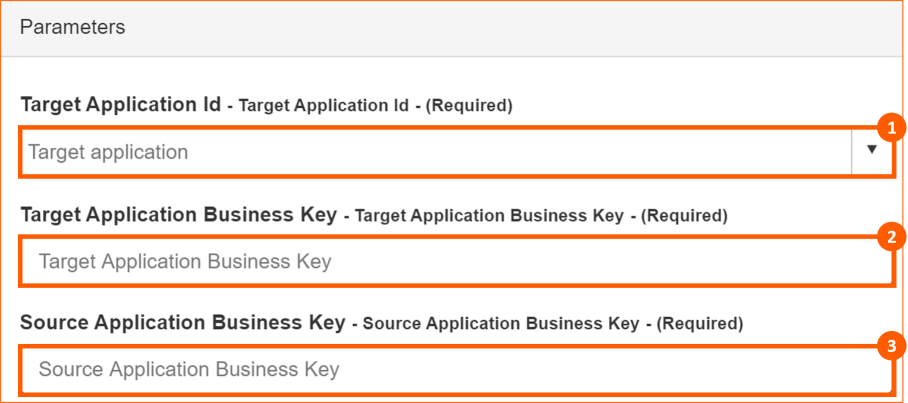
After setup Info section, in the Parameters section you have to:
- Choose from drop down menu Target App that will be open running the action
- Write physical name of the target App field that rapresent the connection key with the current App
- Write physical name of the source (current) App field that rapresent the connection key with the target App
Invoke Powershell Script
Action to execute the instructions contained in a Powershell file (with extension .ps1).
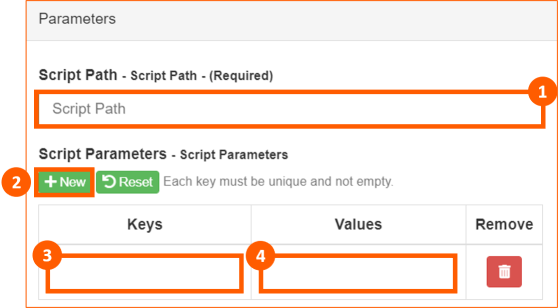
After setup Info section, in the Parameters section you have:
- Write the script path (for example: C:\Folder\File.ps1)
optionally you can setup Script Parameters:
- Adding New parameter
- Writing the Key
- Writing default Value of the parameter
If Script Parameters are setup, after Powershell execution, will be opened a pop-up window with default Value configured where you can change it.
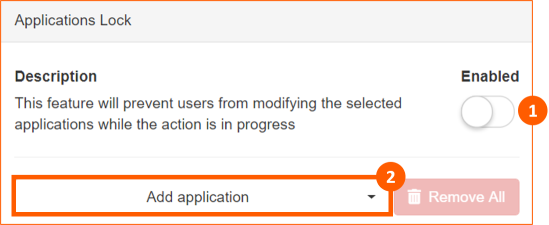
Finally you can setup also Application Locks section. If enabled (1) prevent users from modifying the App selected from the drop down menu (2) while the action is in progress:
Invoke Store Procedure
Action to execute the instructions contained in a SQL Store Procedure of the database.
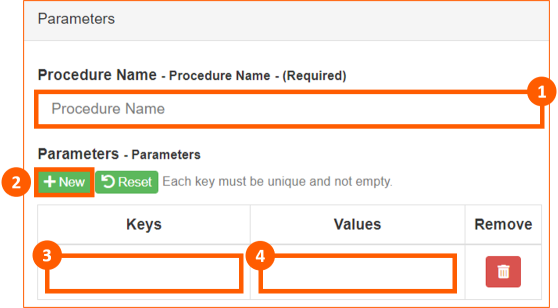
After setup Info section, in the Parameters section you have:
- Write the procedure path (for example: [dbo].[Store_Procedure])
optionally you can setup Parameters:
- Adding New parameter
- Writing the Key
- Writing Values
If Parameters are setup, after Store Procedure execution, will be opened a pop-up window with default Value configured where you can change it.
Finally you can setup also Application Locks section. If enabled (1) prevent users from modifying the App selected from the drop down menu (2) while the action is in progress:
Push Notification
Action sending notifications to mobile devices of the recipient.
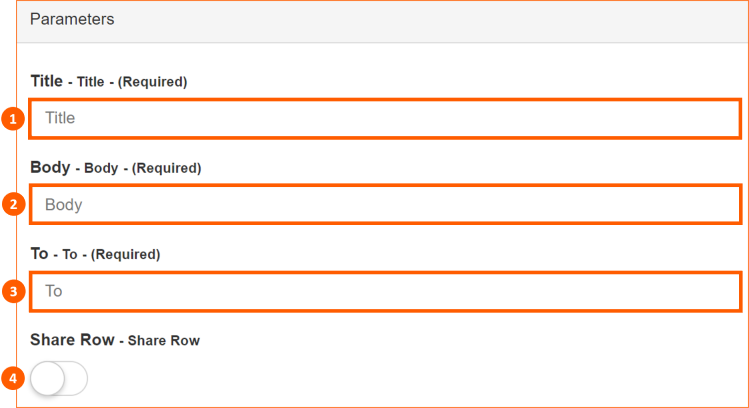
After setup Info section, in the Parameters section you have to:
- Write a Title
- Write the Body of the message
- Write the Recipient (To)
- Enable / disable the possibility to open the eLegere Mobile App (Share Row) when you click on push notification received
It's possible also to add Formulas in Title, Body and To.
Synthax
Only for Title and Body you have to enclose Formula in square brackets [=FUNCTION(...)]
Send Email
Action to send an email notification from the App. This action saves time, avoiding to write and to send manually an email using another software.
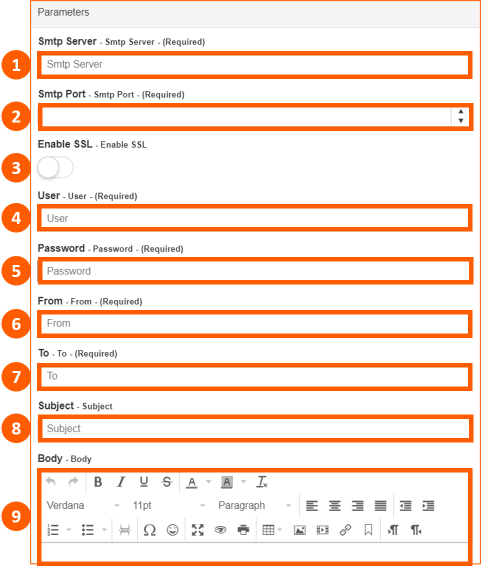
After setup Info section, in the Parameters section you have to configure:
- Smtp Server
- Smtp Port
- Enable SSL (Secure Sockets Layer authentication)
- User (eLegere Username)
- Password (eLegere Password)
- From
- To (recipient)
- Subject of the email
- Body of the email
It's possible also to add Formulas in From, To, Subject and Body.
Synthax
Only for Subject and Body you have to enclose Formula in square brackets [=FUNCTION(...)]
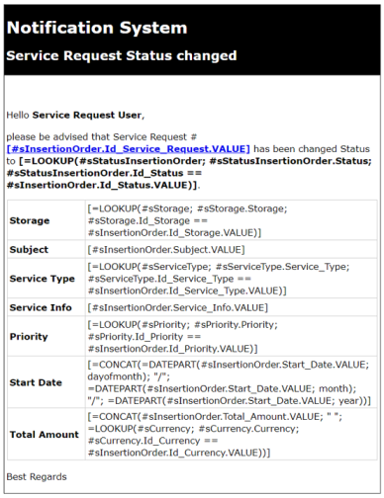
In the Body, using the Rich Text Editor, it's possible to fully customize the layout of the e-mail, adding text, images, table, media and also a link.
Following is an example of an email Body:
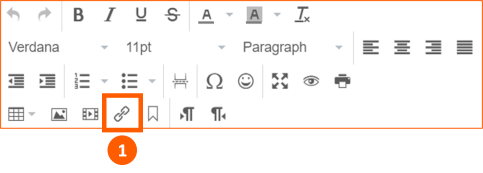
To setup a link click on the specific icon on the editor (1)
Then you have to configure:
- Url where you can use also GENERATEAPPLINK formula enclose in square brackets
[=GENERATEAPPLINK(...)] - Text to display
- Title were you can use also eLegere formulas enclose in square brackets
[=FUNCTION(...)] - Target (None or New window)

Share Row
Action to share the link of specific row. The only thing that you can setup is the Info section.