Inserting Rows
Learn how to add one or more rows to the table.
Inserting a Row
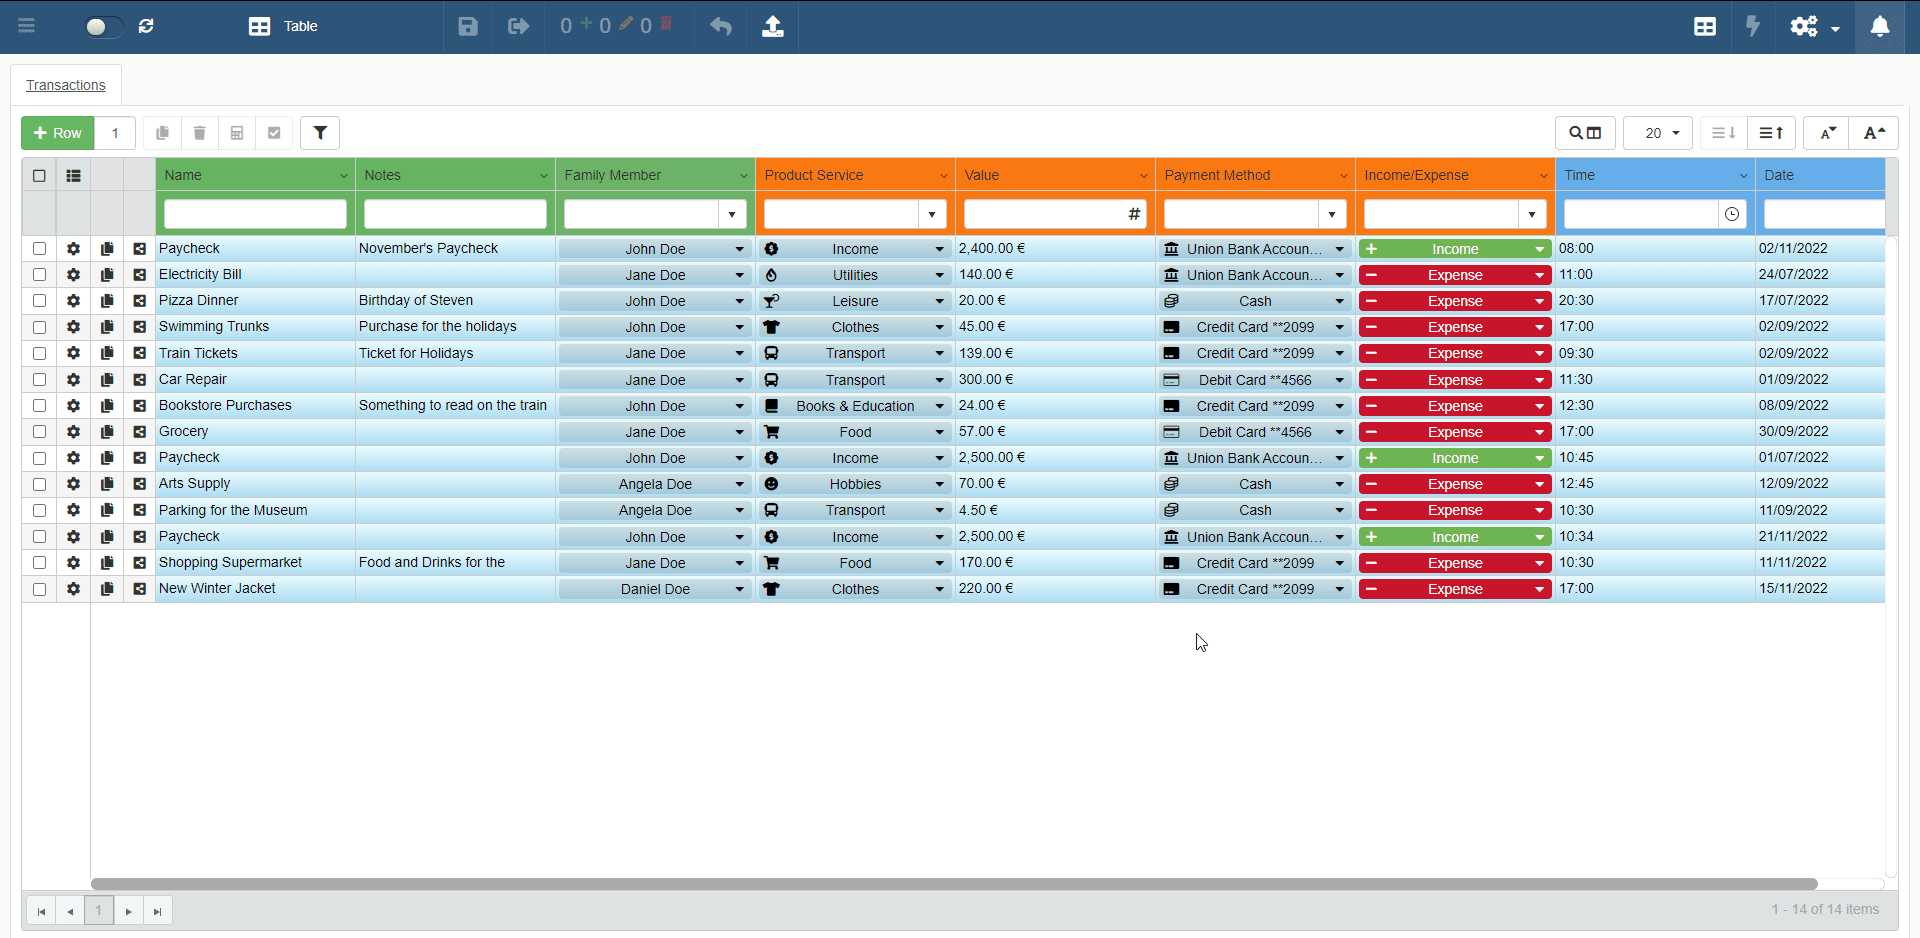
You can add new rows to an application's table by clicking on the Row button.
The Row is on the top-left corner of the table.

The Row button adds a new row to the table.
Warning
Inserting a row doesn't save any change automatically. You must save the changes to record them. See the section Save Rows to learn how to save rows.
Hint
The Master Table highlights of green any new entry of the application not saved. See the section Save Rows to learn how to save rows.
Note
The Designer decides to enable or not the Add Row action. The Designer might have either removed or limited the Add Row action.
Adding Multiple Rows
If you must add more than one row and you want to spare time: you can type the number of new rows to be created in the textbox next to the Row button. The action saves your time instead of clicking the Row repeatedly.

To add multiple rows:
- Click on the textbox next to the Row.
- Type the number of rows you want to add.
- Click on the Row button.
Question
The maximum number of rows you can add by this action is 20.
Warning
Adding one or more rows doesn't save any change automatically. You must save the changes to record them. See the section Save Rows to learn how to save rows.
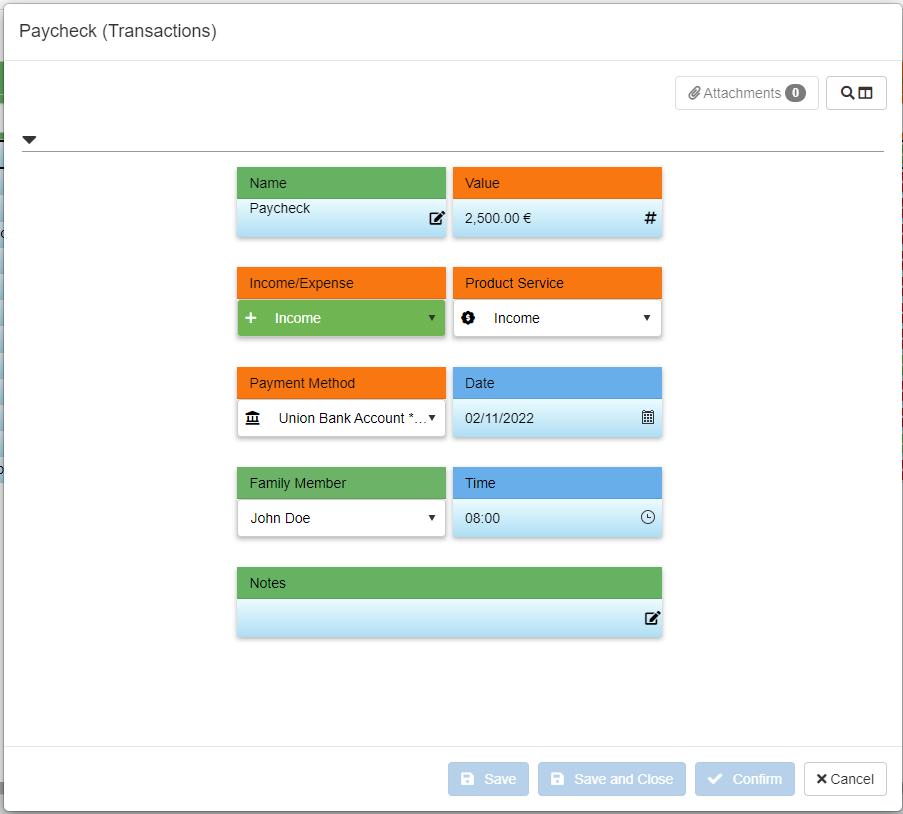
Insert Row's data through the Edit Form
The Designer could enable the Edit Form for the rows' insertion. If the Designer has enabled the Edit Form, the Edit Form will appear every time a User adds a row.
When you add a new row to the table, you can insert the information through the Edit Form.

- Click on the Row button to add a row.
- Insert all the required information in the form's fields.
- Click on the Confirm button to end the edit and close the Edit Form.
You have created a new row.
By default, the Edit Form shows only the field you can edit. Click on the toggle switch to disable the option and see all the table's fields in the form.

Note
Applications open the Edit Form if and only if you add only one row. The application won't open the Edit Form if you add multiple rows (see Adding Multiple Rows).
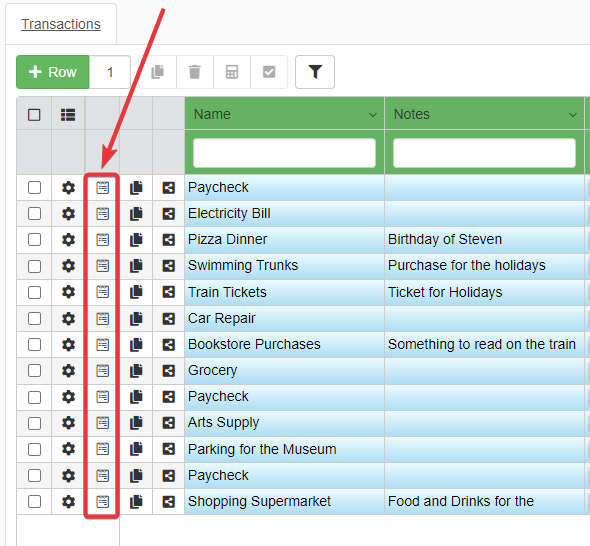
If the Designer has configured the Input Form module: the Input Form and its custom layout replaces the Edit Form. In such case, the form may differ from the standard one. For example:
You can notice that the Designer has enabled the Input Form by the icon next to the rows.
Hint
The Advanced Features section and the Designer's Guide offer more information about the Input Form module.
Warning
Inserting a row through the Edit Form doesn't save any change automatically. You must save the changes to record them. See the section Save Rows to learn how to save rows.