View Data on a Geographical Map
Summary
Learn how to open the Geo View panel in the current application. The Geo View is the panel displaying geographical data from your rows in the application.
Note
The Geo View panel is available only if you application contains data like latitude, longitude, and Well-known text (WKT) and your Designer has enabled it.
Access the Geo View in the Application
Learn how to access the Geo View panel to view data on a geographical map.
You can access the Geo View panel if:
- The application contains data like latitude, longitude, and Well-known text (WKT).
- Your Designer has enabled the Geo View for your application.
In the upper-right corner of the application, click on the Geo View icon ().
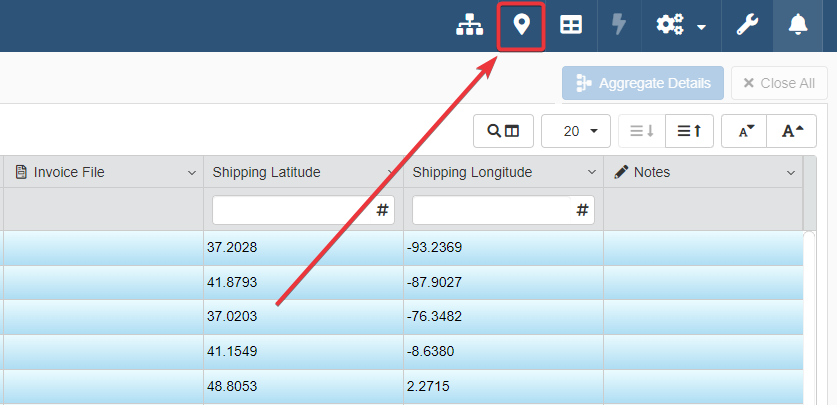
The action leads to the Geo View panel.
How to Navigate Geographical Data in the Geo View
Learn how to view a row's geographical data on the Geo View's map.
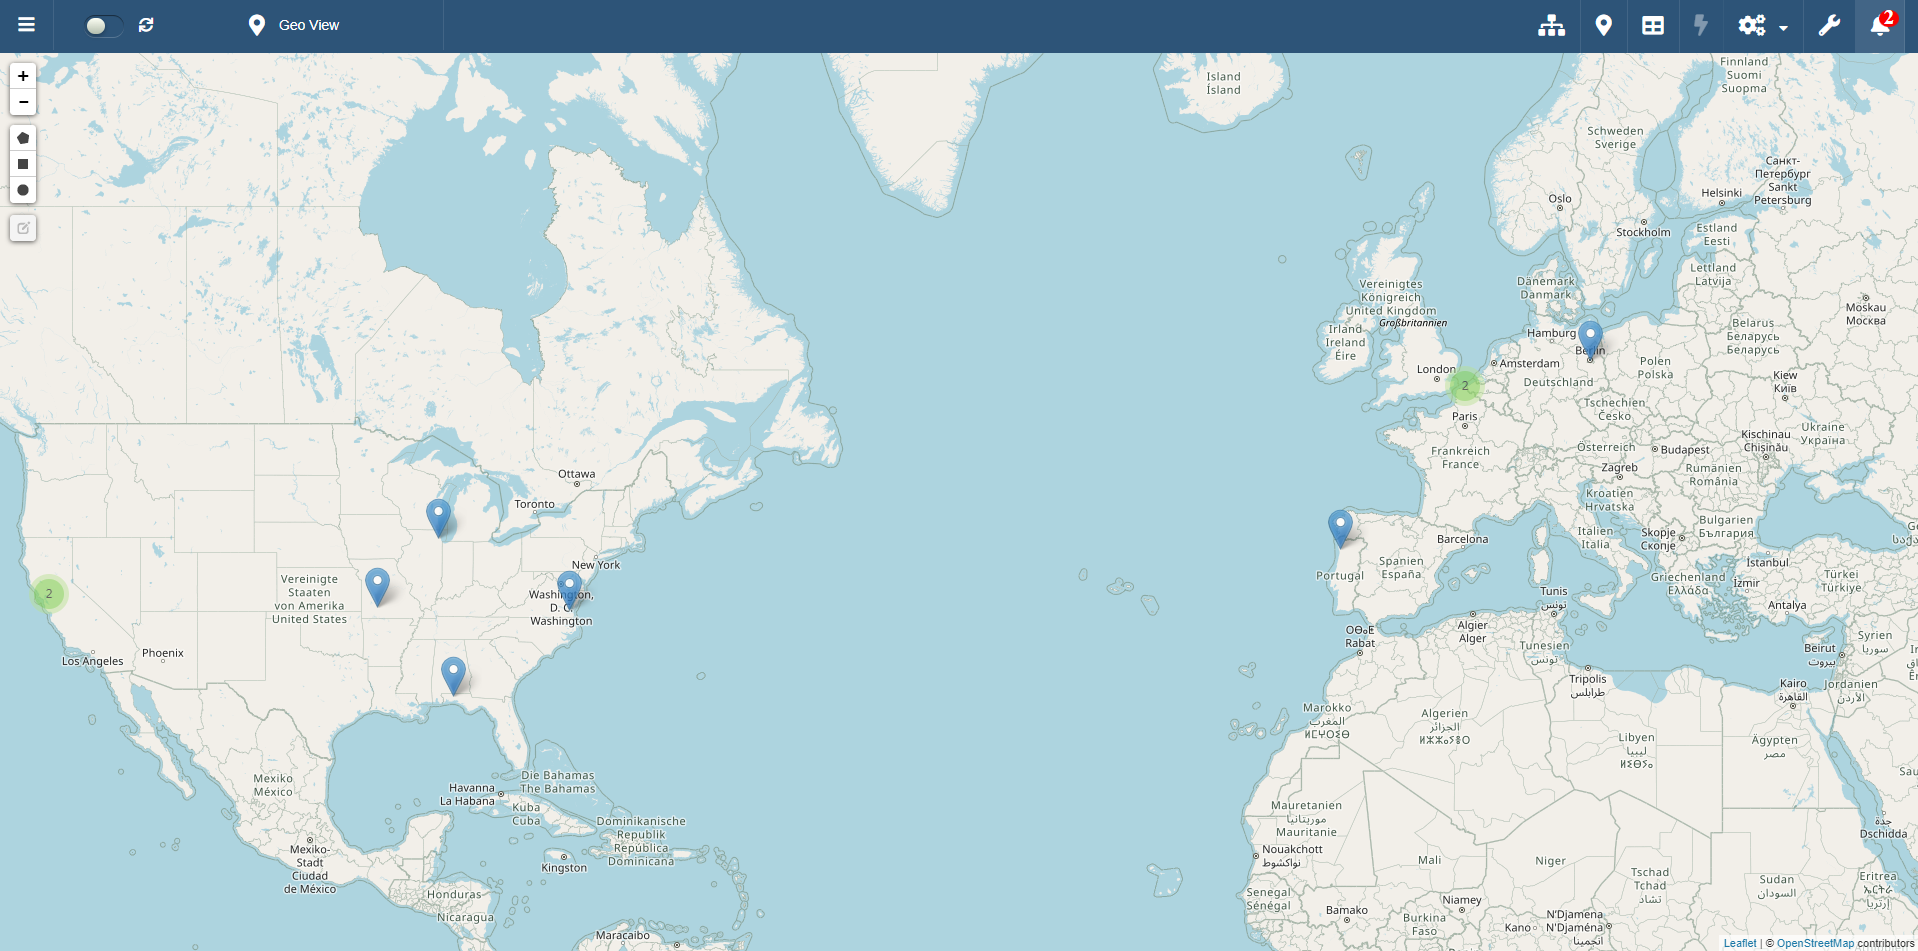
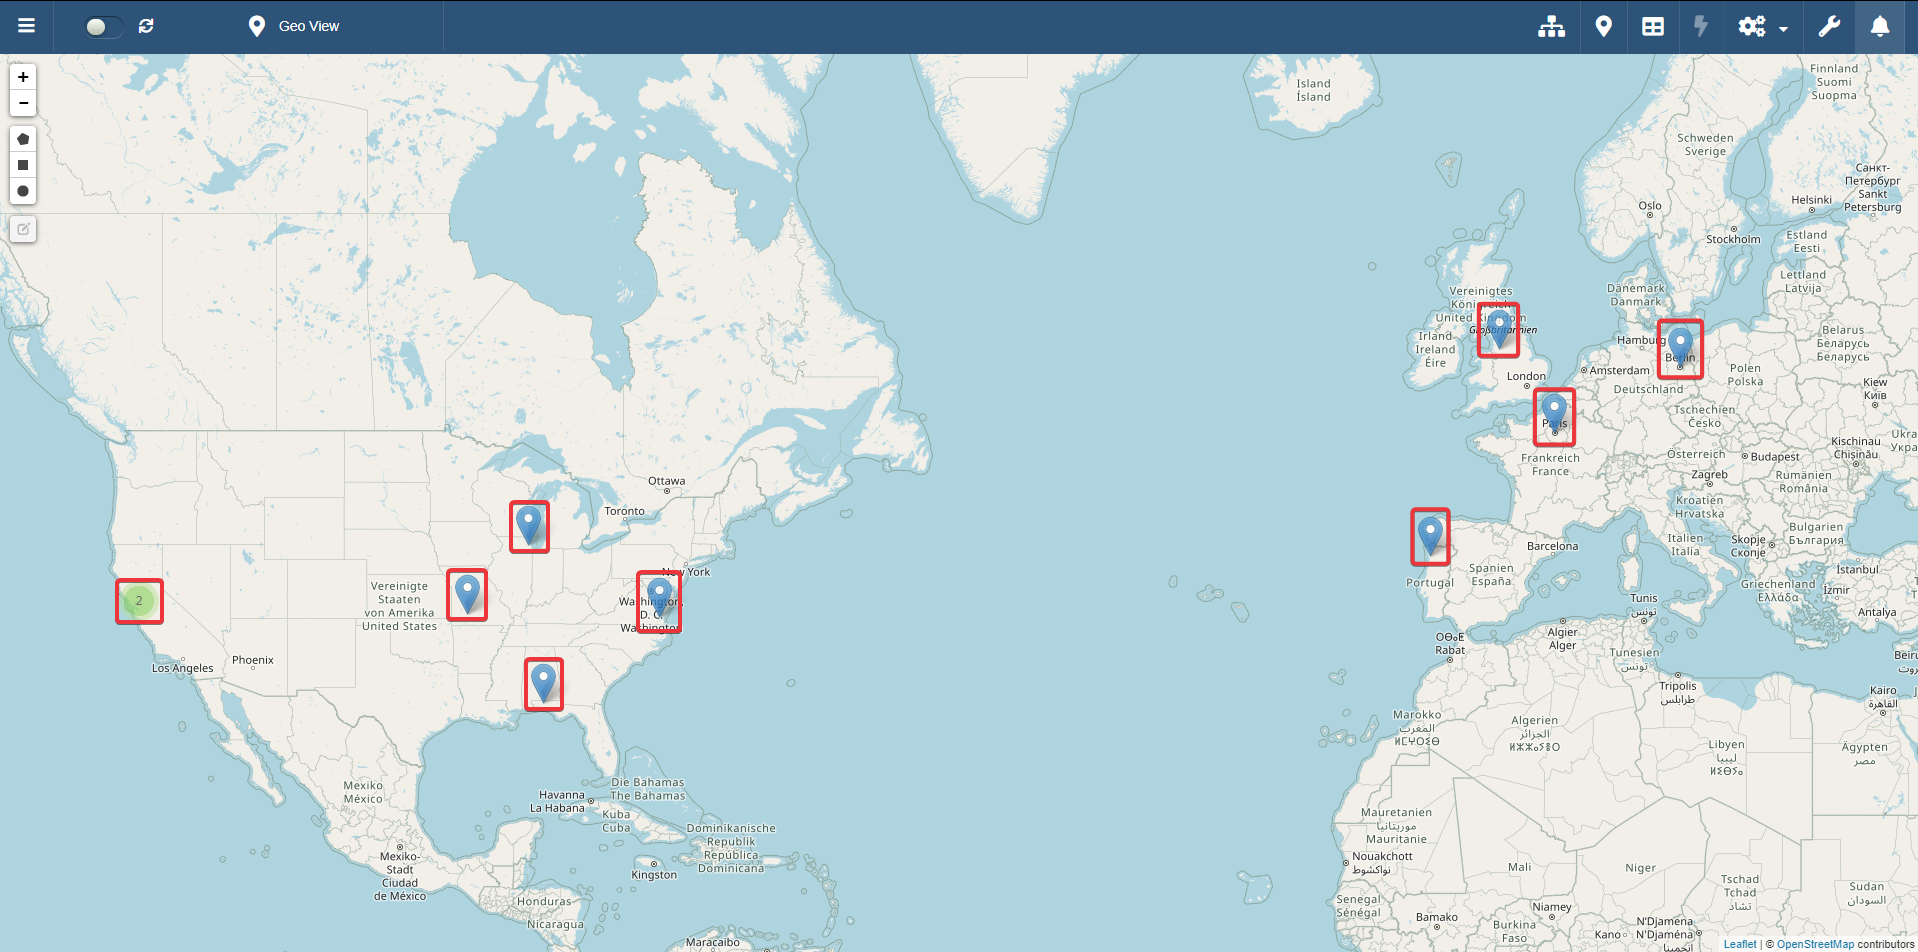
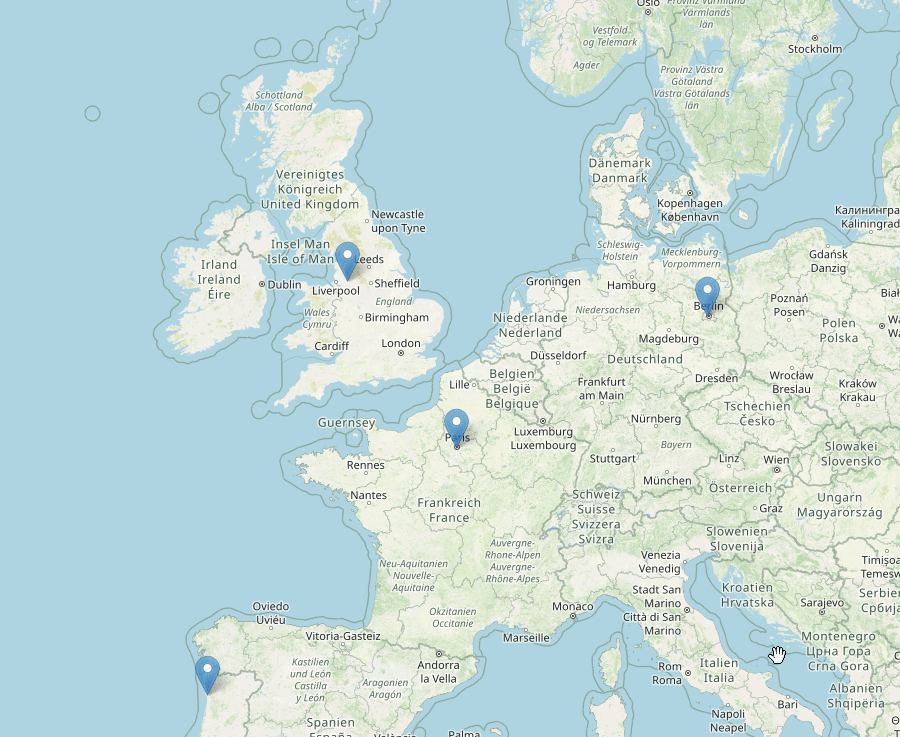
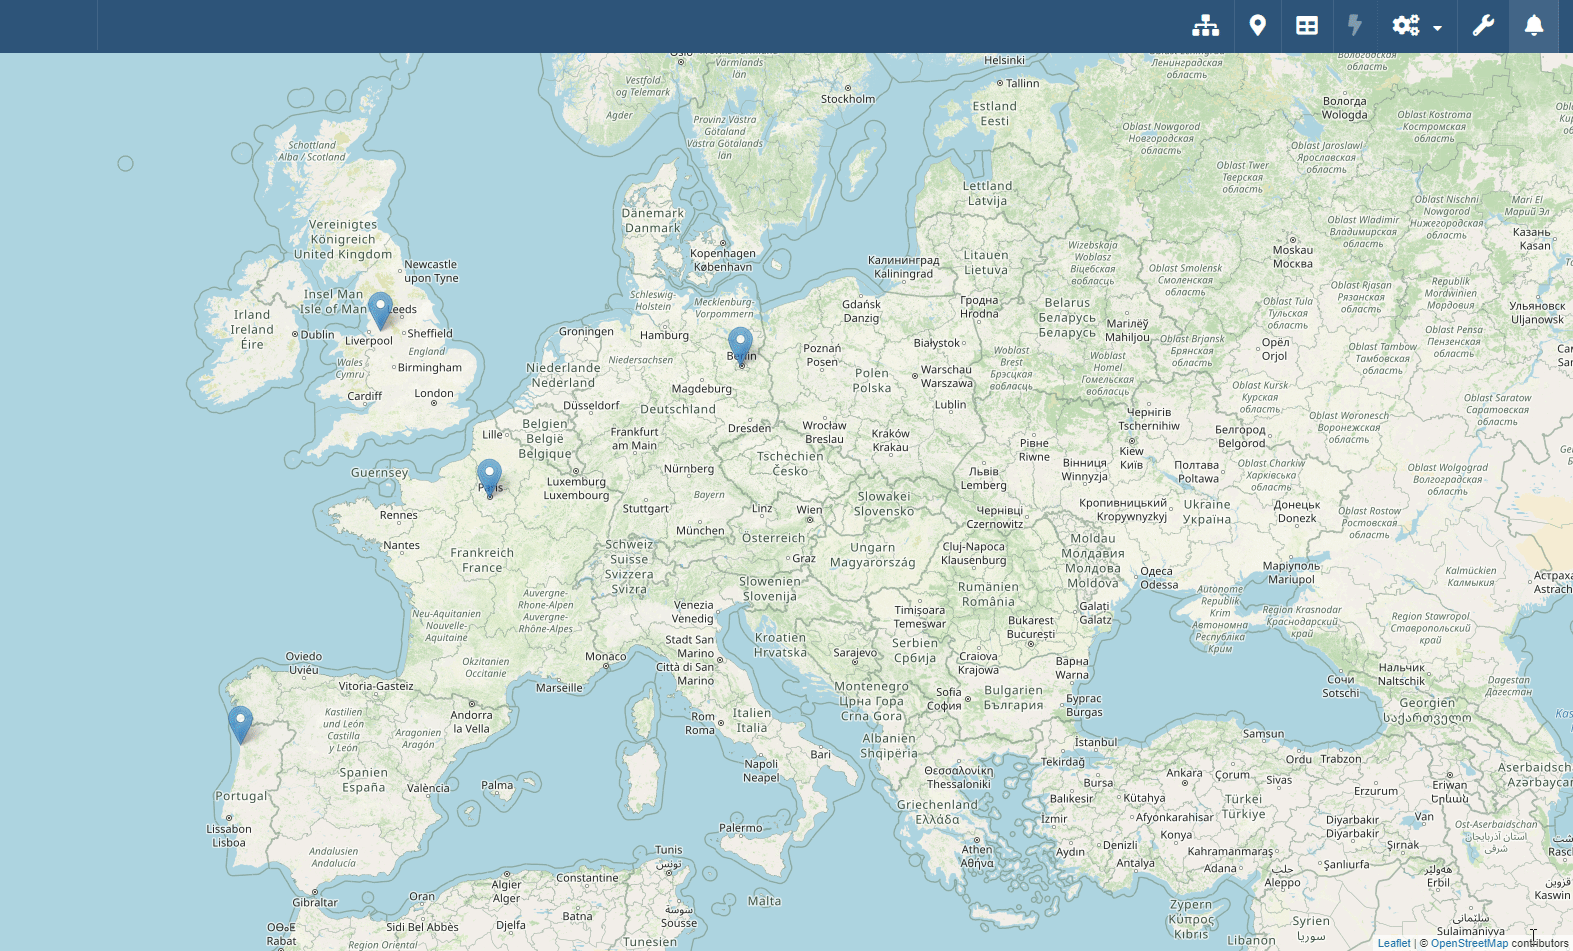
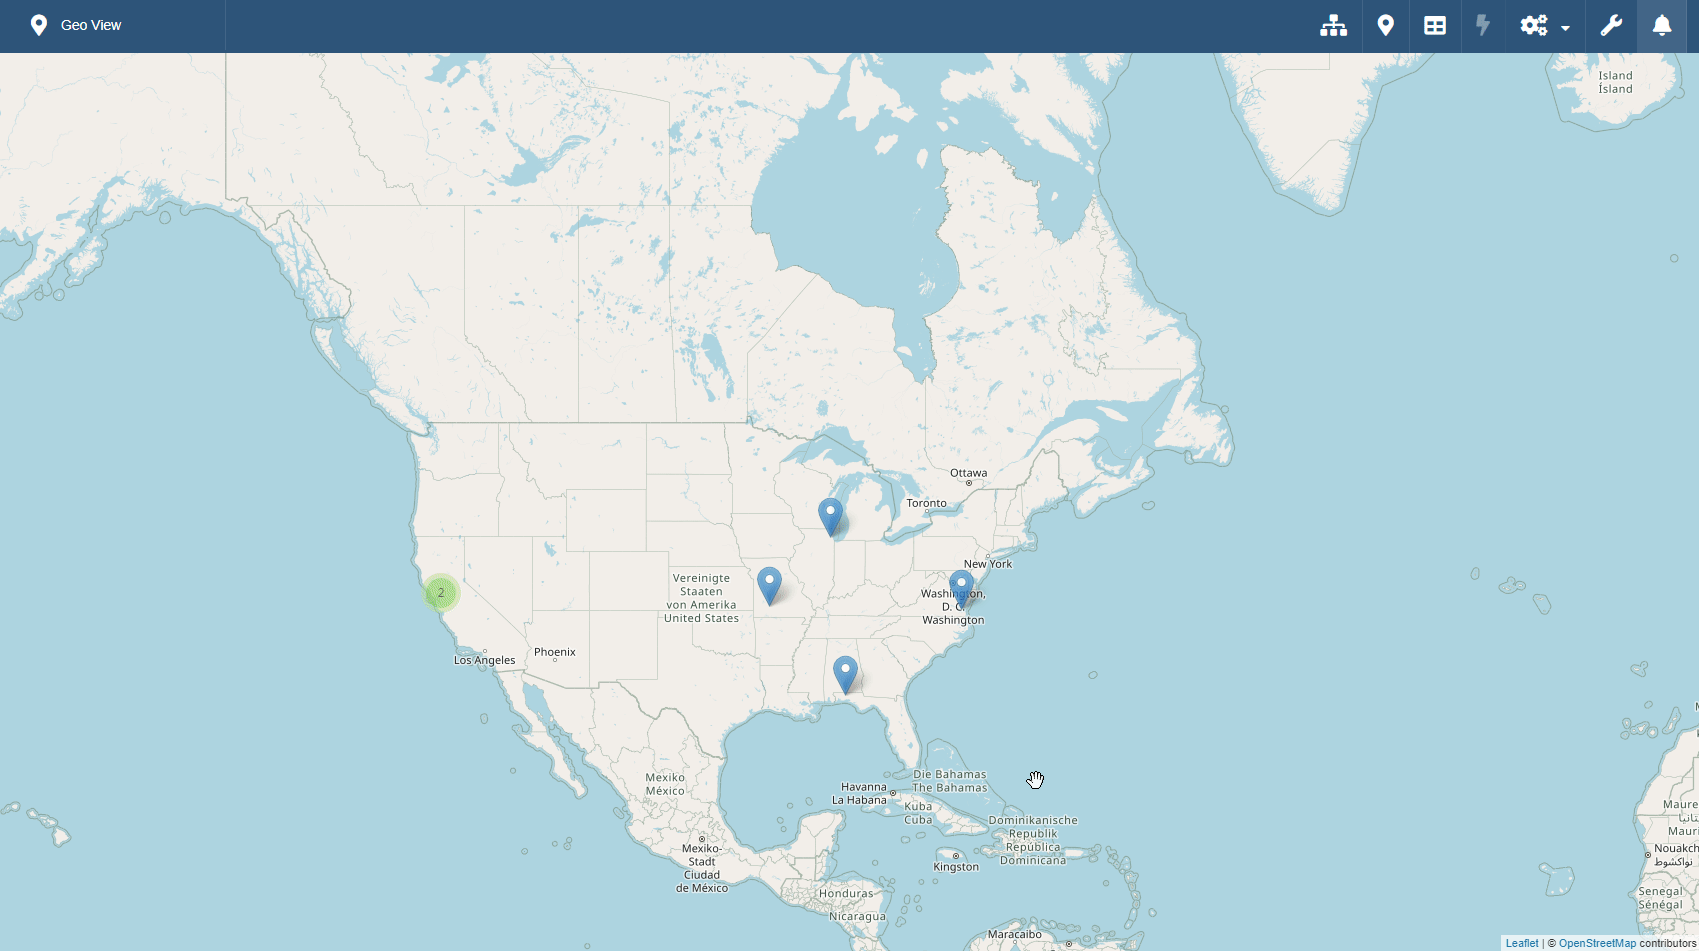
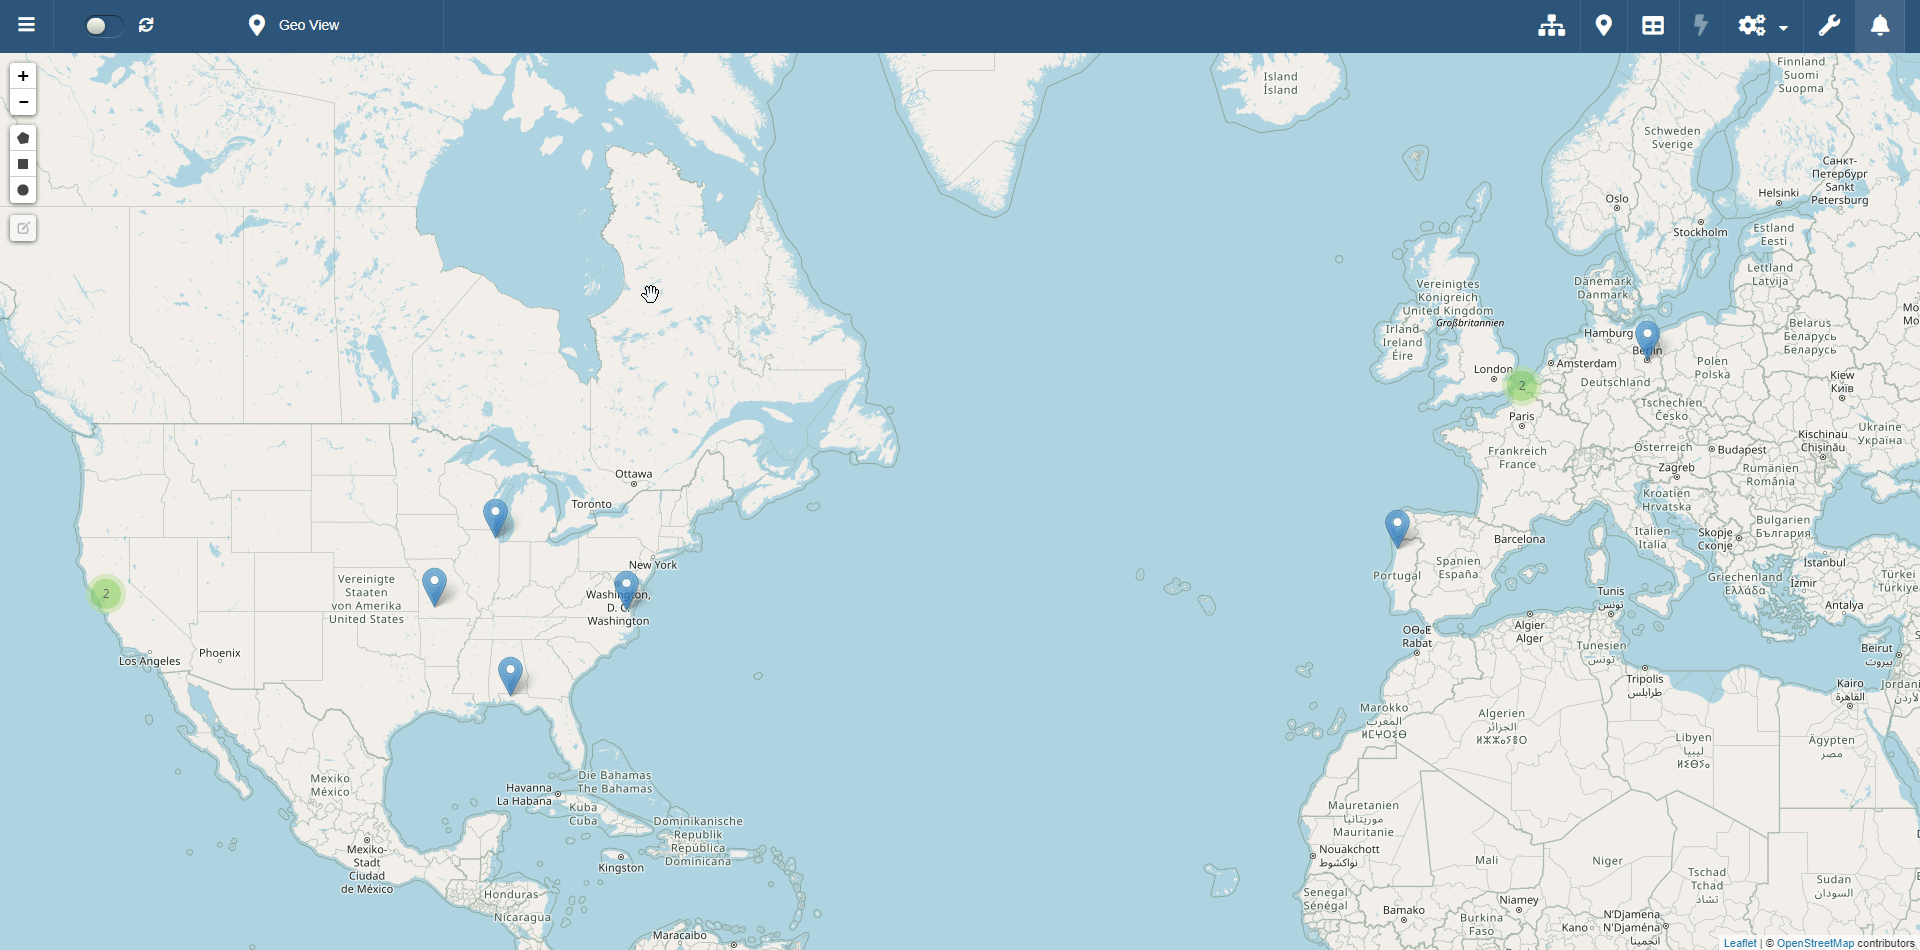
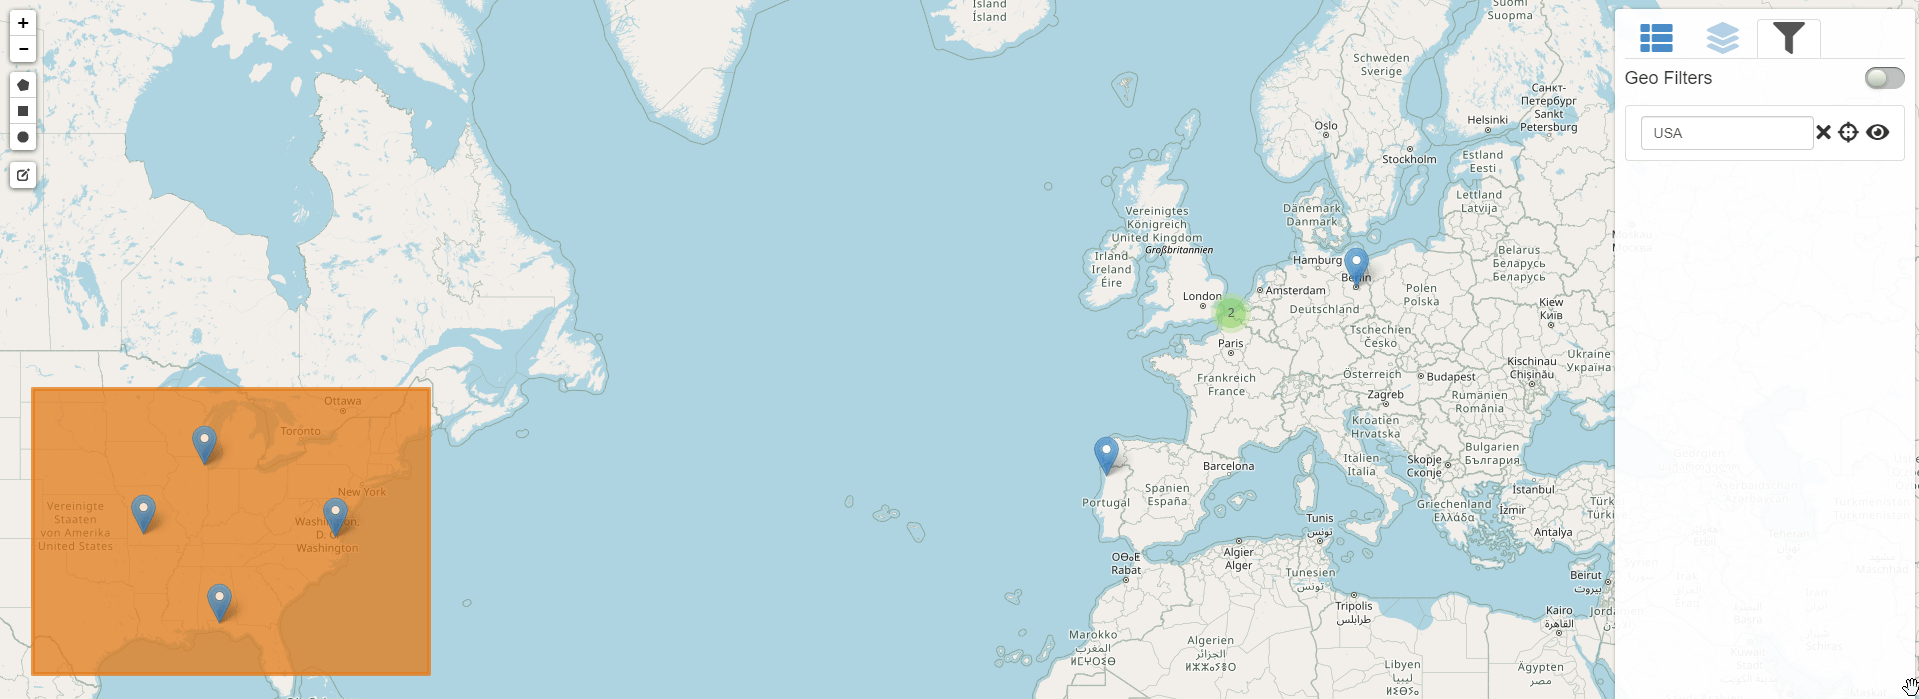
Inside the Geo View, each pinpoint is a location pointed from a row's latitude and longitude or Well-known text (WKT).
If one or more pinpoints overlap or are too close at current zoom level, a number will point how many pinpoints are in the area.
Zoom to see more about an area on the map and its pinpoints.
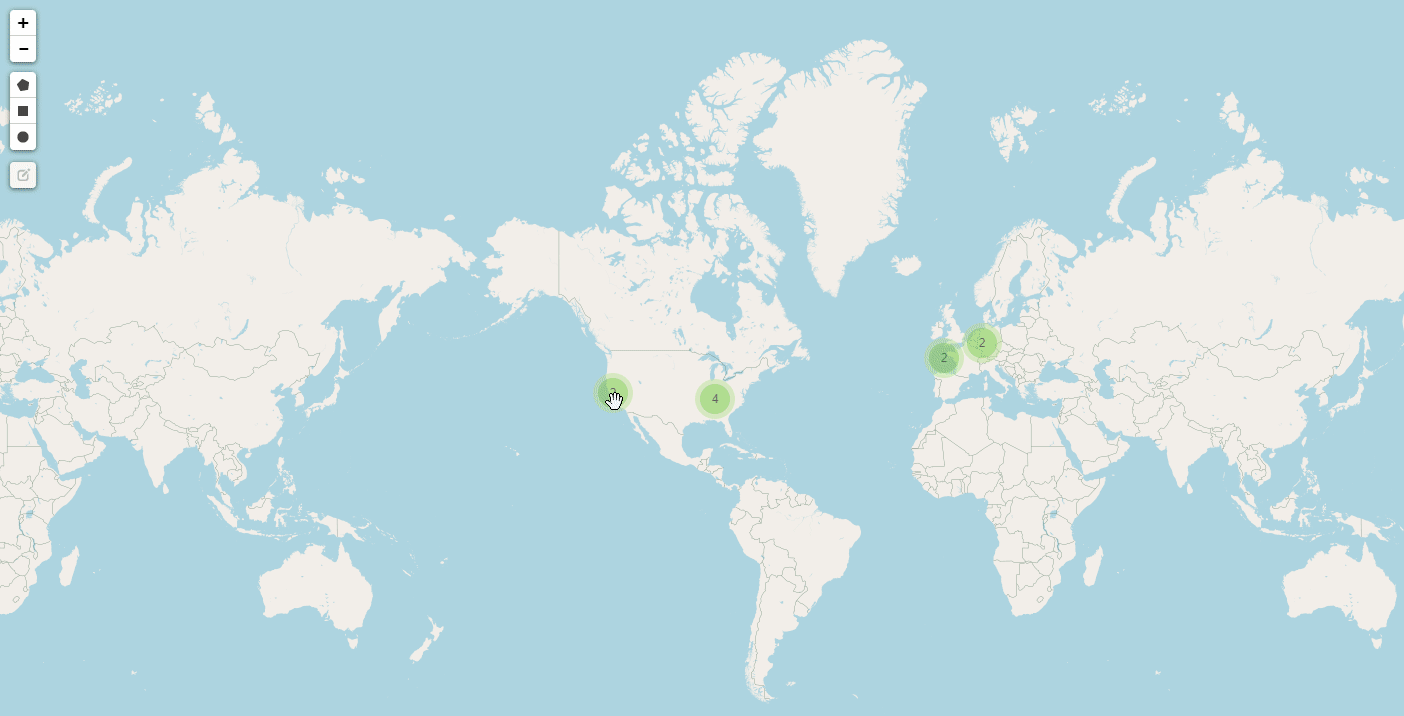
Passing the pointer on a pinpoint displays the data that the application's Designer has chosen to display with the location. (E.g. an address, a customer name and surname.)
Example
If the Designer has chosen to display with the pinpoint a field containing an address, passing the pointer on a pinpoint displays that field' information.
Clicking on a pinpoint will display the row's information on a sidebar.
In case two or more pinpoints overlap at your current zoom level, click on the counter.
The action opens the Selected Items menu () in the right sidebar. Selected Items lists all the pinpoints overlapping in that area.
Clicking one element on the list opens the row's information related to the location.
Filtering Information on the Geo View Map
Learn how to filter locations, group locations on the map, and create a data subset from the selected areas.
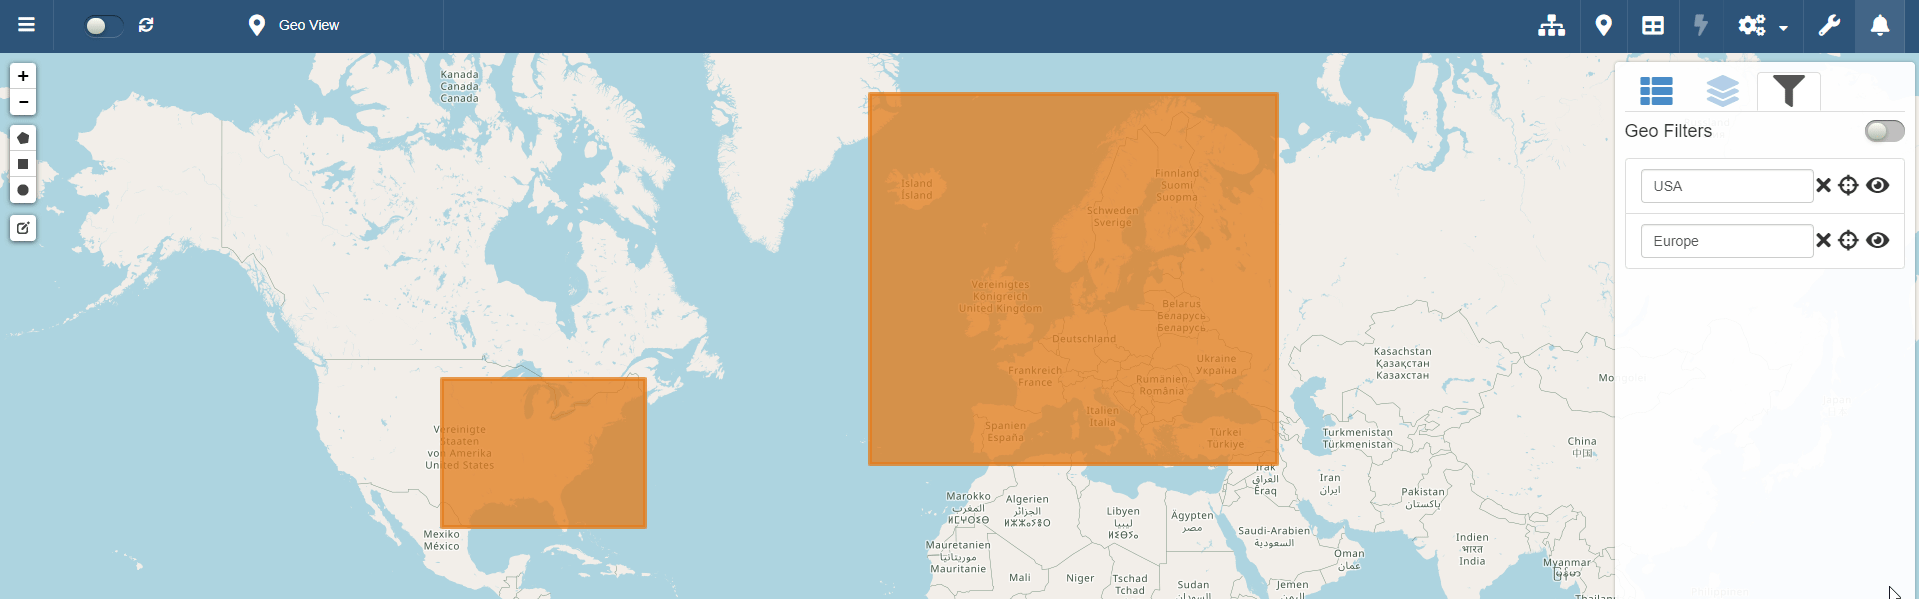
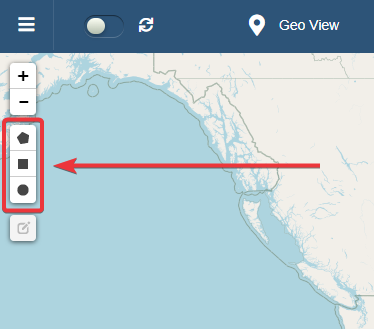
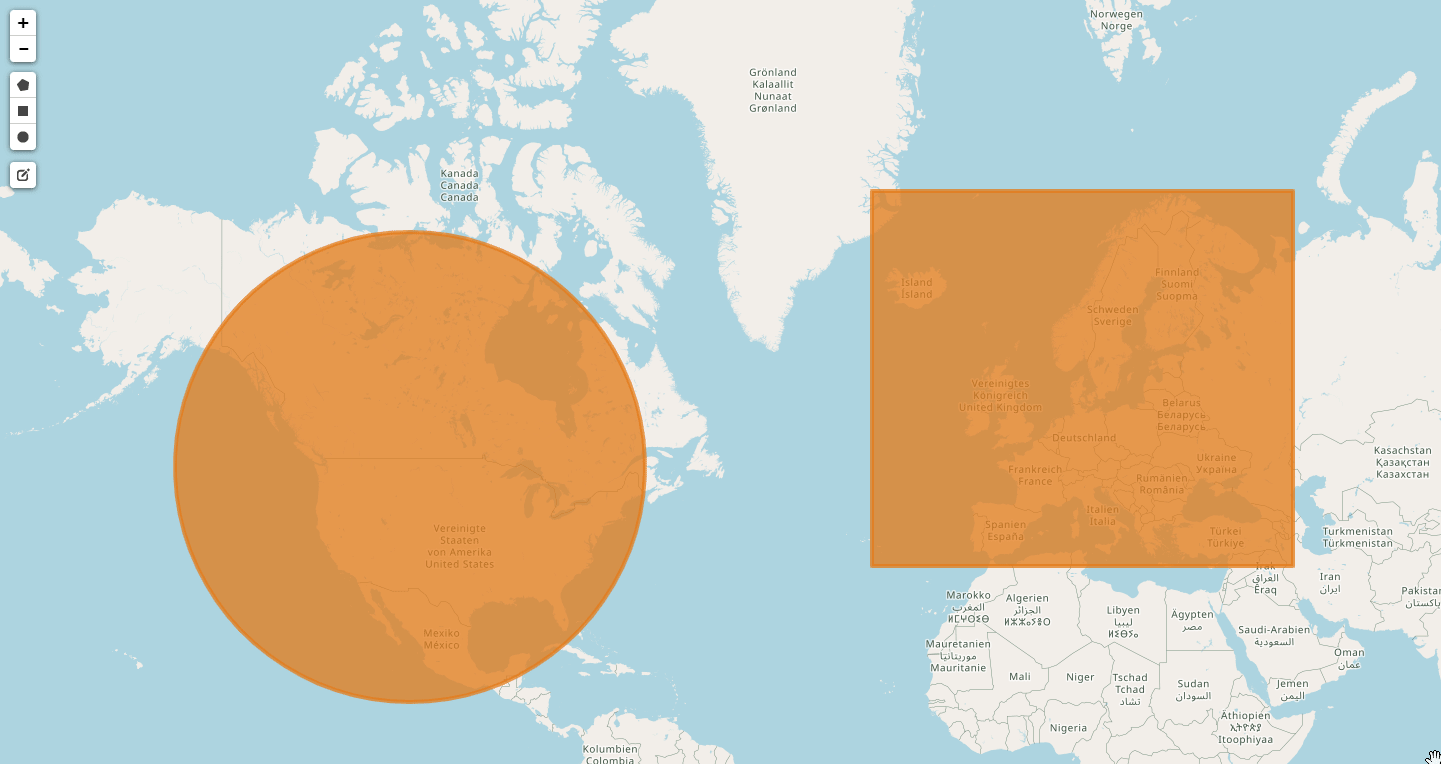
Create a Filtering Area
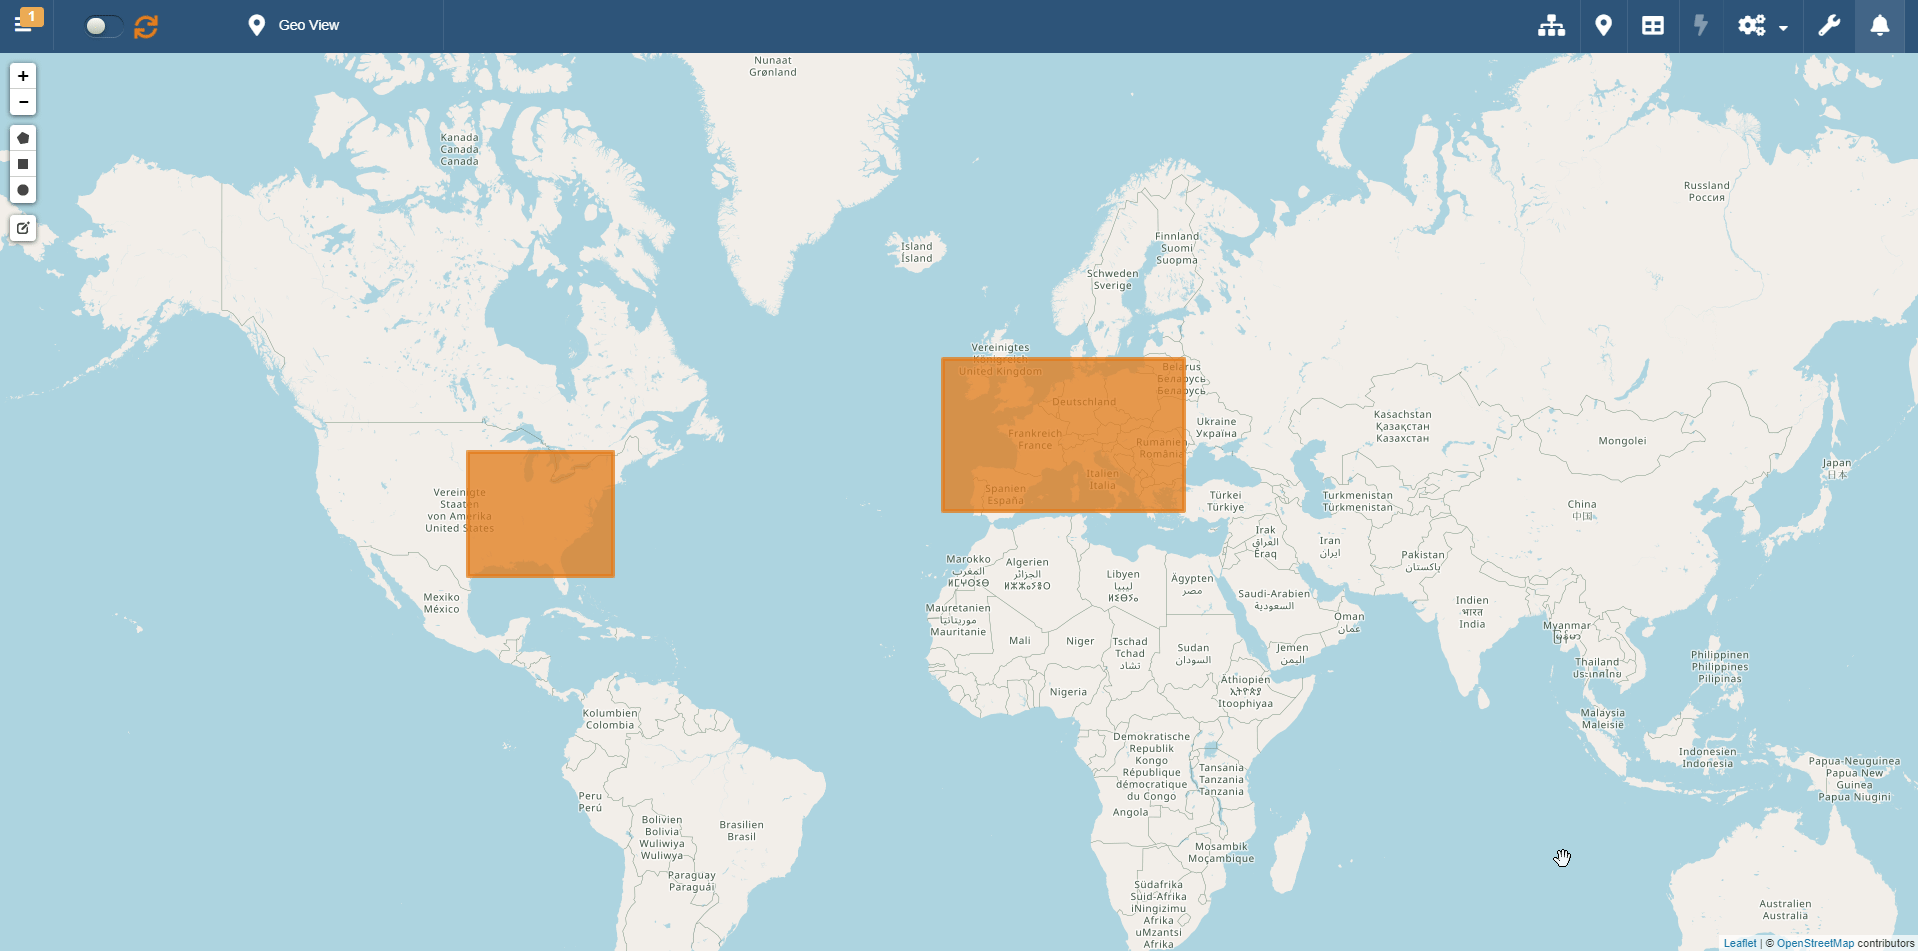
On the Geo View you can selected an area on the map and obtain all the pinpoints and related information in that space.
-
Click on one of the available shapes from the left sidebar (polygon, square, and circle) to cut out an area.
-
Select an area on the map.
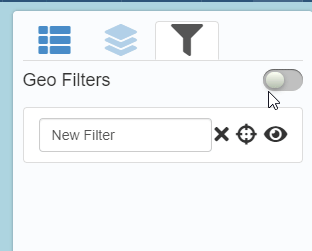
After having selected an area, the group containing all the pinpoints in the area will appear in Geo Filters menu () in the right sidebar.
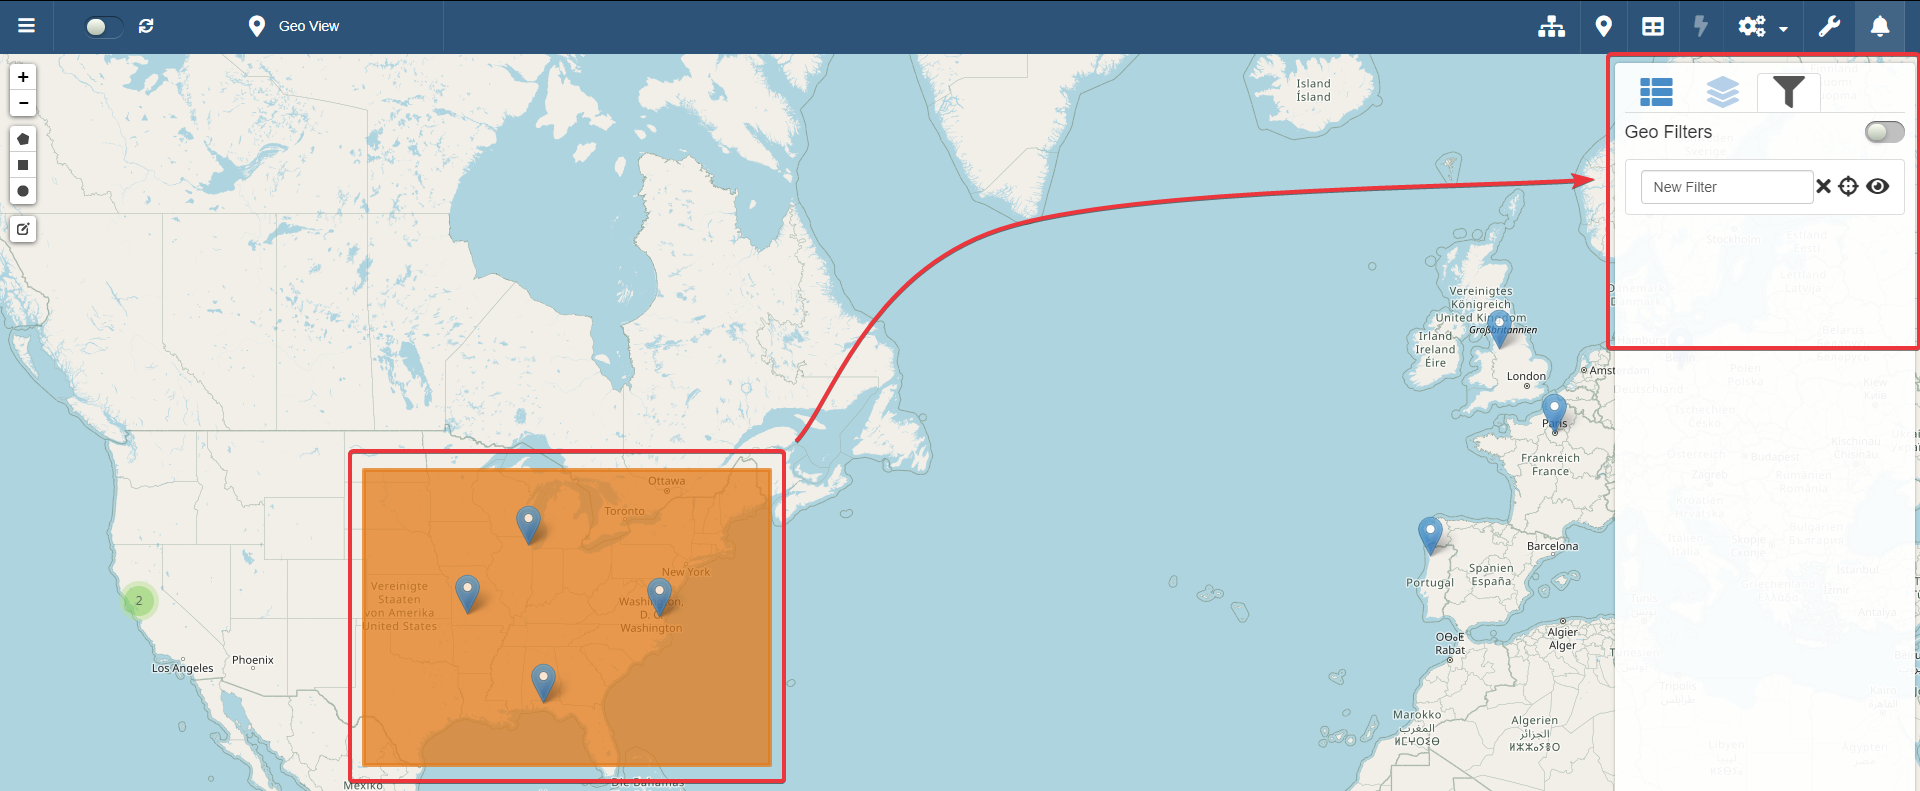
You can type a name to identify that filtering area.
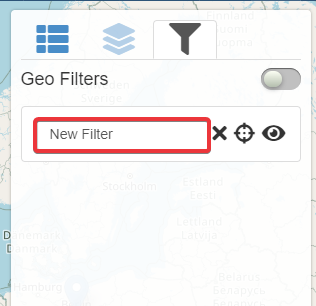
Click on the Add Geo Filter toggle switch to enable the filtering areas as Properties and filter the table to create a data subset. Click again on the Add Geo Filter toggle switch to disable the filtering areas as Properties.
Info
See What are Properties and Groups in the Basics for more information about what are the Properties and how they work.
See Create sub-sets of data from filters: Properties in Filtering to learn how to employ the Properties.
Hint
Click on one of the filtering areas to open the Geo Filters menu.
Hide and Center Filtering Areas
You can hide the filtering areas you have selected or center your view on one of them.
Use the buttons next to the filtering area listed in Geo Filters menu () within the right sidebar.
- Hides the filtering area from the map.
- Centers your view on the selected area.
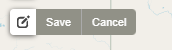
Edit a Filtering Area
You can edit at any time a filtering area on the map.
Click on the icon the left sidebar.
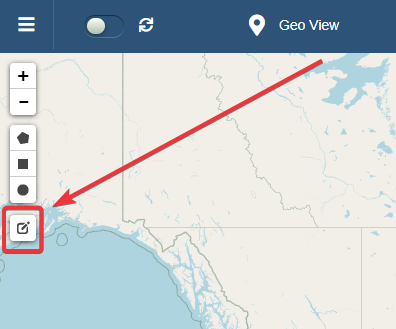
The action enables to move and resize the filtering area.
Once done, click on the Save label next to the icon. (Click on Cancel label next to the to abort the changes.)
Remove a Filtering Area
You can delete a filtering area from the map and the Geo Filters menu.
In the Geo Filters menu, click on the icon next to a filtering area to delete it.