Editing Rows
Learn how to modify a row's data.
Edit a Row
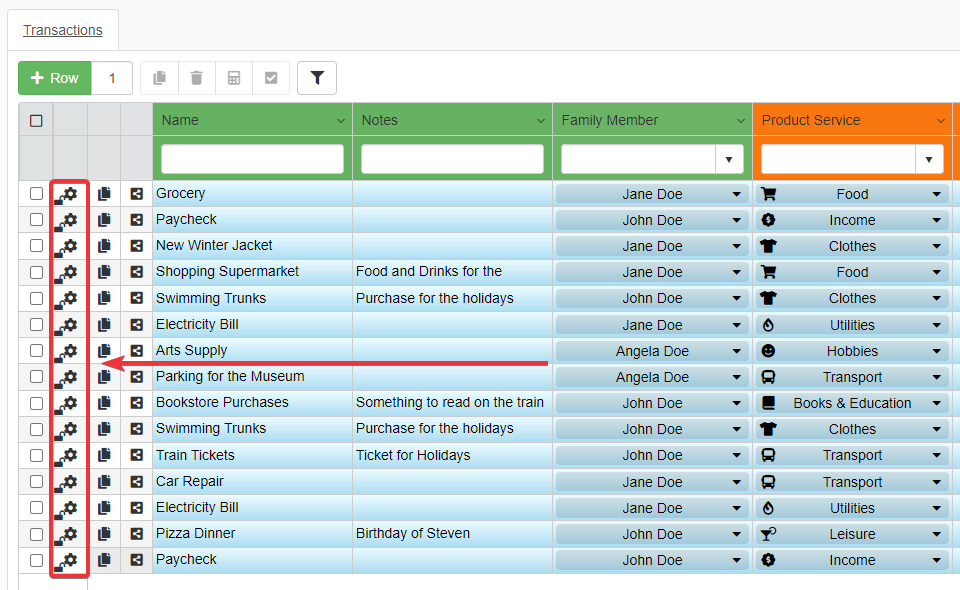
You can modify the data of a row by clicking on the cell that you want to edit.
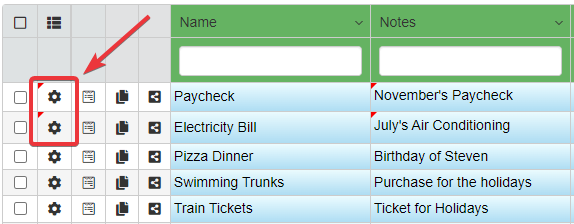
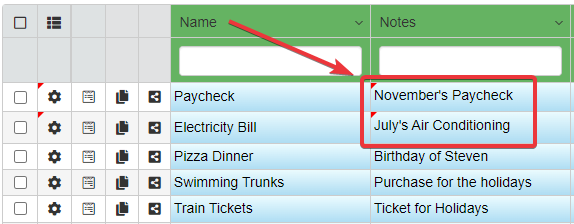
The table highlights the changes on the table a black triangle.
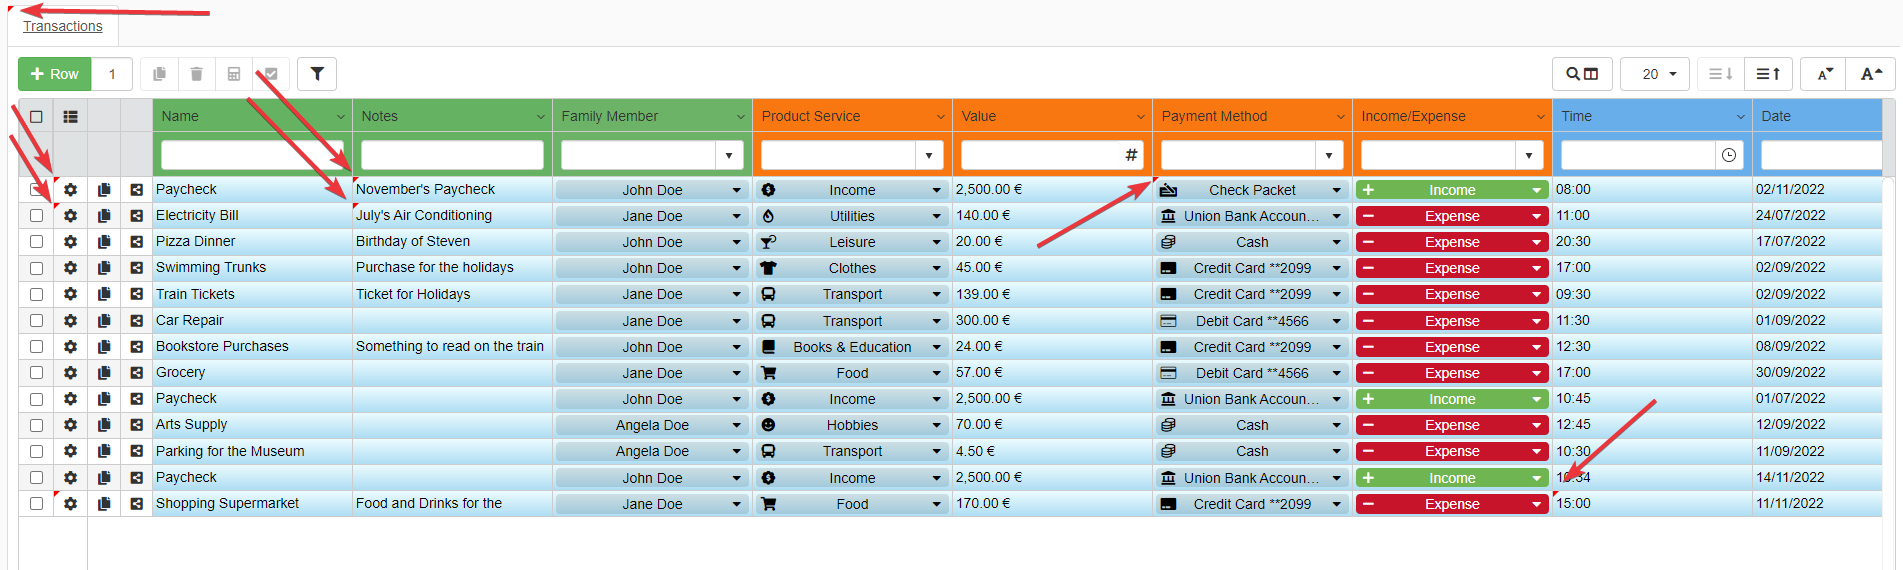
The black triangle appears on:
-
the edited row in the upper-left corner of the Row Options.
-
the edited cells in the upper-left corner.
-
The upper-left corner of the table's tab as well. (An application can have more than one table besides the Master Table. See the Details section for more information.)
If your application has Detail tables, the application highlights the changes in the same way as a Master table.

If the user has edited a Detail's row, a black tringle will appear in the lower-right corner of the corresponding Master row's Row Options. The black triangle in the lower-right corner of the Row Options highlights that the user has edited one of the Master rows' Details.

Warning
Edit a row doesn't save any change automatically. You must save the changes to record them. See the section Save Rows to learn how to save rows.
Note
The Designer decides to enable or not the Edit action. The Designer might have either removed or limited the Edit action.
Edit Row's Data through the Edit Form
The Designer could enable the Edit Form for the rows' insertion. If the Designer has enabled the Edit Form, Users can use the Edit Form to edit a row as well.
You can modify the rows through the Edit Form itself.
- Click on the Row Options icon () to edit the row.
- Click on the Edit button.
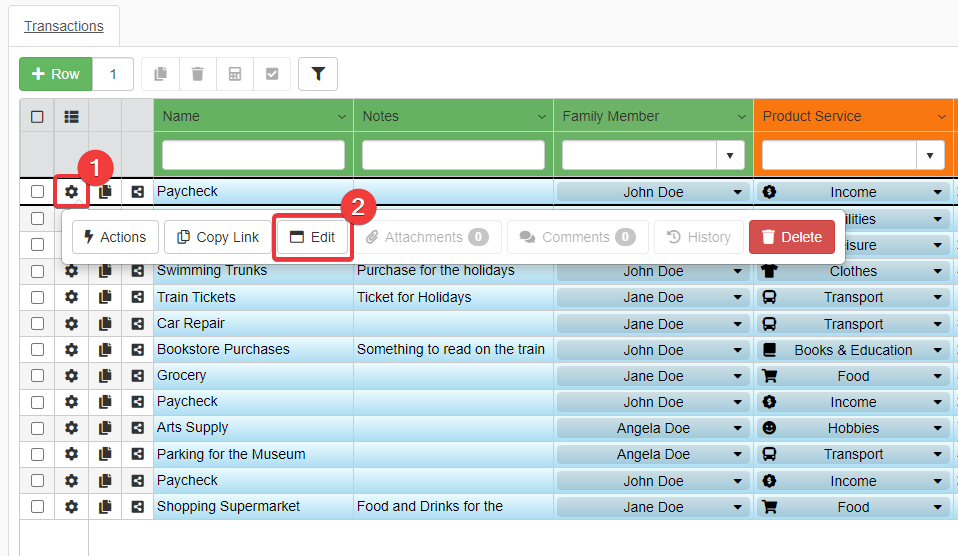
You will open the Edit form. Edit the information you want to change. Once done, click on the Confirm button to record the changes.
Warning
Clicking on the Confirm button doesn't mean that you have saved the change. You must save the changes to record them. See the section Save Rows to learn how to save rows.
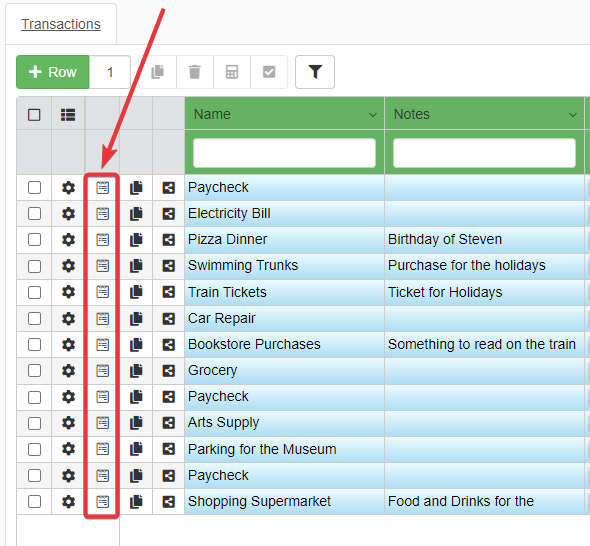
If the Designer has enabled and customized the Input Form: you can click on the Input Form icon () next to each row to open the form and change the information.
Lock and Unlock Rows
The Designer might have enabled the Lock/Unlock function. If Lock/Unlock is enabled, you can block other users in the same application from editing a row until you have done with changes and you unlock it.
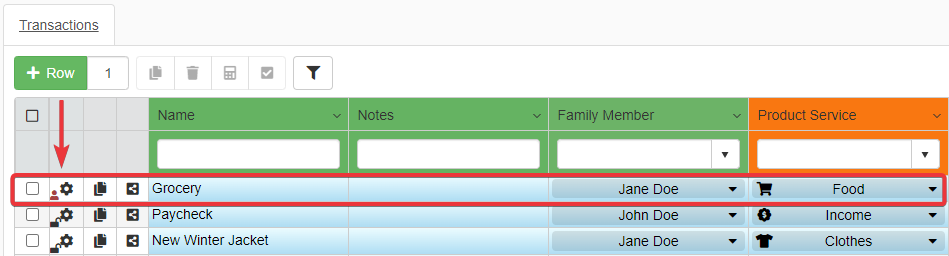
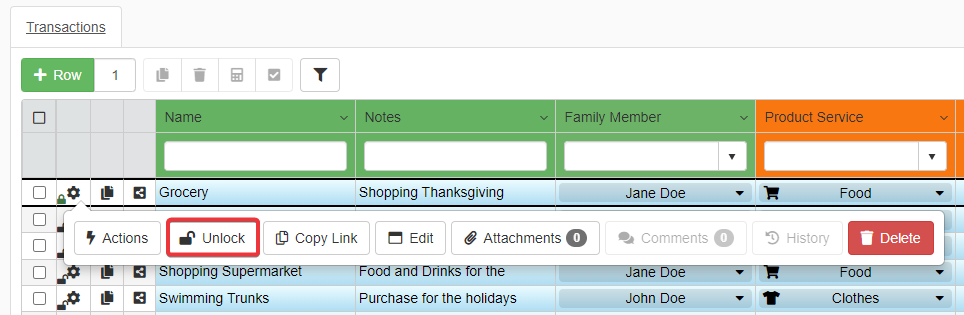
If Lock/Unlock is enabled, you will see the Unlock icon on the Row Options ().
Click on the Row Options () and then on Lock button.
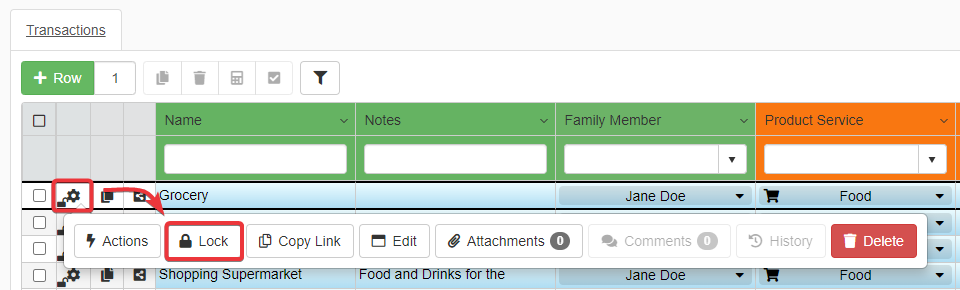
The action will block other users from editing the selected row until you have done with your changes.
Edit the row as explained in the paragraph Edit Row and save any change. The application will unlock the row after the saving.
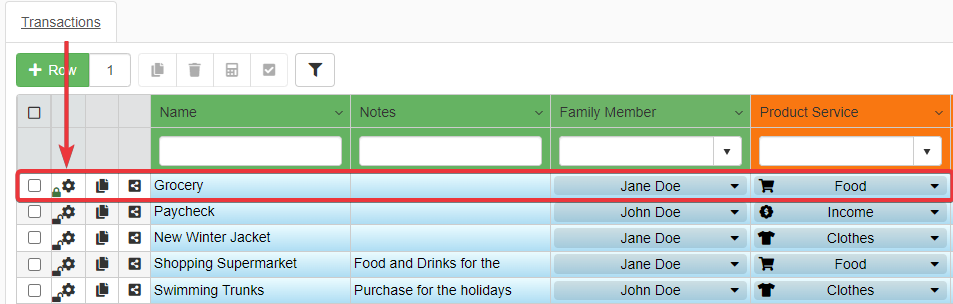
Other users who access the application will identify locked rows through the icon on the Row Options button.
If you see the icon, another user is editing the row. You can't edit that row until the other user unlocks the row by saving or unlocking through the Row Options ().
You can unlock at any time a row by clicking on the Row Options () and then on Unlock button.
Attention
If you unlock a row without saving, you will lose the changes made on the selected row. If you haven't saved your changes and you click on Unlock button, a window will ask for confirmation.
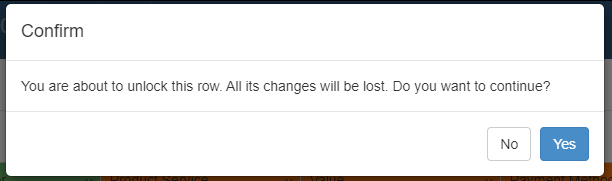
Click Yes to confirm or No to keep the row locked and continue the editing.