Change a Column’s Header Name Corresponding to a Field
Required Permissions
This section requires the Application Designer permission from your Domain's administrator.
Check What are the Design Tasks? to learn more about permissions to work with Design Mode and other tools.
Learn how to change the name of a table's header in Design Mode.

Info
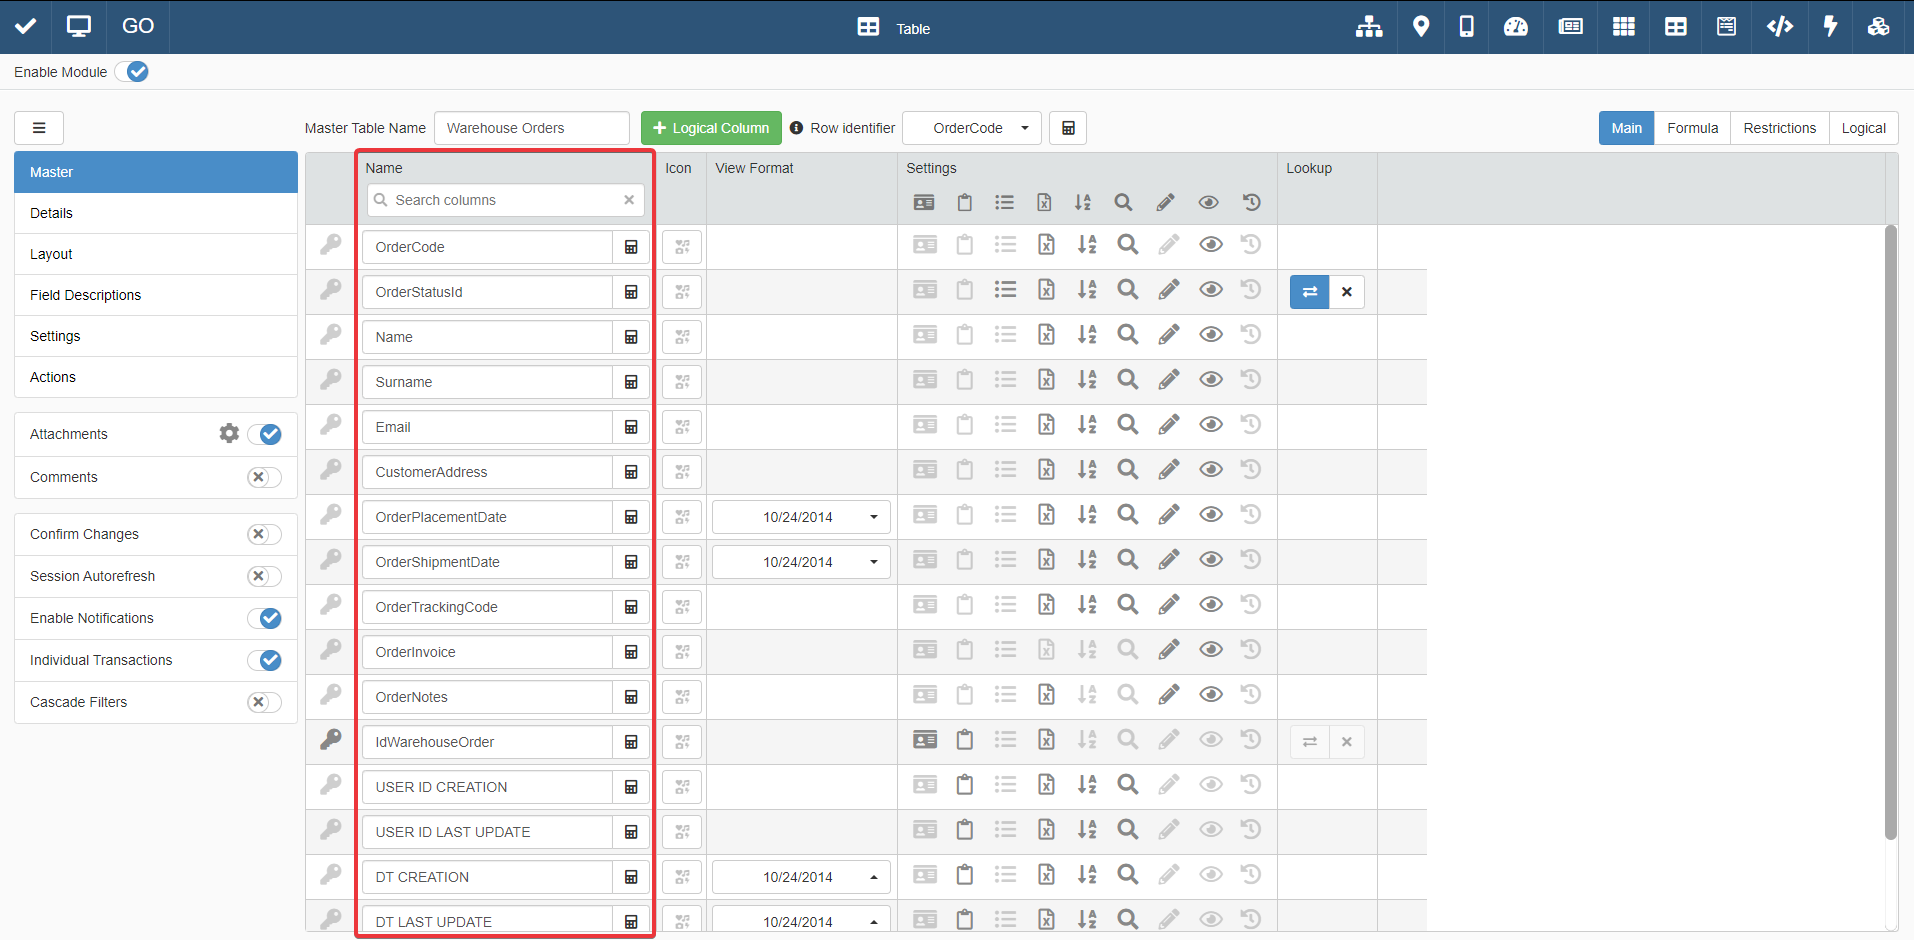
By Default, when you create an application, all the field columns have the corresponding Storage's field names as table headers.
Note
The procedure is the same for both Master and Detail tables.
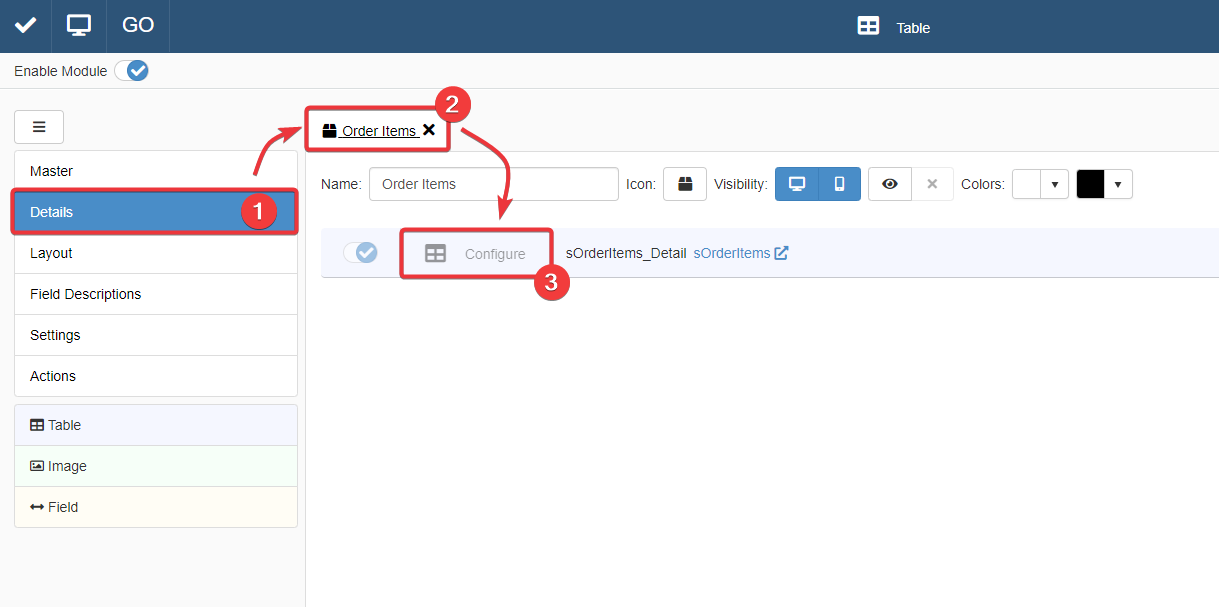
For a Detail Table, you find the same interface by going into Details > [Desired Detail table] > Configure.
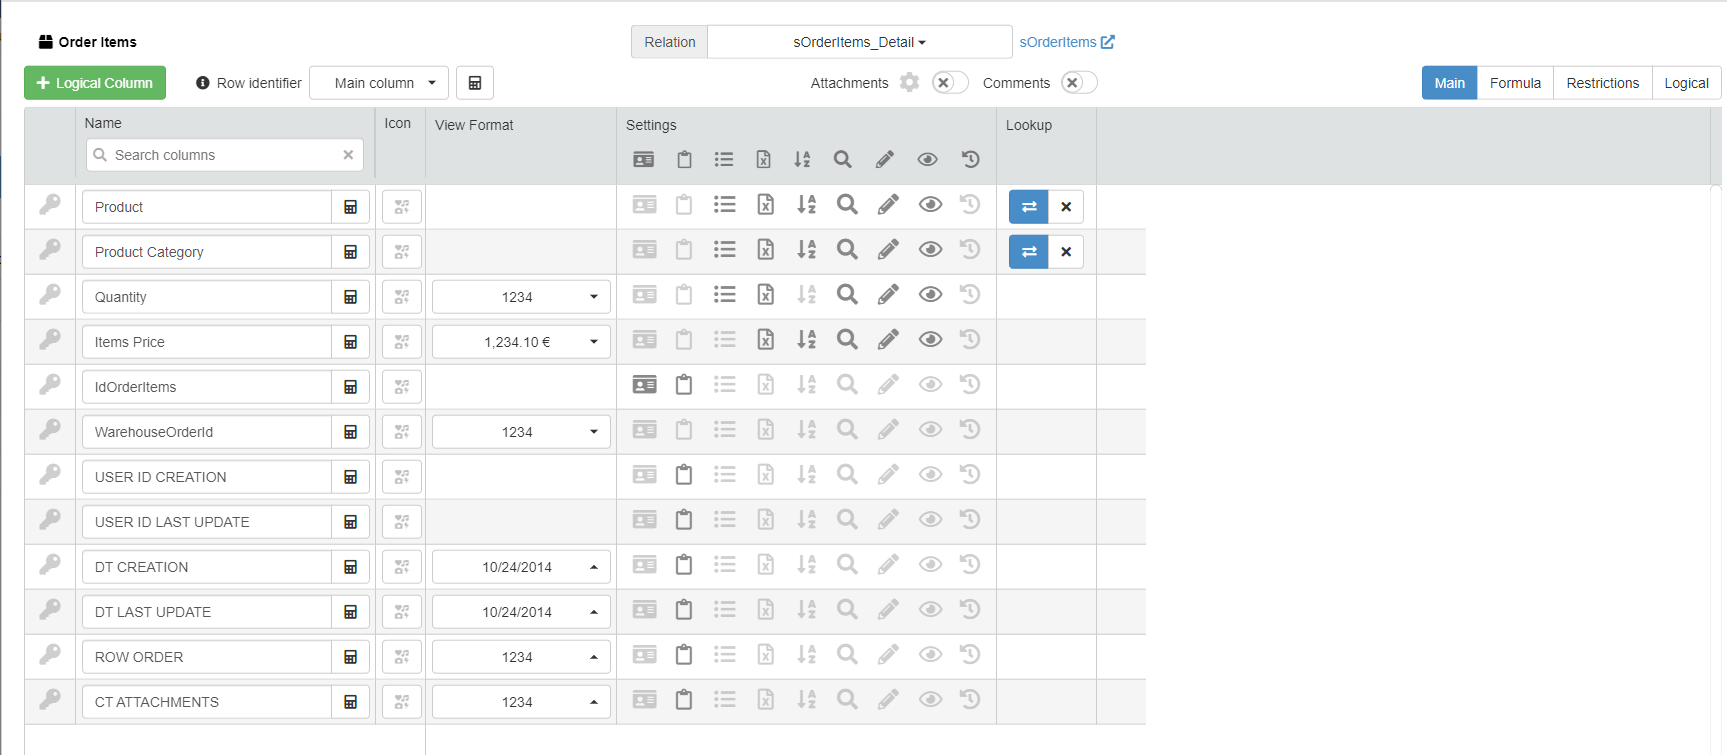
The action leads you to an interface that behaves like that of the Master Table in the Master sub-panel.
For more information about Details, check How to Attach a Table with Further Information to a Row: Detail Tables.
Follow the steps below to change a header's name on an application's table.
-
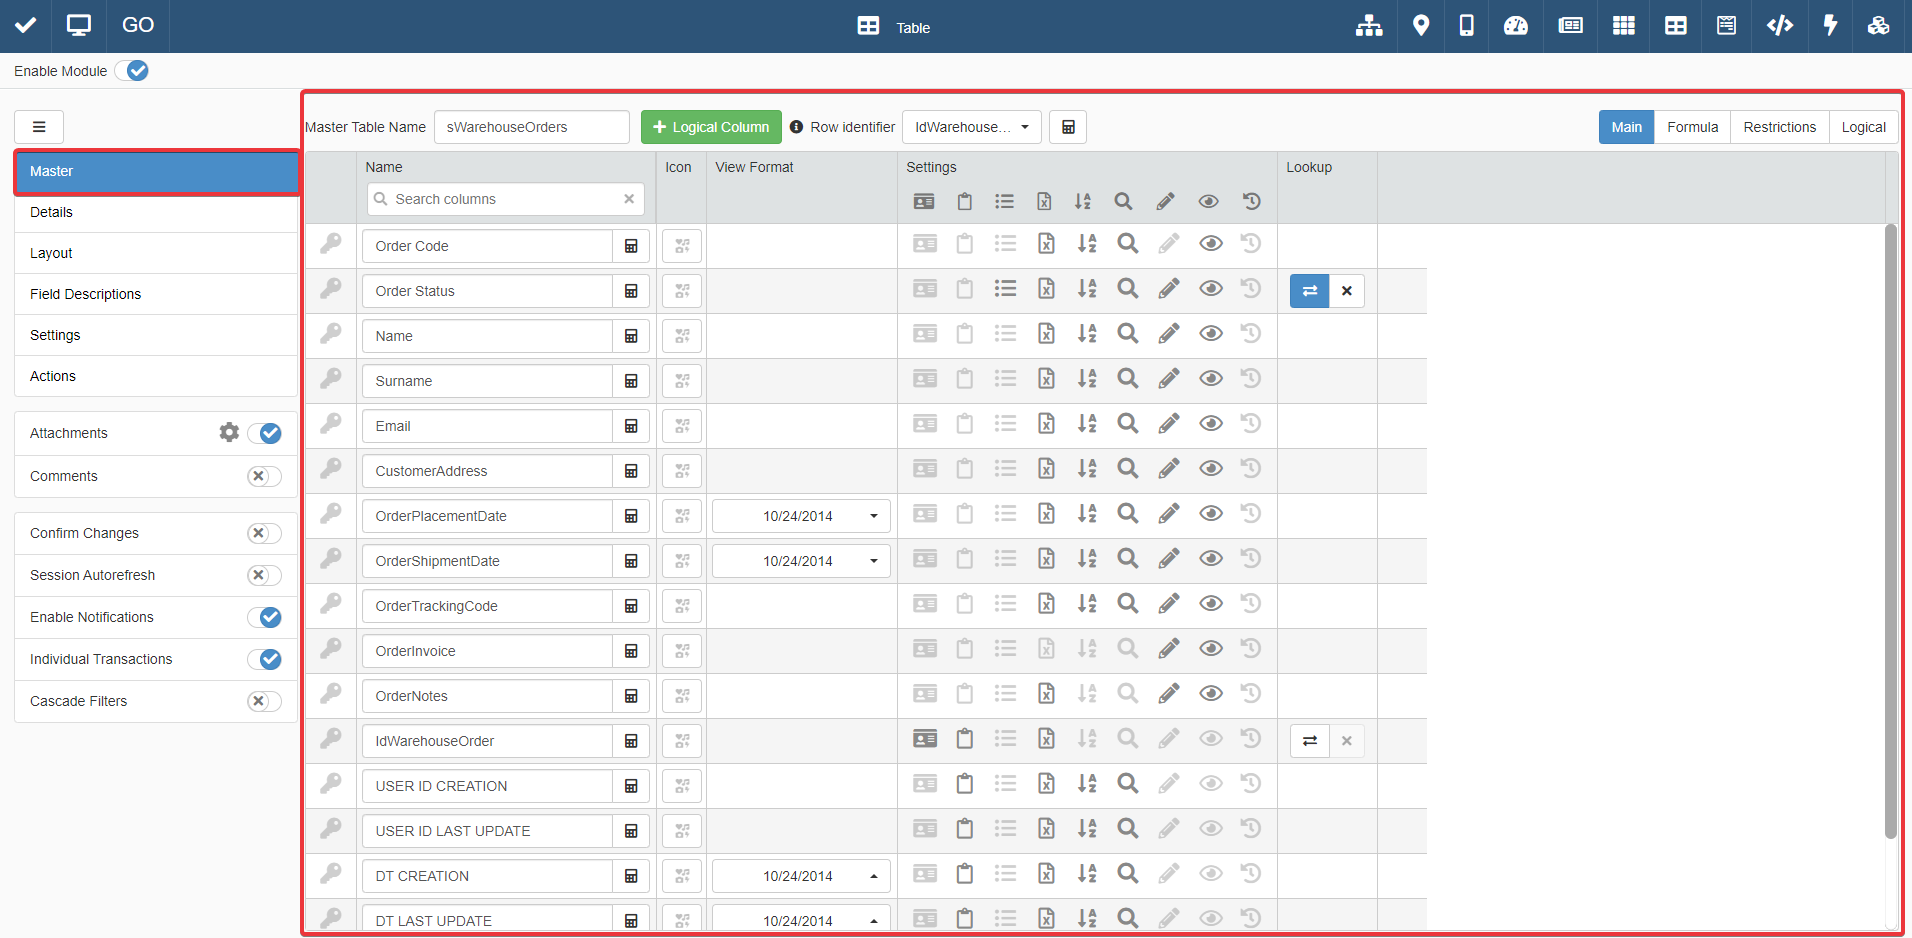
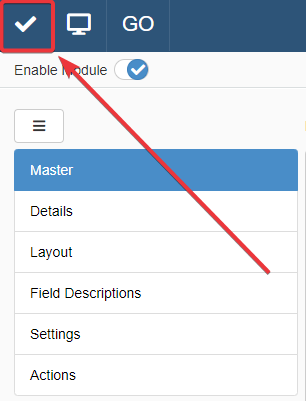
In Design Mode, go to the table containing the header that you want to edit.
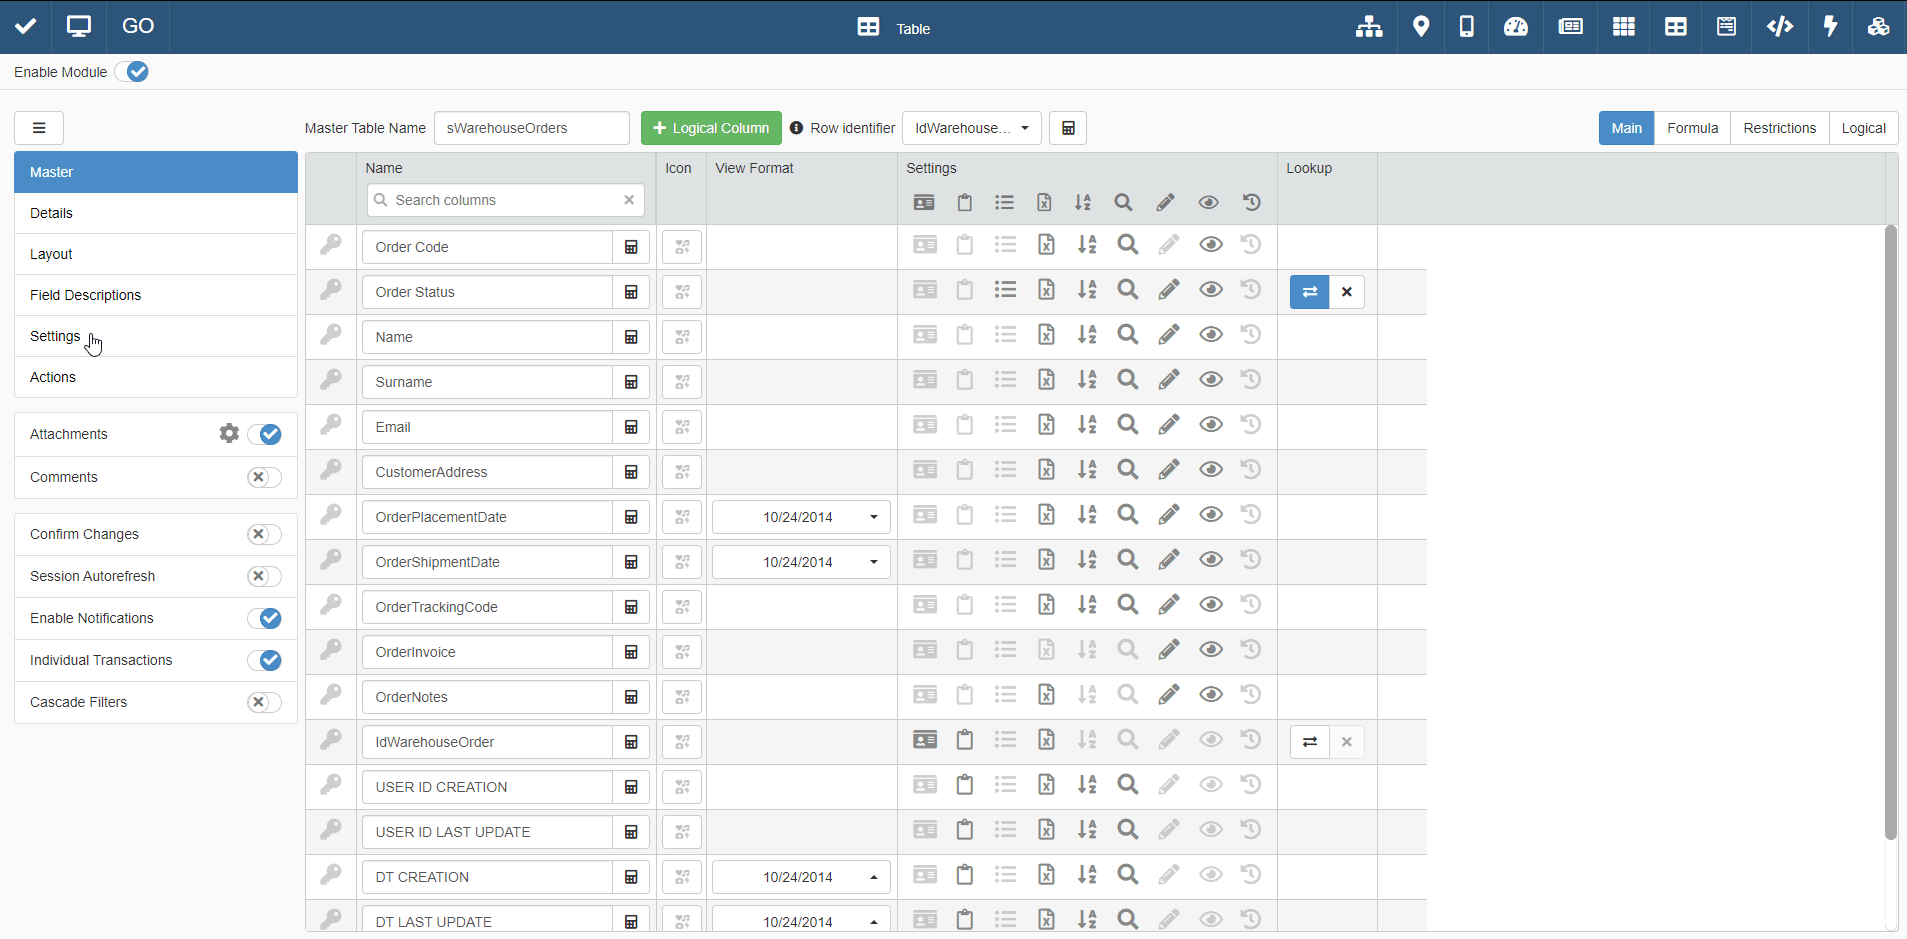
For Master Table, you can find the table settings under the Master sub-panel. The Master sub-panel is the first panel opening by default when you access the Design Mode.
For Detail tables, you must go to the Details sub-panel. Choose one of the Detail tables, and click on Configure.
-
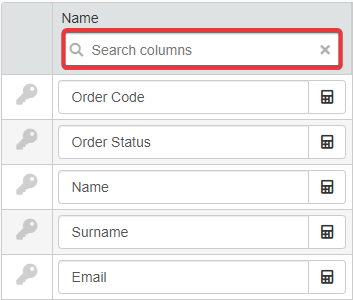
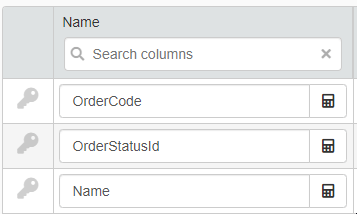
Under the Name column in the table's settings, find the field corresponding to the table's header you want to rename.
Hint
Use the search bar below the Name column to search the field by name.
Type the name that you want to appear on the table as header's name.
Note
Changing a column field's name doesn't change the field's name on the Storage. The action assigns a label to that field only in the application.
-
Click on the Save button to save the changes made. You find the Save button in the upper-left corner of the Design Mode.
Success
You have changed the name of a table's header in the application.