Change the Format of a Numeric, Date or Date-Time Field
Required Permissions
This section requires the Application Designer permission from your Domain's administrator.
Check What are the Design Tasks? to learn more about permissions to work with Design Mode and other tools.
Learn how to customize the format to display dates, date-times, and numbers in your application.
Note
The procedure is the same for both Master and Detail tables.
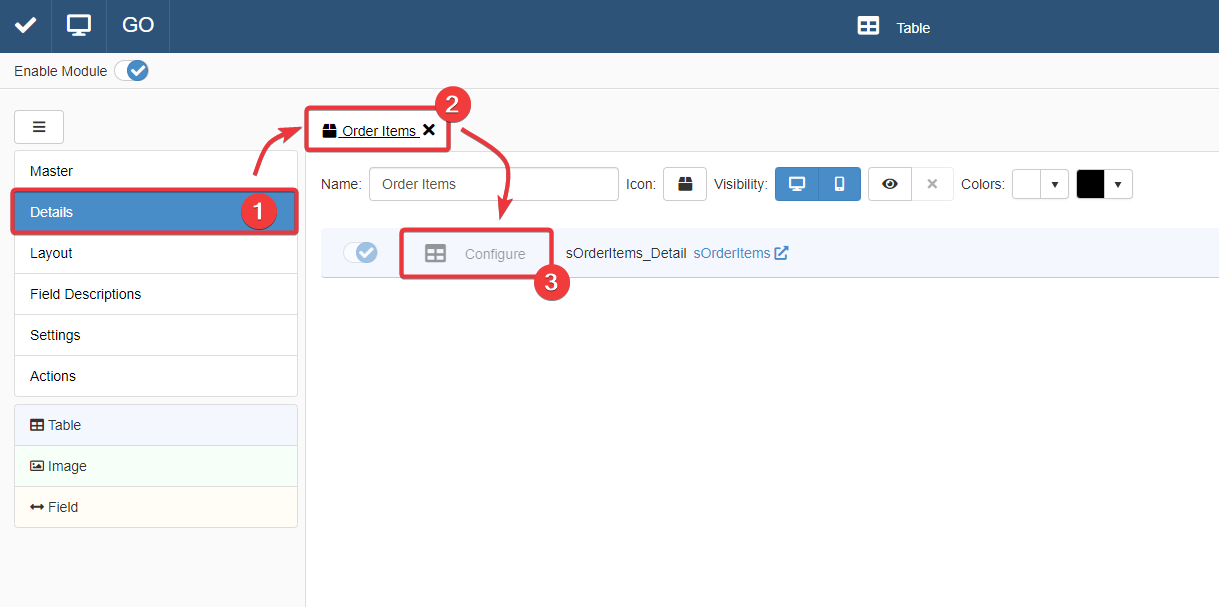
For a Detail Table, you find the same interface by going into Details > [Desired Detail table] > Configure.
The action leads you to an interface that behaves like that of the Master Table in the Master sub-panel.
For more information about Details, check How to Attach a Table with Further Information to a Row: Detail Tables.
Follow the steps below to change the format of a Date, Date-Time or Numeric field.
Note
The procedure to change format is the same for Date, Date-Time or Numeric field. Between Date, Date-Time or Numeric fields changes only the presets options available.
-
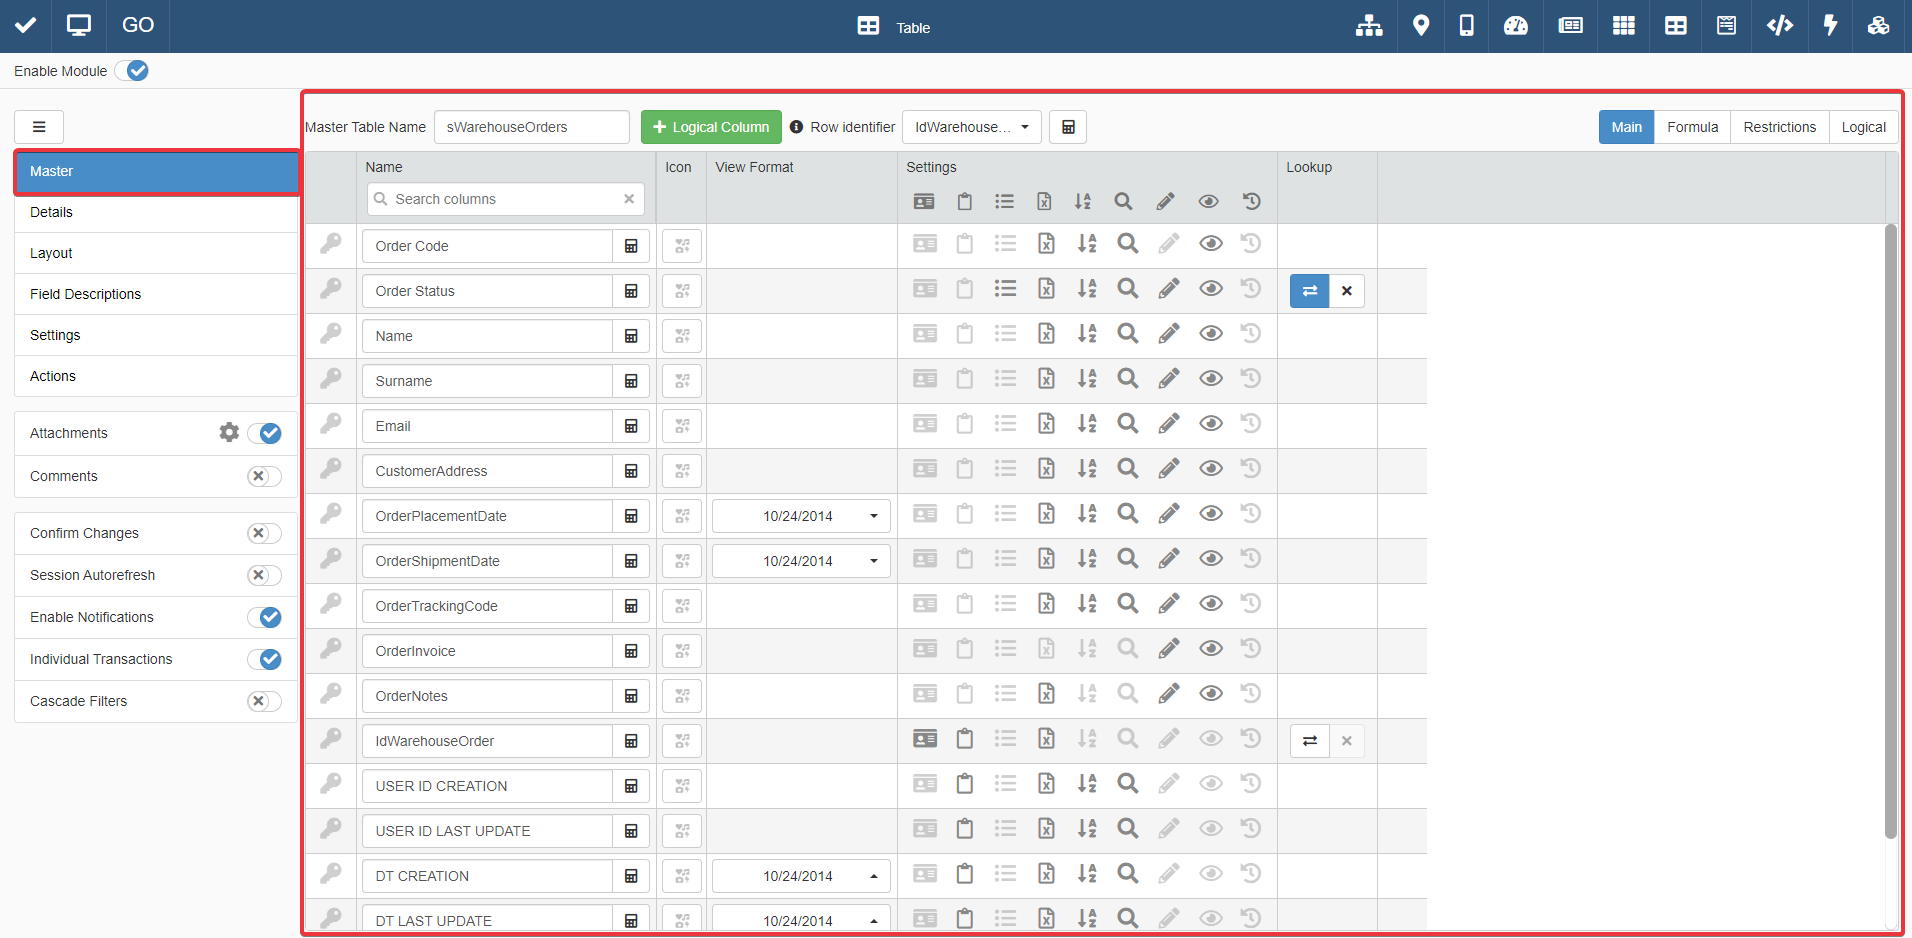
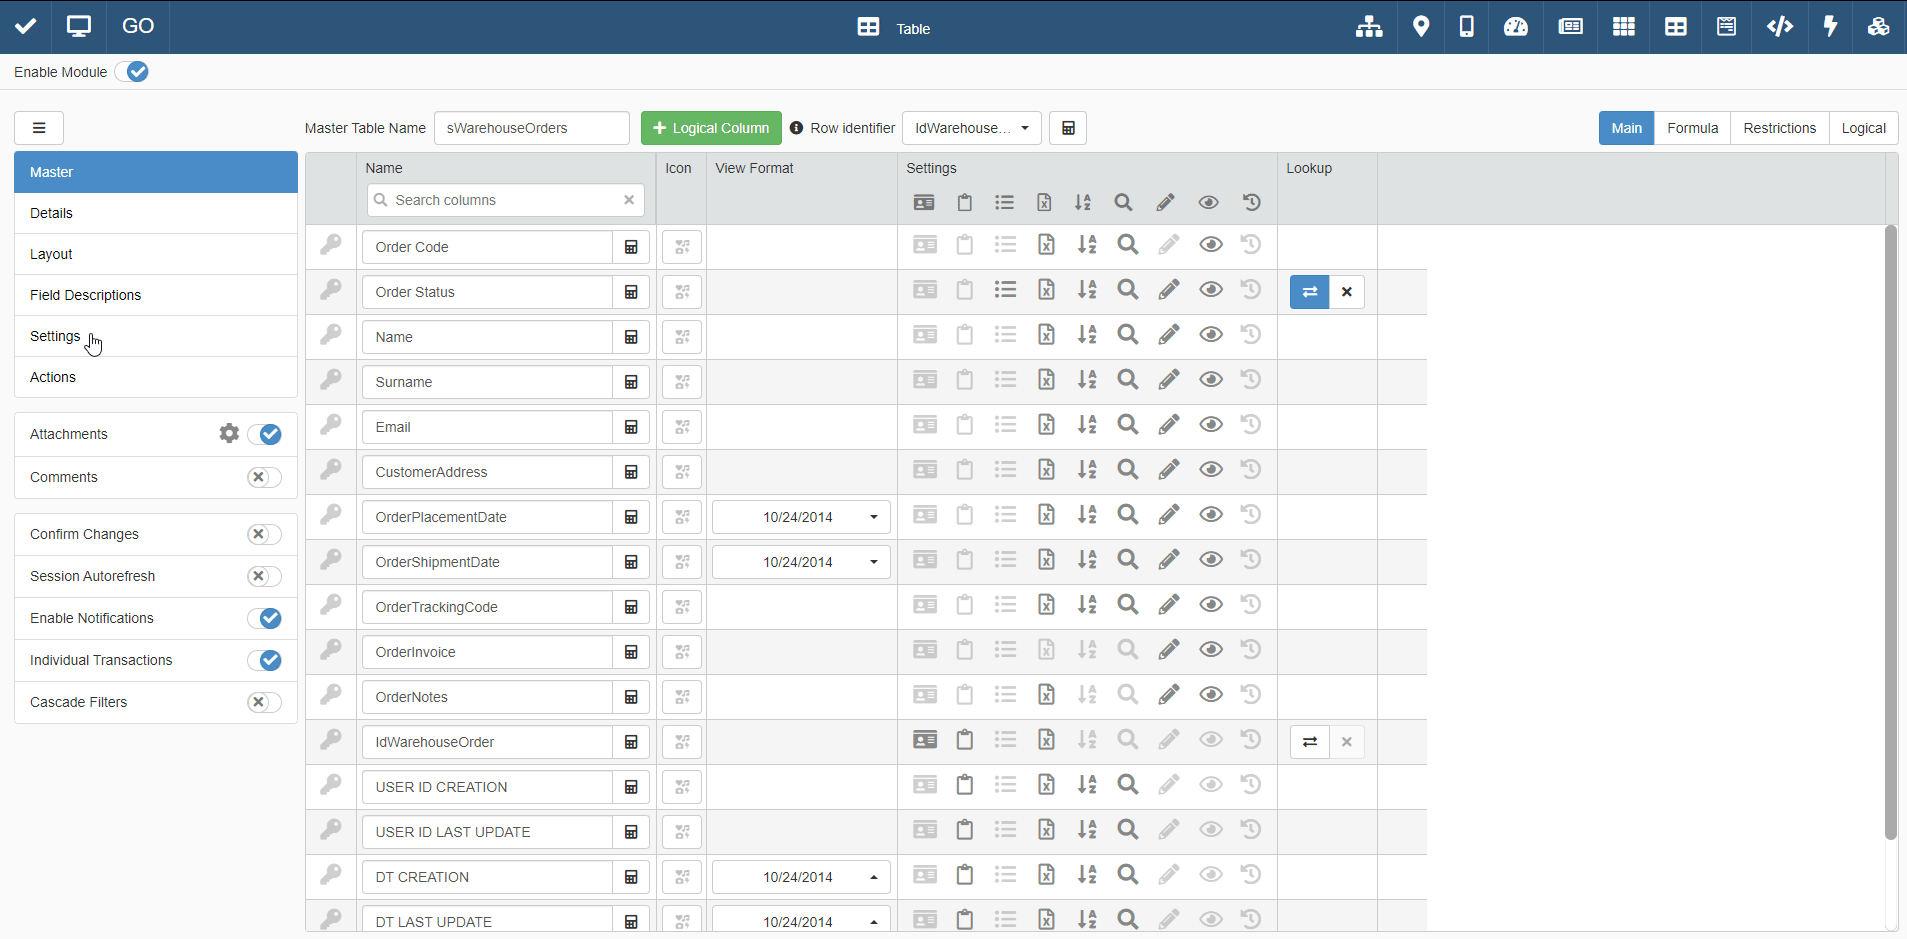
In Design Mode, go to the table settings containing the Date, Date-Time or Numeric fields you want to configure.
For Master Table, you can find the table settings under the Master sub-panel. The Master sub-panel is the first panel opening by default when you access the Design Mode.
For Detail tables, you must go to the Details sub-panel. Choose one of the Detail tables and click on Configure.
-
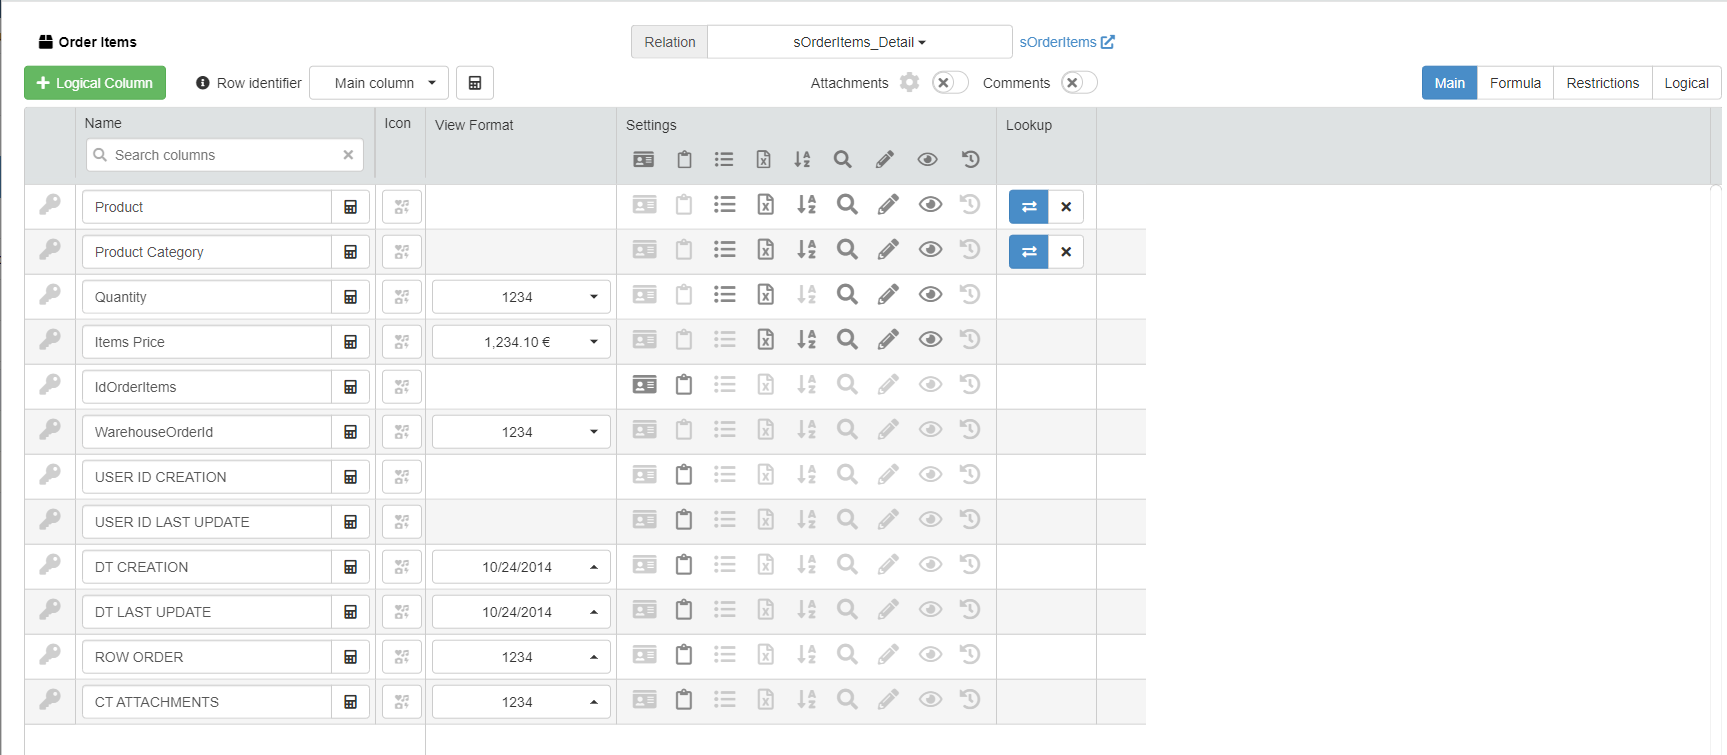
In the table settings under the View Format column, you can view the fields which format you can change.
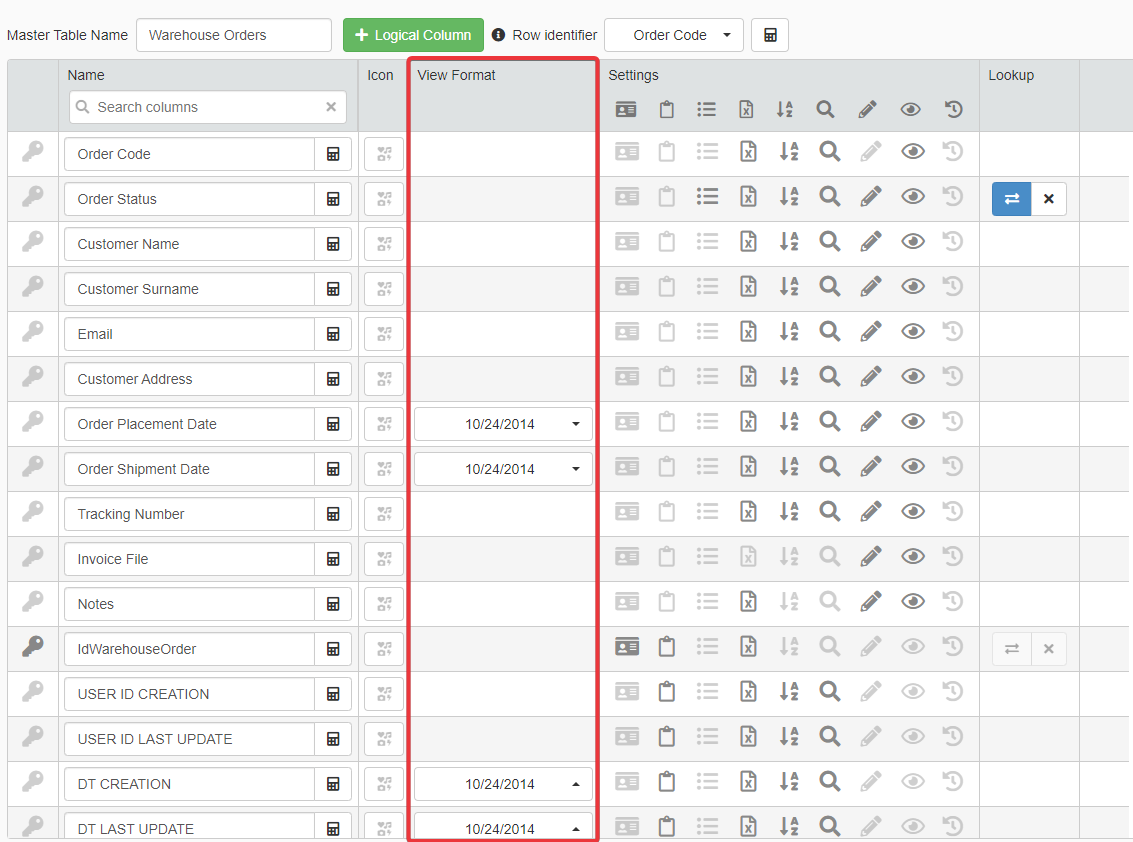
Click on the drop-down list under View Format corresponding to the field which format you want to change.

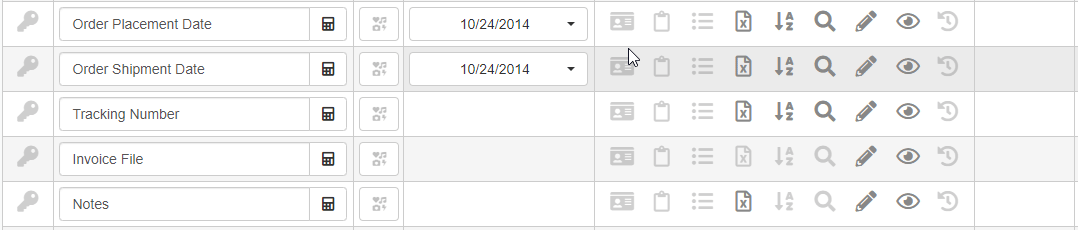
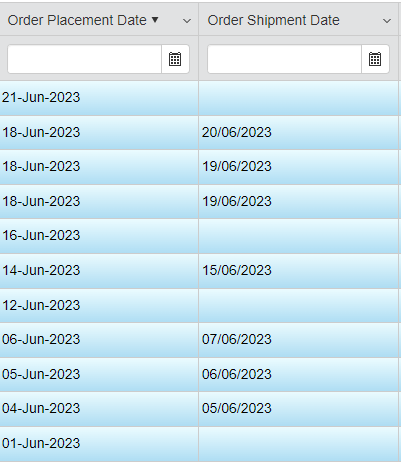
Each type of field ( Date, Date-Time or Numeric field) offers different presets you can choose from. If you need a customized format for a Date, Date-Time or Numeric field, click on Custom Format from the drop-down list.

The action opens the Custom Format window. In the Custom Format window, you can customize the format.
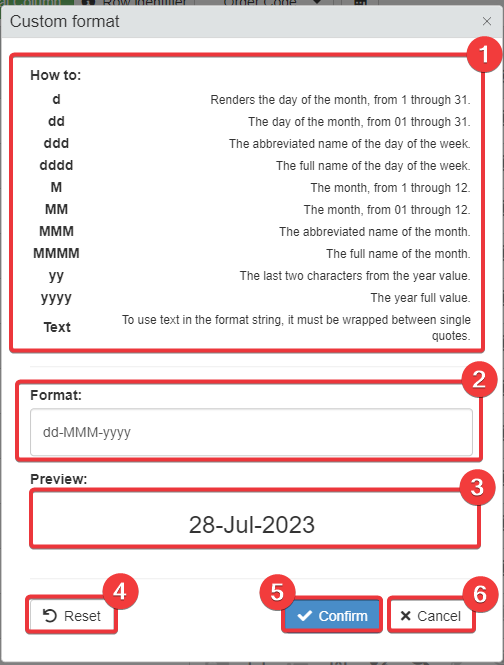
- (1) Syntax reference to compose your own format. Varies according to the field type (Date, Date-Time or Numeric field).
- (2) Format textbox where you can type your custom format using the syntax from (1).
- (3) The preview of the format.
- (4) The button restores the previous custom format.
- (5) Confirms the changes.
- (6) Aborts the changes.
Type your custom format and click on the Confirm button.
Note
If you are customizing the format of a Numeric type field, there is a further option.
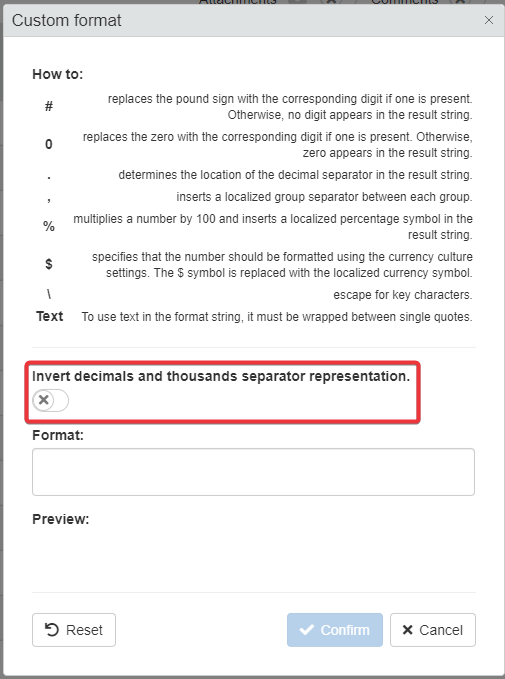
If the Invert decimals and thousands separator representation toggle switch is enabled, the format uses the comma (
,) instead of the point (.) for the decimals. -
Click on the Save button to save the changes made. You find the Save button in the upper-left corner of the Design Mode.

Success
You have the changed the format to display the data of Date, Date-Time or Numeric field.