How to Configure a Table Cell as a Drop-Down List
Required Permissions
This section requires the Application Designer permission from your Domain's administrator.
Check What are the Design Tasks? to learn more about permissions to work with Design Mode and other tools.
Learn how to configure a field which has a previously built Relation on the Storage as a drop-down list in the application.
You can configure a cell as a drop-down menu from which you can choose an option as value to be recorded. This sort of drop-down list menus are called Lookups.
Attention
You must have configured a Relation from the field having the Lookup role (must be a Numeric field) to the Identity field on the Storage containing the options to display.
See Create an Empty Storage to learn how to build a Relation on the Storage that you can use to create a Lookup.
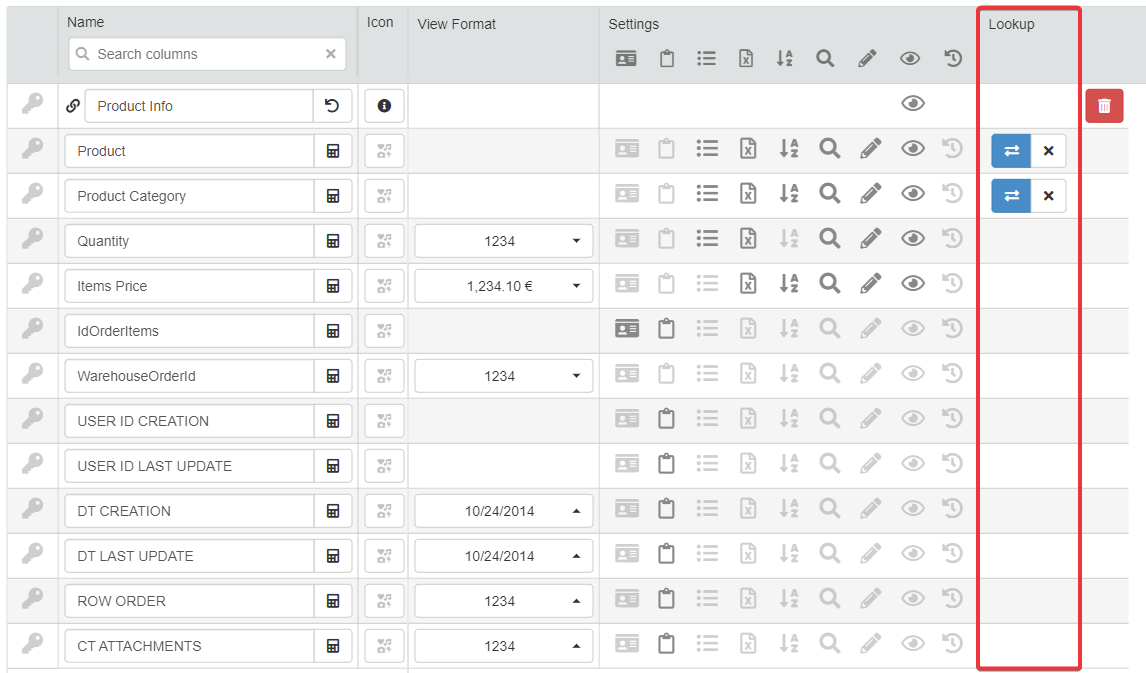
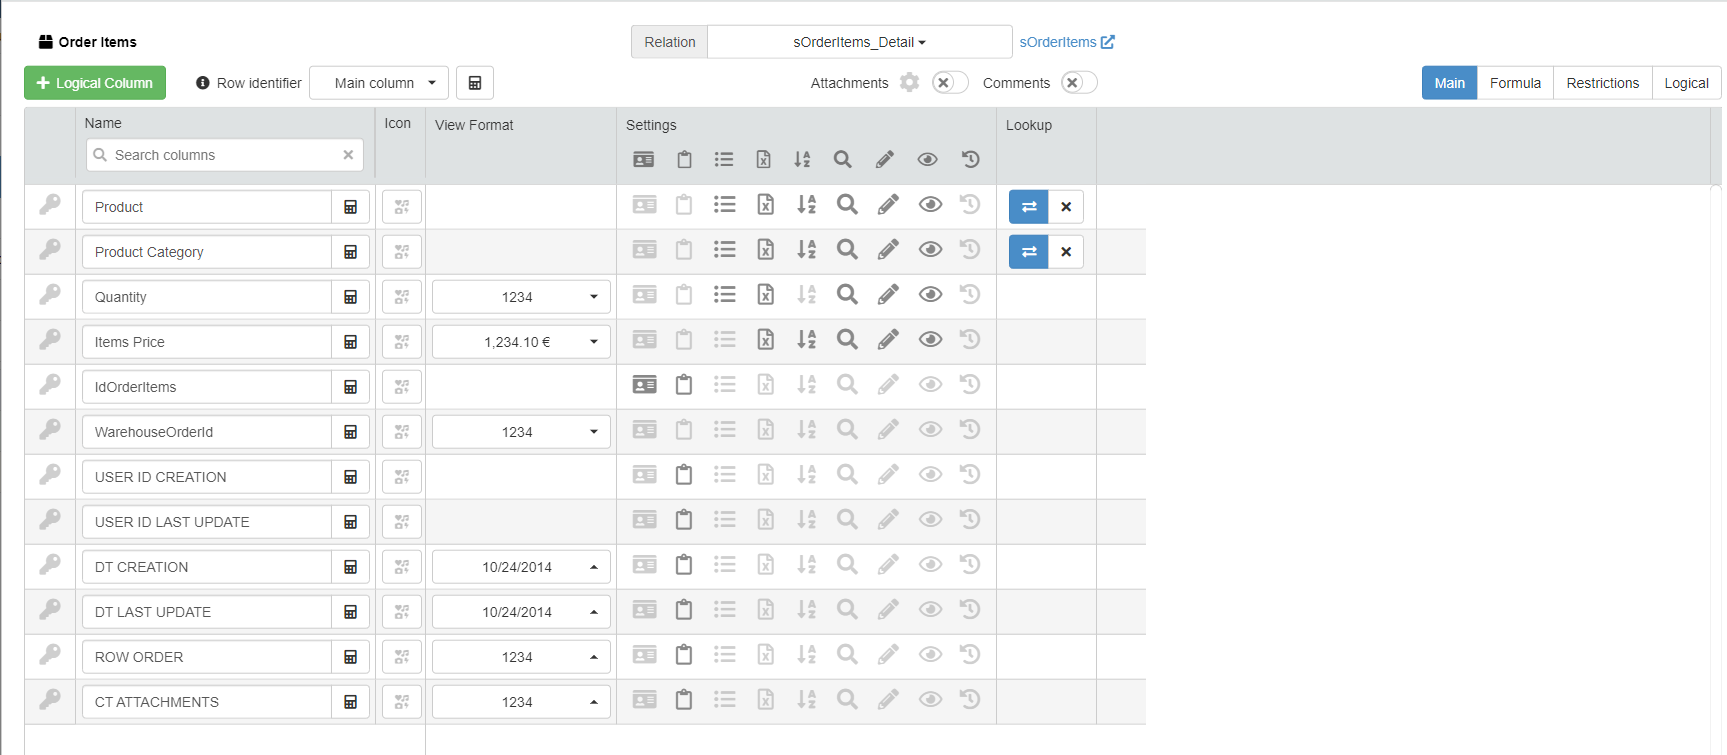
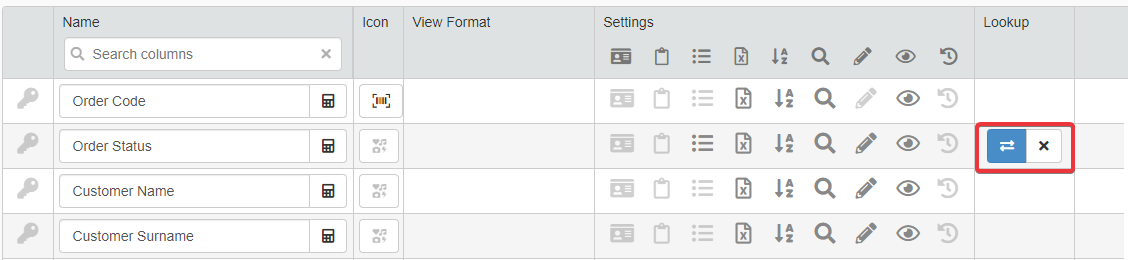
You can verify if there is a configured relation by checking if the Table Settings in Design Mode display the button under the Lookup column.
Note
In Design Mode, the procedure to configure Lookups fields is the same for the configuration of Multiselection fields.
Multiselection fields work like Lookup, but they can record two or more options. (Lookups record only one option for the cell.)
See Create an Empty Storage to learn how to create a Multiselection field on the Storage.
Follow the steps below to configure in Design Mode a field as a Lookup.
Note
The procedure is the same for both Master and Detail tables.
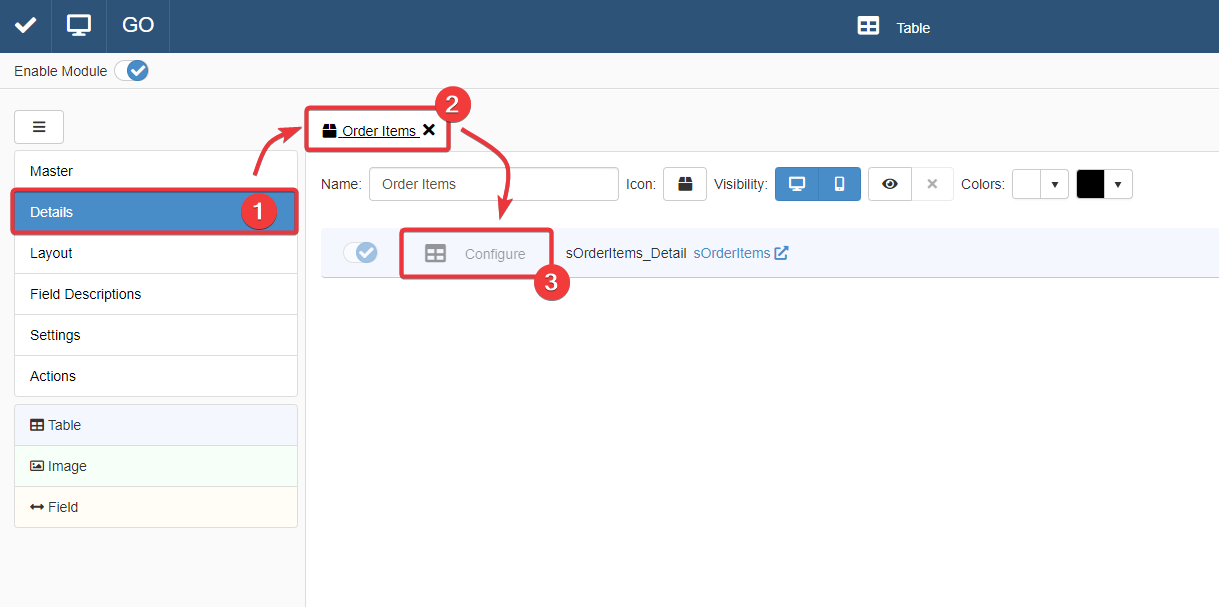
For a Detail Table, you find the same interface by going into Details > [Desired Detail table] > Configure.
The action leads you to an interface that behaves like that of the Master Table in the Master sub-panel.
For more information about Details, check How to Attach a Table with Further Information to a Row: Detail Tables.
Example
The Warehouse Orders application manages the orders from a warehouse. The users need to assign a status for each step of the shipping.
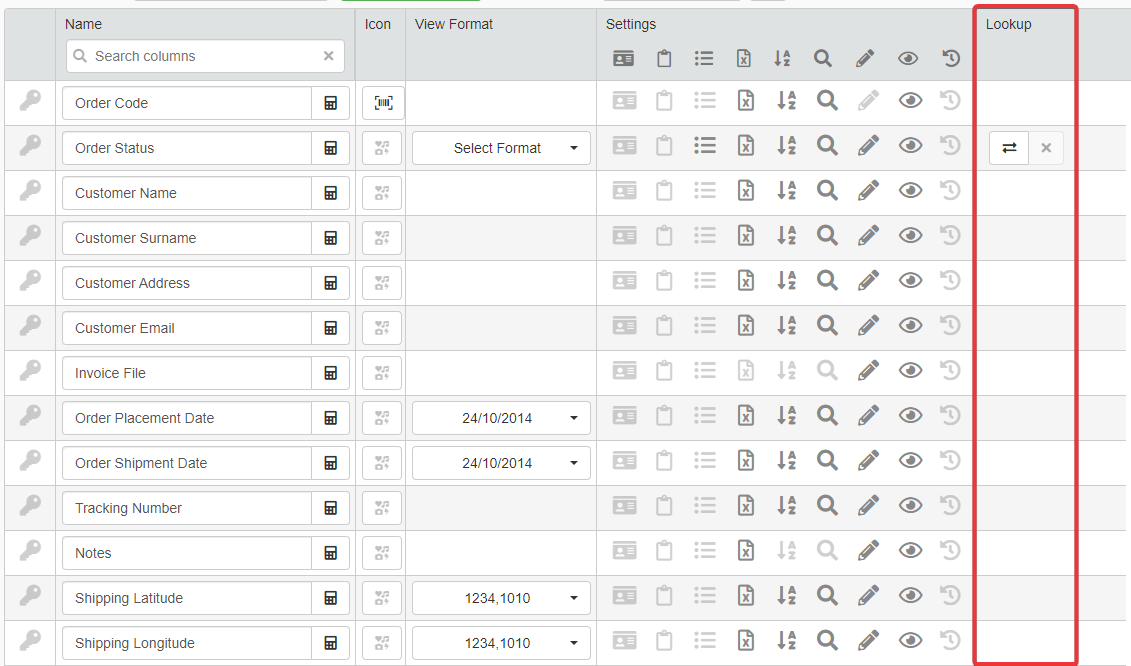
The solution is configuring the field column Order Status as Lookup drop-down list in the Master table. In this way, the users pick a particular status from the list.
Fortunately, the Relation between the field Order Status (OrderStatusId) and the Storage containing the shipping statuses (sOrderStatuses) is already established on the Storage. The Relation is named sOrderStatuses_Lookup.

You need to configure the application to display sOrderStatuses_Lookup as a Lookup drop-down list.
-
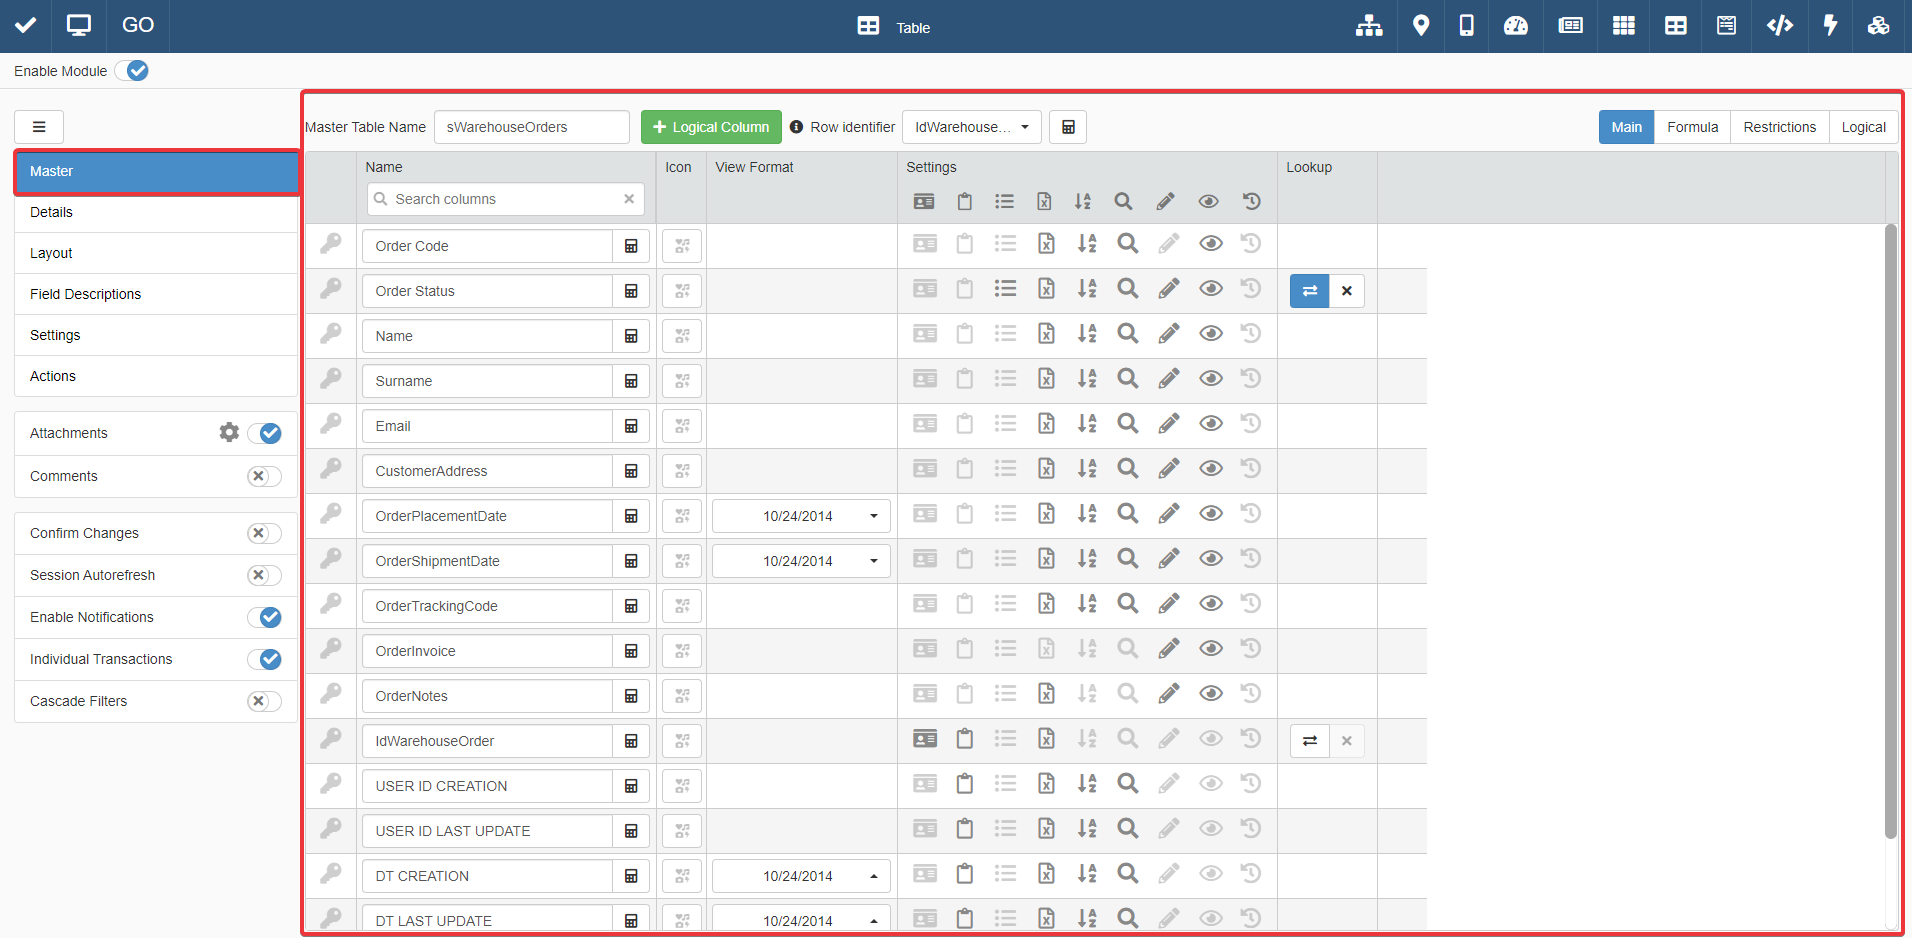
In Design Mode in the main panel Table, go the Table settings of the table containing the field you want to configure as Lookup.
For Master Table, you can find the table settings under the Master sub-panel. The Master sub-panel is the first panel opening by default when you access the Design Mode.
For Detail tables, you must go to the Details sub-panel. Choose one of the Detail tables, and click on Configure.
-
If the field has a Relation that can be used for a Lookup, the button Create the Lookup Relation () appears in correspondence of the field under the Lookup column.
Click on the Create the Lookup Relation button (). The action opens the Lookup's configuration window.
-
The window contains the following settings:
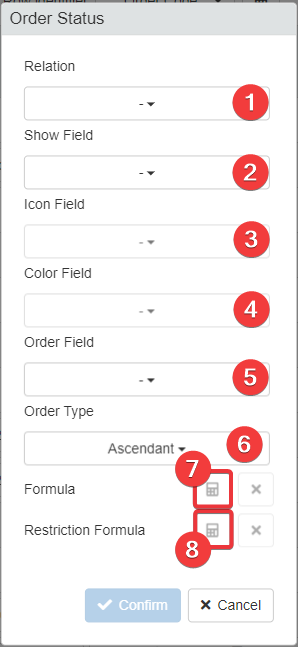
Property Description 1 Related Table The Relation to the table containing the options for the drop-down list. (The tables of Storages with a Relation established with the field will appear in this list.) 2 Show Field The field containing the names of the options for the drop-down list. 3 Icon Field optionalThe field containing the icons for the options.4 Color Field optionalThe field containing the colors assigned to each entry of the drop-down list.5 Order Field The field to use as reference to order the list of the options of the drop-down list. 6 Order Type Option to set Ascendant or Descendent order for the Order Field. 7 Formula optionalAdds a formula to set a behavior to the Lookup. Opens the Formula Editor. (See Formulas for more information about functions to employ to define conditions for displaying certain subsets of options.)8 Restriction Formula optionalAdds a formula to display certain options of the list under certain conditions. Opens the Formula Editor. (See Formulas for more information about functions to employ to define conditions for displaying certain subsets of options.)Choose from (1) the Relation you want to use as Lookup and configure the rest of the settings from (2) to (8).
-
Click on Confirm to confirm the Lookup's configuration. (Click instead on Cancel to abort the changes.)
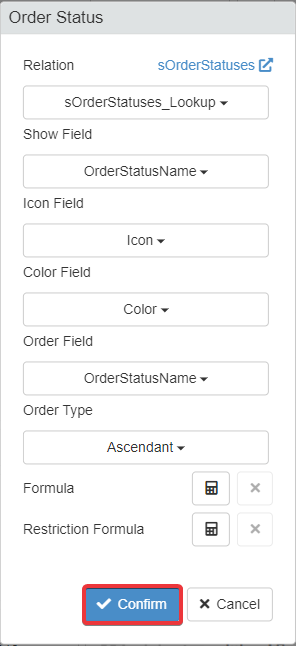
The Create the Lookup Relation button () changes color to confirm the completed configuration.
-
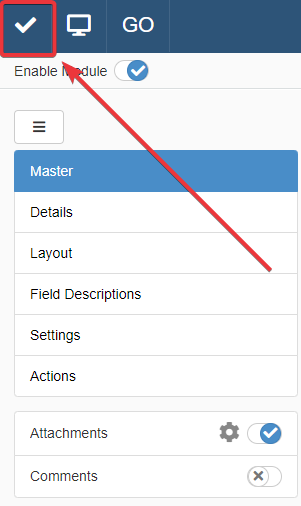
Click on Save button. You can find the Save button in the upper-left corner of the Design Mode.
Hint
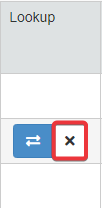
If you want to disable a Lookup, click on the icon next to the Lookup's Create the Lookup Relation button ().
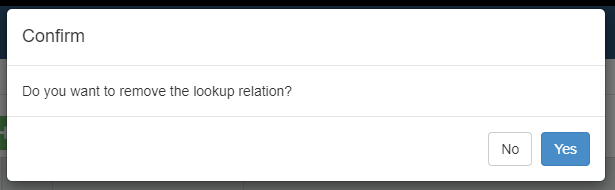
A window will ask for confirmation. Click Yes to confirm the action or No to abort.
Hint
You can configure a Default Value for the Lookups: an default value selected automatically in the drop-down list when you add a row to the table.
See How to Configure a Default Value for New Entries' Cells for more information about Default Values.
Success
You have configured a Lookup (or Multiselection field) on the table. When clicked, the table cell will display a drop-down menu to choose an option.