How to Configure a Default Value for New Entries’ Cells
Required Permissions
This section requires the Application Designer permission from your Domain's administrator.
Check What are the Design Tasks? to learn more about permissions to work with Design Mode and other tools.
Learn how to configure a Default Value for a table's field. When a users creates a new row, the configured field's cell will have the specified value.
Note
The procedure is the same for both Master and Detail tables.
For a Detail Table, you find the same interface by going into Details > [Desired Detail table] > Configure.
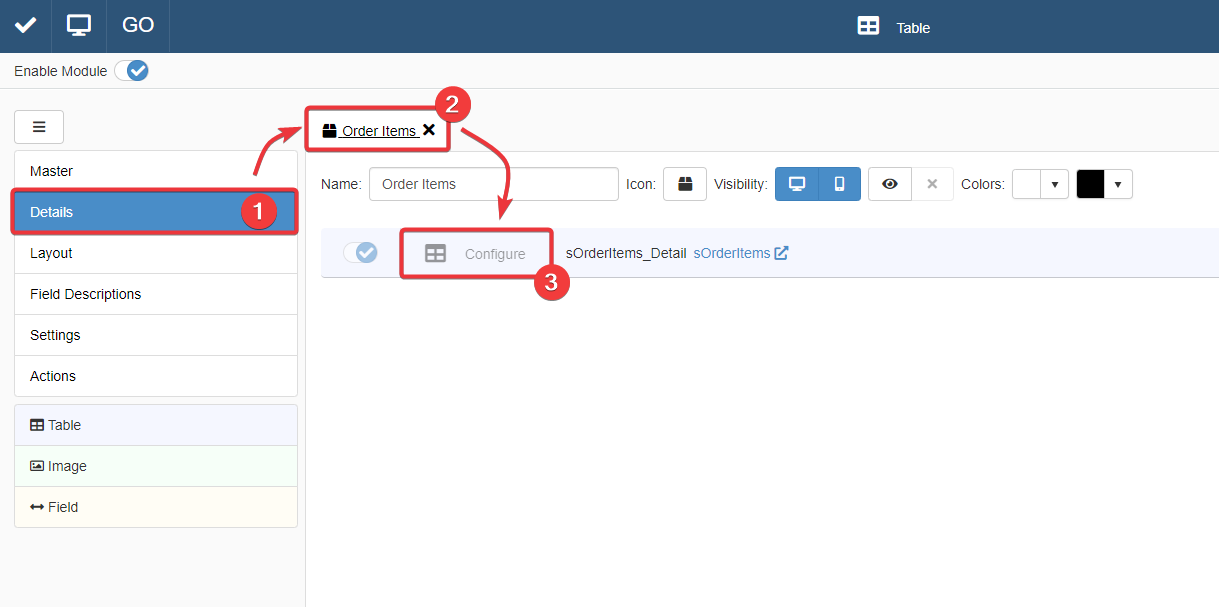
The action leads you to an interface that behaves like that of the Master Table in the Master sub-panel.
For more information about Details, check How to Attach a Table with Further Information to a Row: Detail Tables.
-
In Design Mode, go to the table's settings containing the field column where you want to insert the Formula.
For Master Table, you can find the table settings under the Master sub-panel. The Master sub-panel is the first panel opening by default when you access the Design Mode.

For Detail tables, you must go to the Details sub-panel. Choose one of the Detail tables and click on Configure.
-
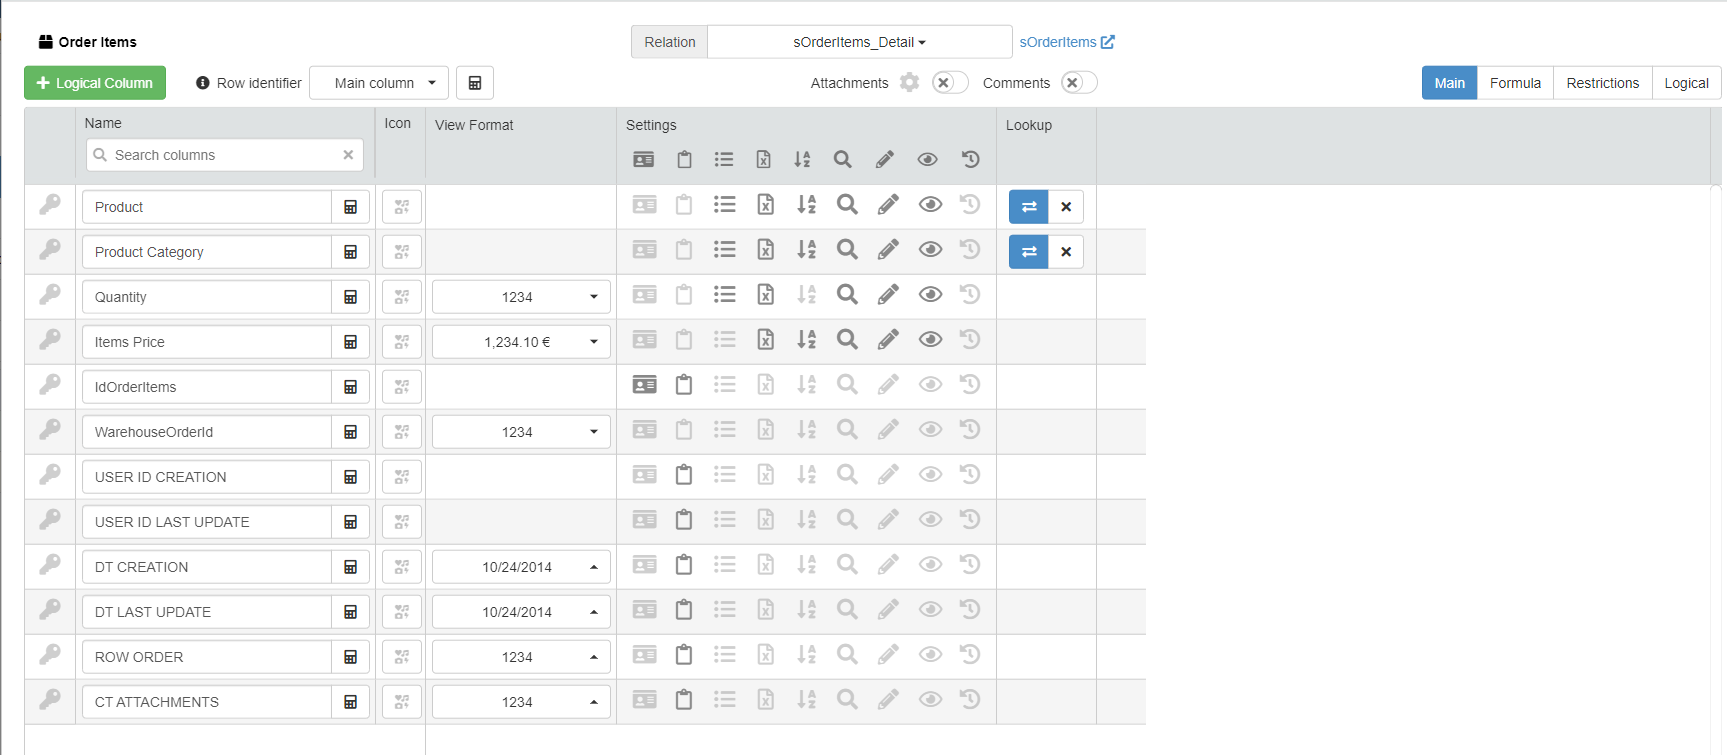
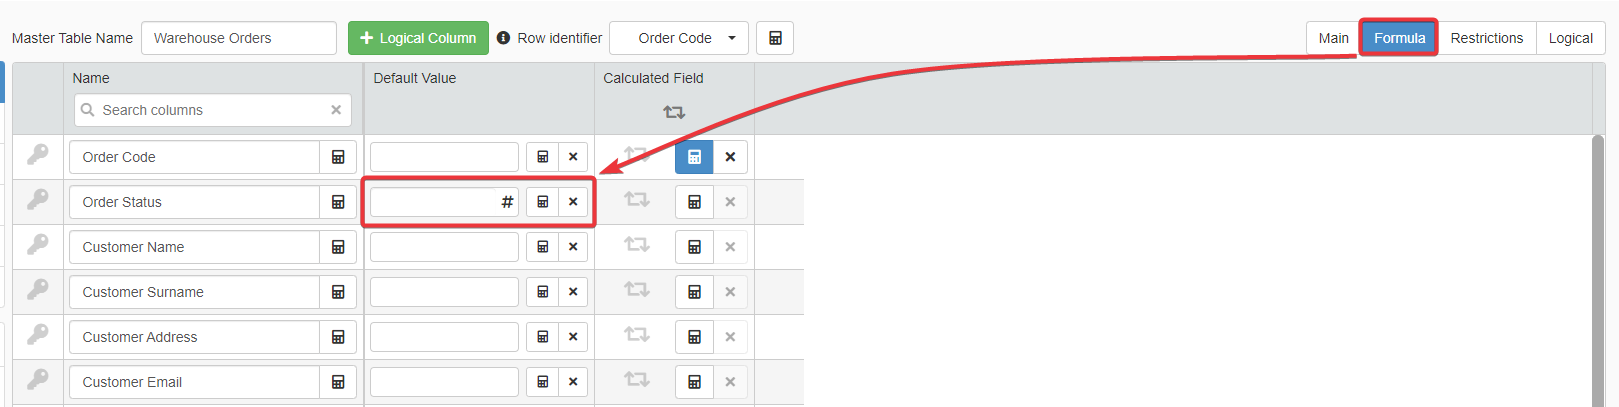
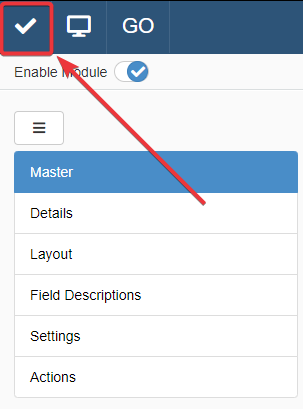
In the table settings, click on the Formula tab. You find the tabs on the upper-right corner of the settings.

-
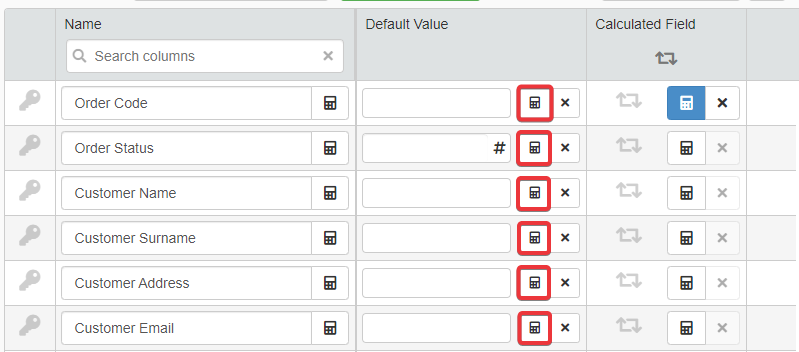
Under the Default Value column, find the desired field and type in the textbox the default value.
Hint
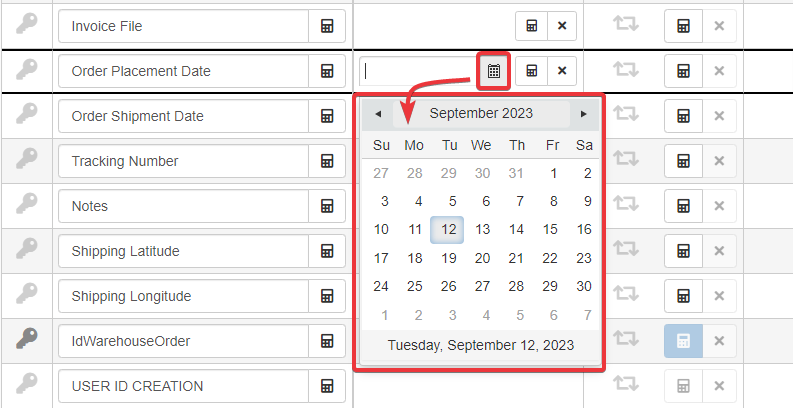
If the field is a Date or Time or Date Time field type, you can choose the default value from a drop-down list by clicking on the icon next to the textbox.
Example
Read this small example of how you can use the Default Values with Lookup drop-down lists. (See How to Configure a Table Cell as a Drop-Down List to learn how to create Lookup drop-down lists and how they work.)
The Warehouse Orders application manages all the orders from a warehouse. Each row is an order and rows have a lookup drop-down list cell Order Status.
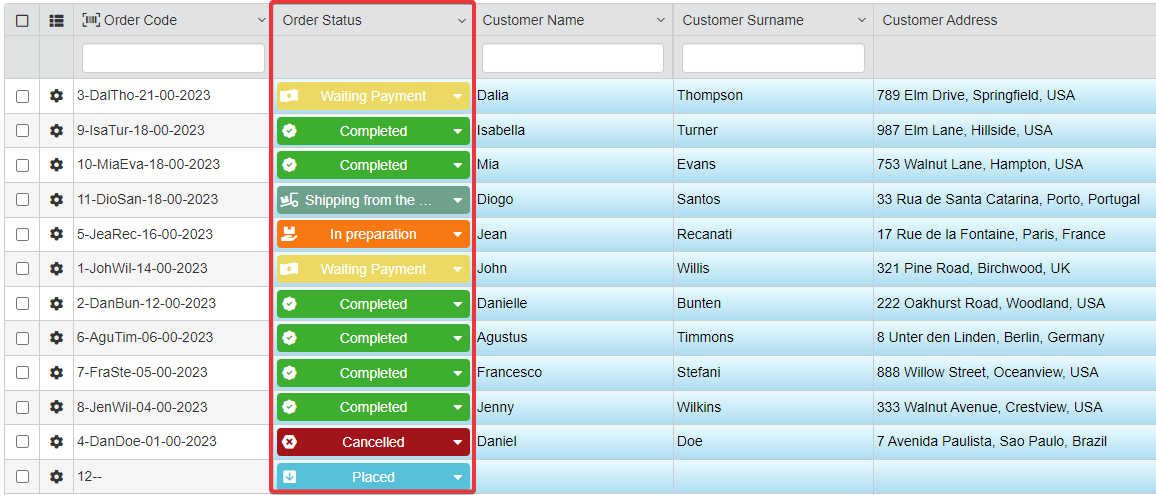
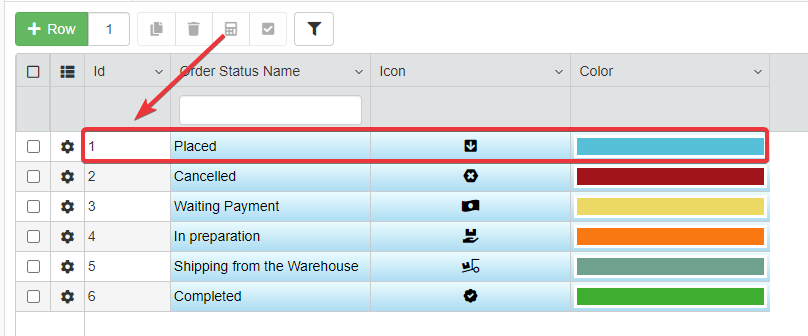
Order Status tracks an order's state by recording the status' Id from a Storage containing the various statuses' names (e.g. "Placed", "Waiting for Payment", "In Preparation", and so on). A specific application enables to record the different statuses.
The Designer should specify the Default Value for the Order Status drop-down list: each new order should have "Placed" as value for the field Order Status.
In Design Mode, the Designer inserts
1as Default Value for the Lookup drop-down list field Order Status.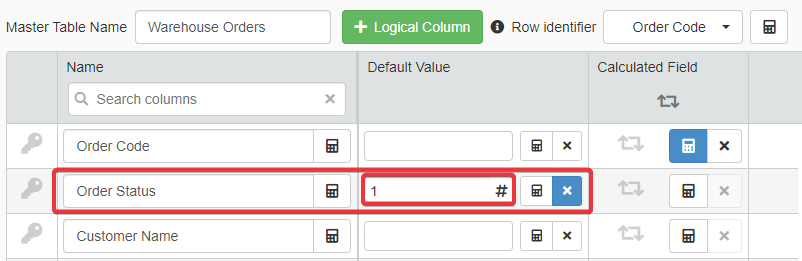
1is the Id of the status "Placed" on the Storage listing all the orders' statuses.Every time a user adds a new order, the Order Status will be set on "Placed" automatically.

As alternative, click on the next to the textbox to insert a Formula to calculate the default value automatically. The action opens the Formula Editor.
Hint
Check the Formulas Use Cases to see some examples of formula to calculate values automatically.
-
Click on the Save button to save the Default Value settings. You can find the Save button in the upper-left corner of the Design Mode.
Note
If you want to use the Default Value for a field's cell in place of the current value every time you clone a row, click on the icon corresponding to the field. You find the icon under the table settings.
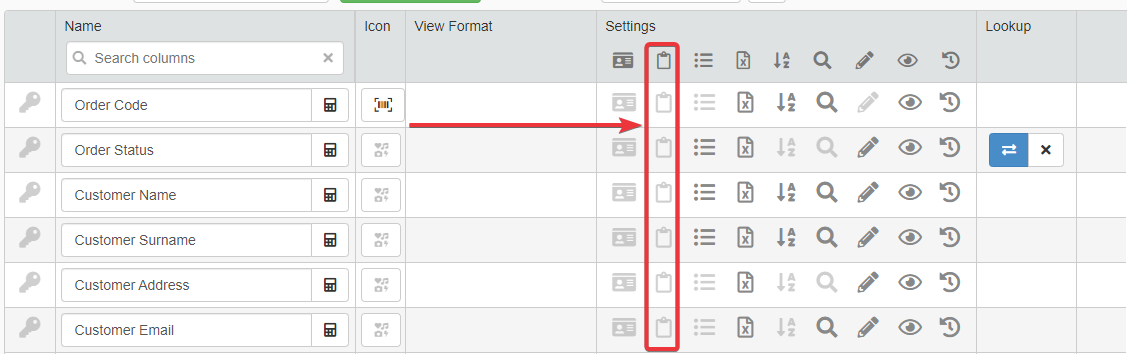
Every time users clone a row, the cell of that field will record the Default Value
Success
You have configured a Default Value for the desired field's cells.