Where to Insert Conditions for Changing the Table’s Appearance
Required Permissions
This section requires the Application Designer permission from your Domain's administrator.
Check What are the Design Tasks? to learn more about permissions to work with Design Mode and other tools.
Summary
Learn where to insert Formulas in the Layout panel to change the rows, cells, and headers colors according to certain conditions.
Designers can configure table's elements to change colors according to criteria specified in a Formula.
Note
The process to configure a Formula to customize the table headers, cells, and rows' colors is the same for both Master and Detail tables.
Inserting Formulas to Change Row Background and Text Color
Learn where to insert a Formula to change a row's color or text according to the specified condition.
When the Formula condition will be satisfied, the row's background or text colors change.
-
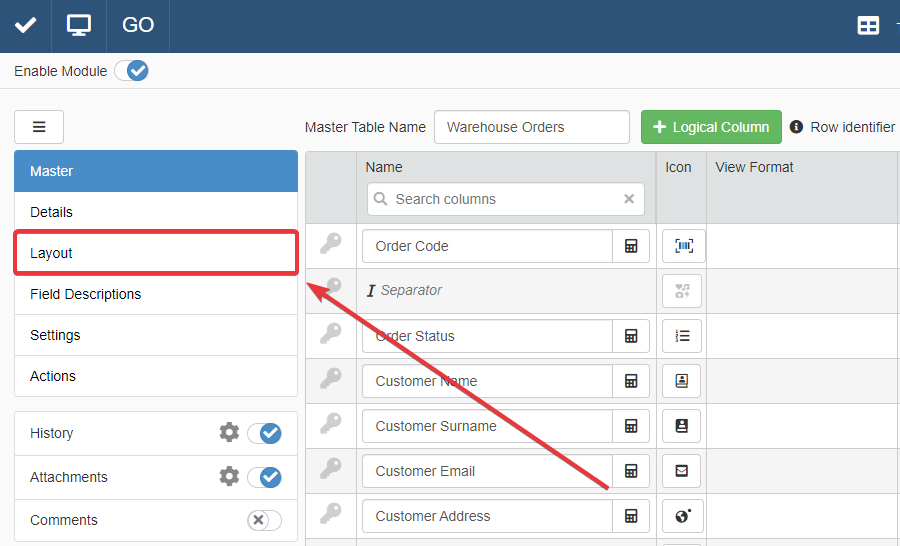
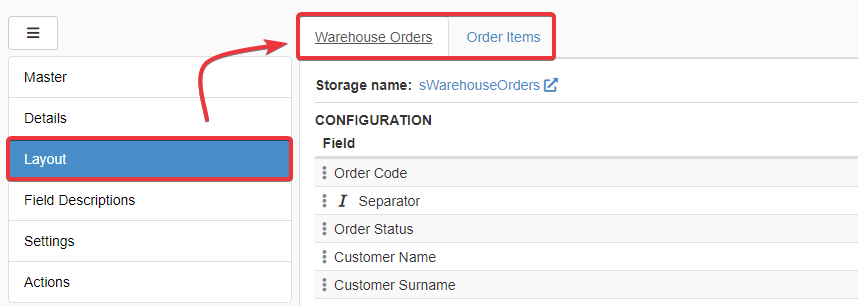
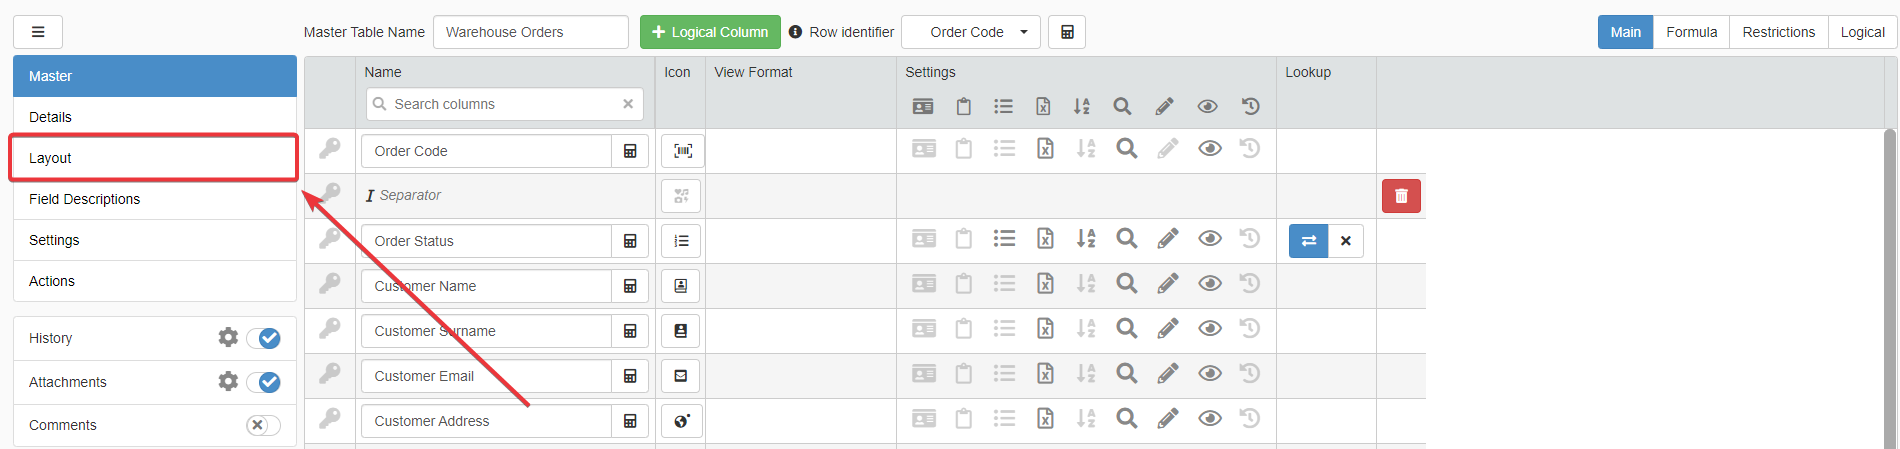
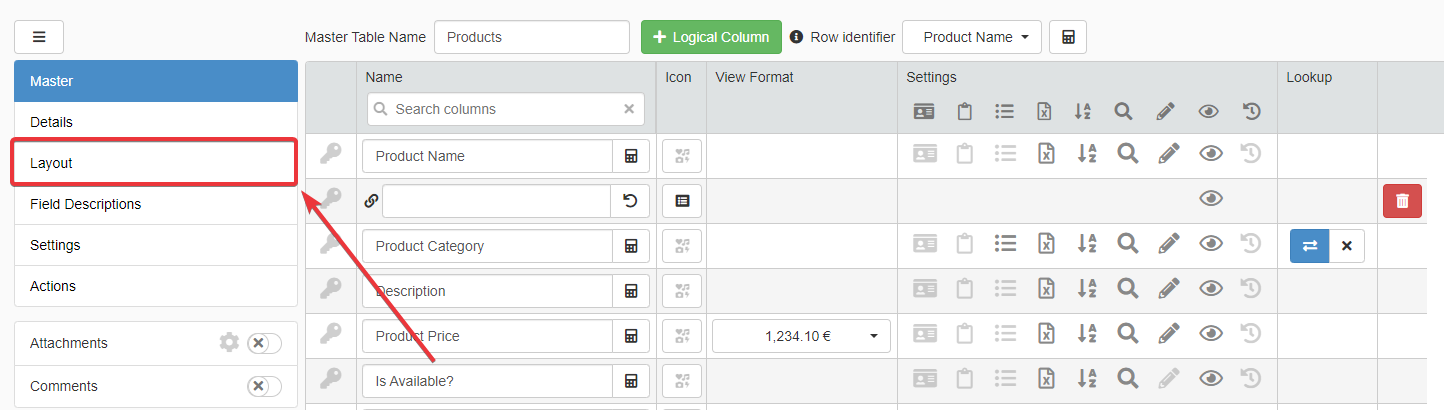
In Design Mode, go to the Layout panel.
-
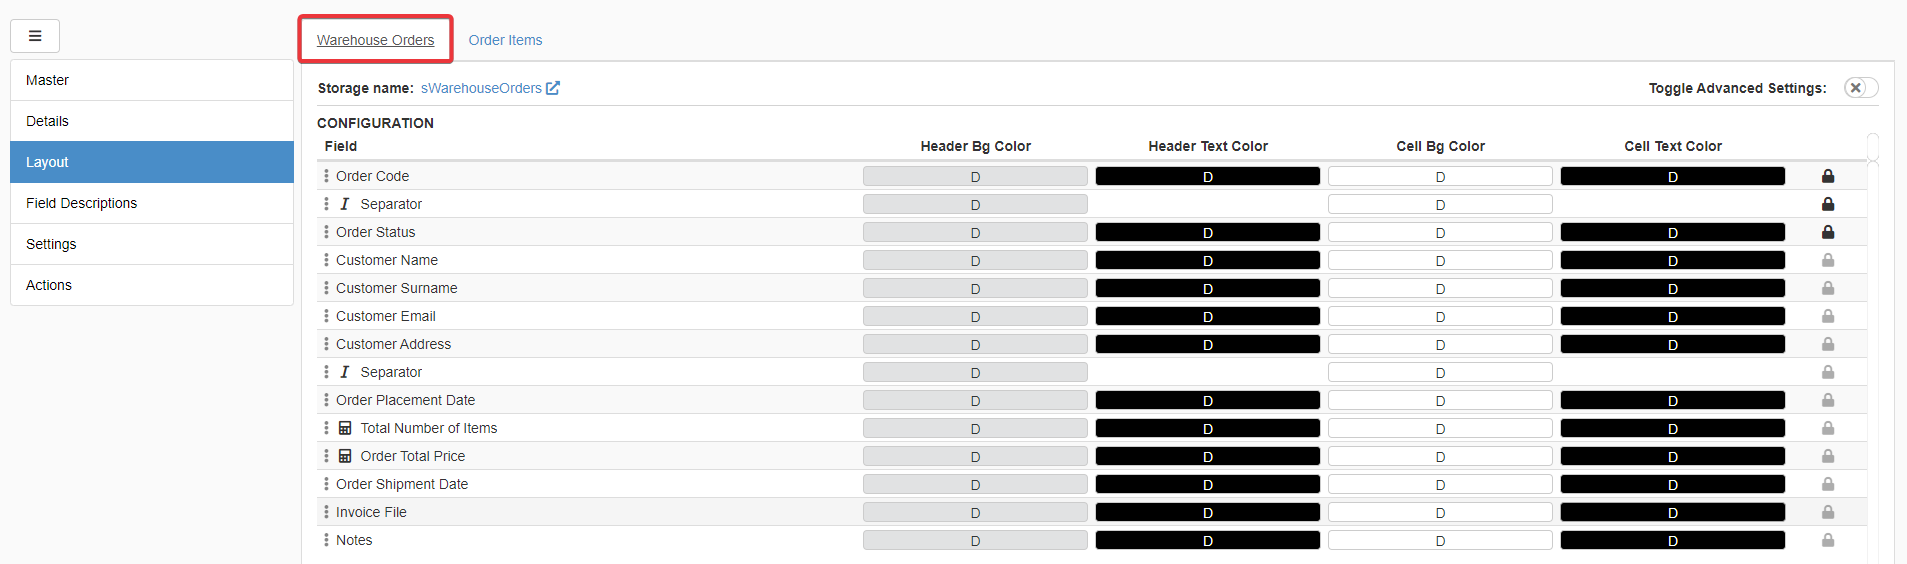
Click on the table's tab for which you want to insert a Formula managing text or background colors.
-
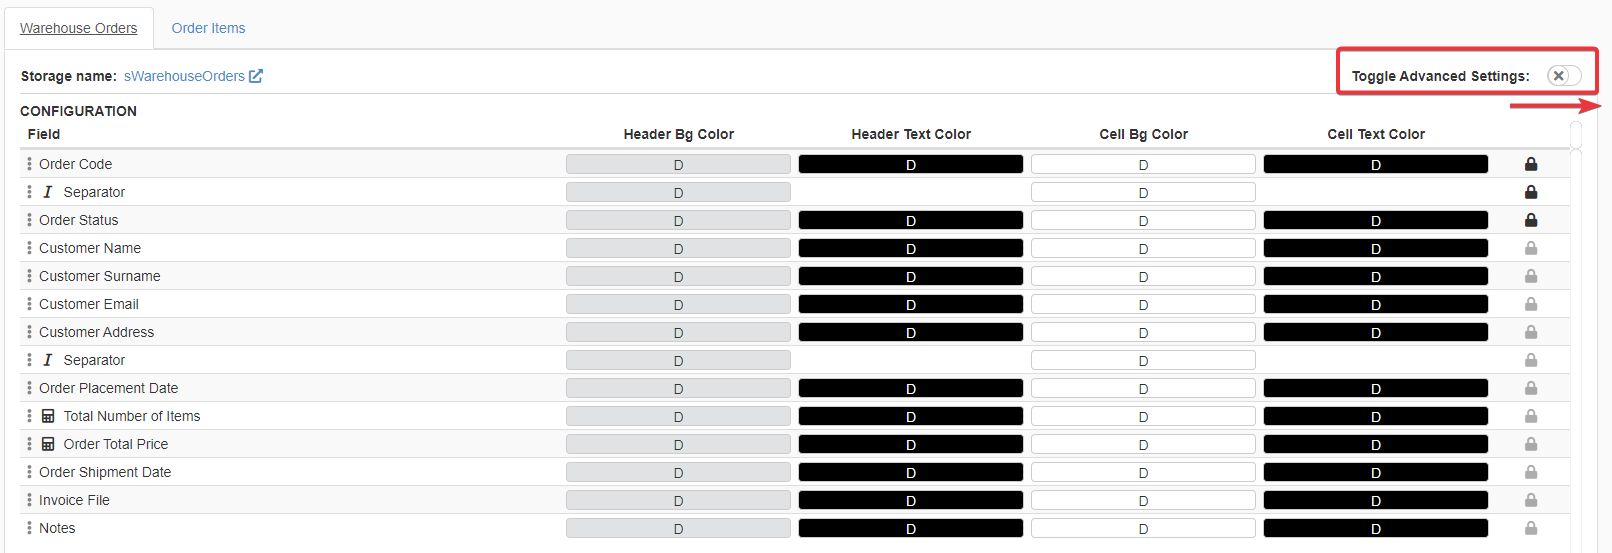
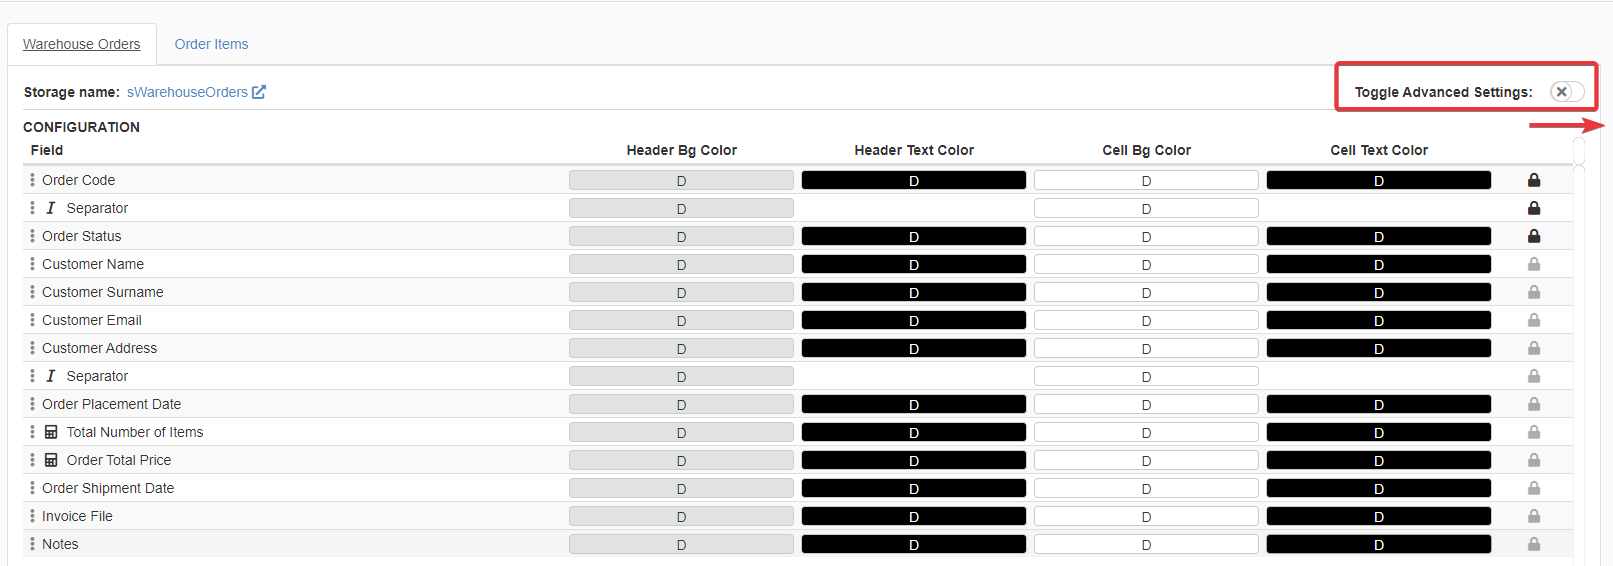
Click on the Toggle Advanced Settings toggle switch.
-
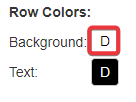
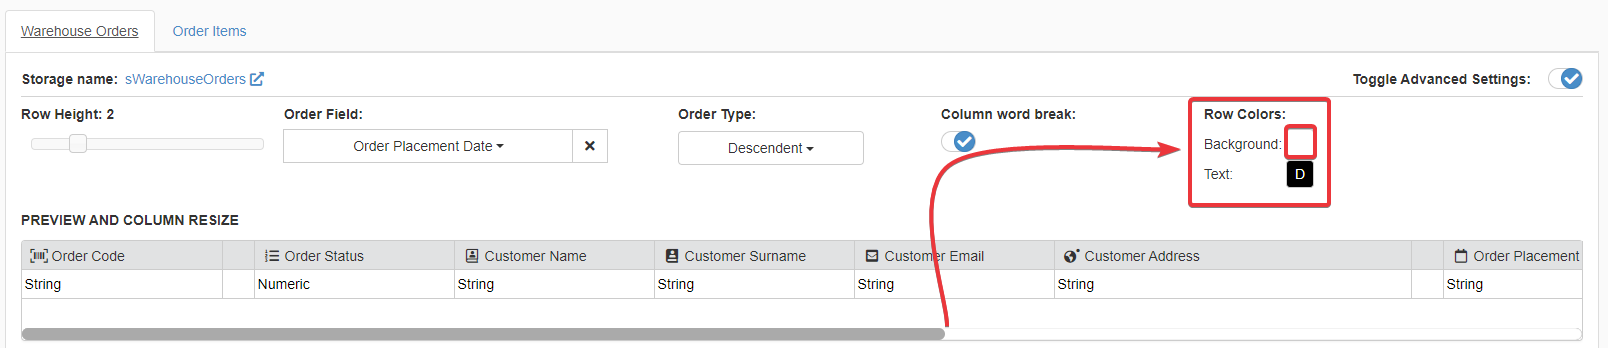
You find the buttons to insert the Formulas for the Row's background and text color under the Row Colors label.
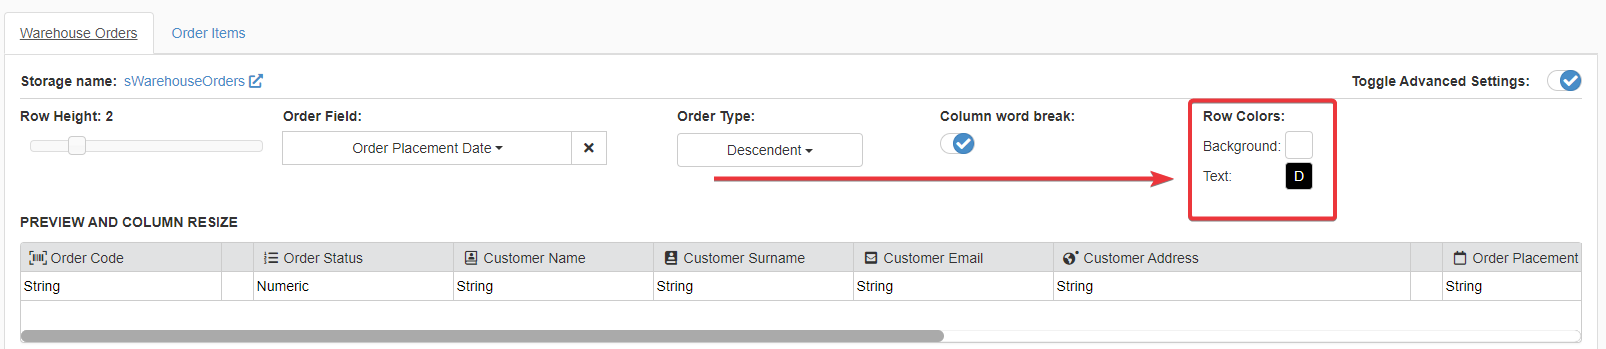
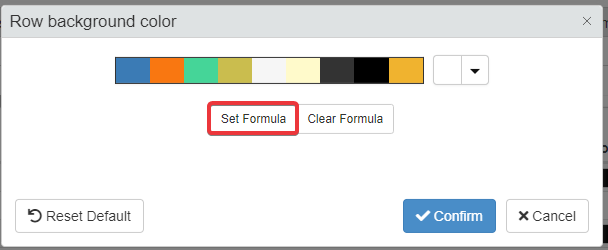
Click on the Background button to open the Row background Color window and insert a Formula for the row background. The inserted formula will manage rows' background color.

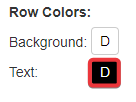
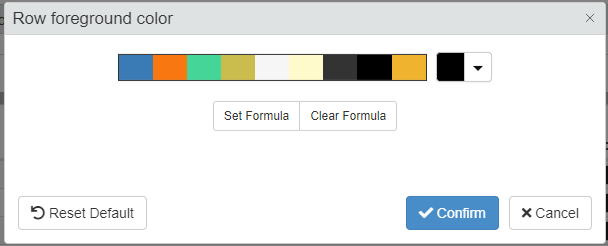
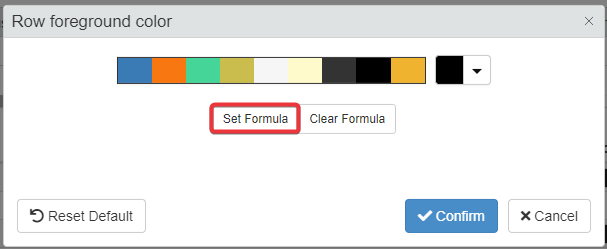
Click on the Text button to open the Row foreground Color window and insert a Formula for the text's color. The inserted formula will manage the rows' text color.
-
Click on the Set Formula button in either the Row background Color or Row foreground Color window (depends on the choice made at the previous step 4).
-
Insert the Formula in the Formula Editor. You can insert a HTML Supported Code to specify a particular color in a Formula between quotation marks (
" "). -
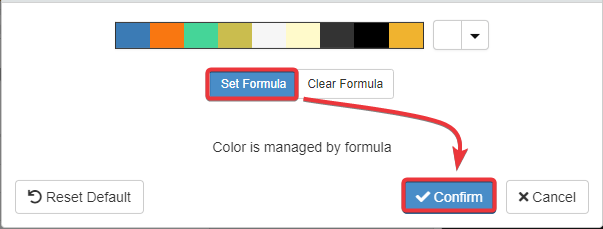
Once typed the formula, click on the Confirm button in either the Row background Color or Row foreground Color windows.
-
After the formula's insertion, the buttons display the F(x) tag. F(x) points that a formula manages that appearance element.

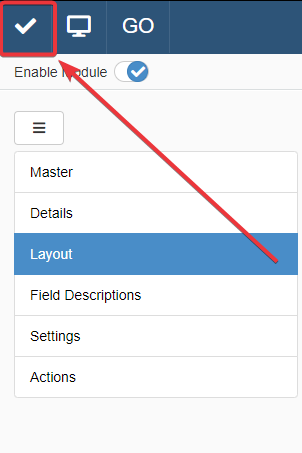
Click on the Save button to save the changes. You can find the Save button in the upper-left corner of the Design Mode.
Success
You have configured a Formula to manage the rows' background and text color according to certain conditions.
Example
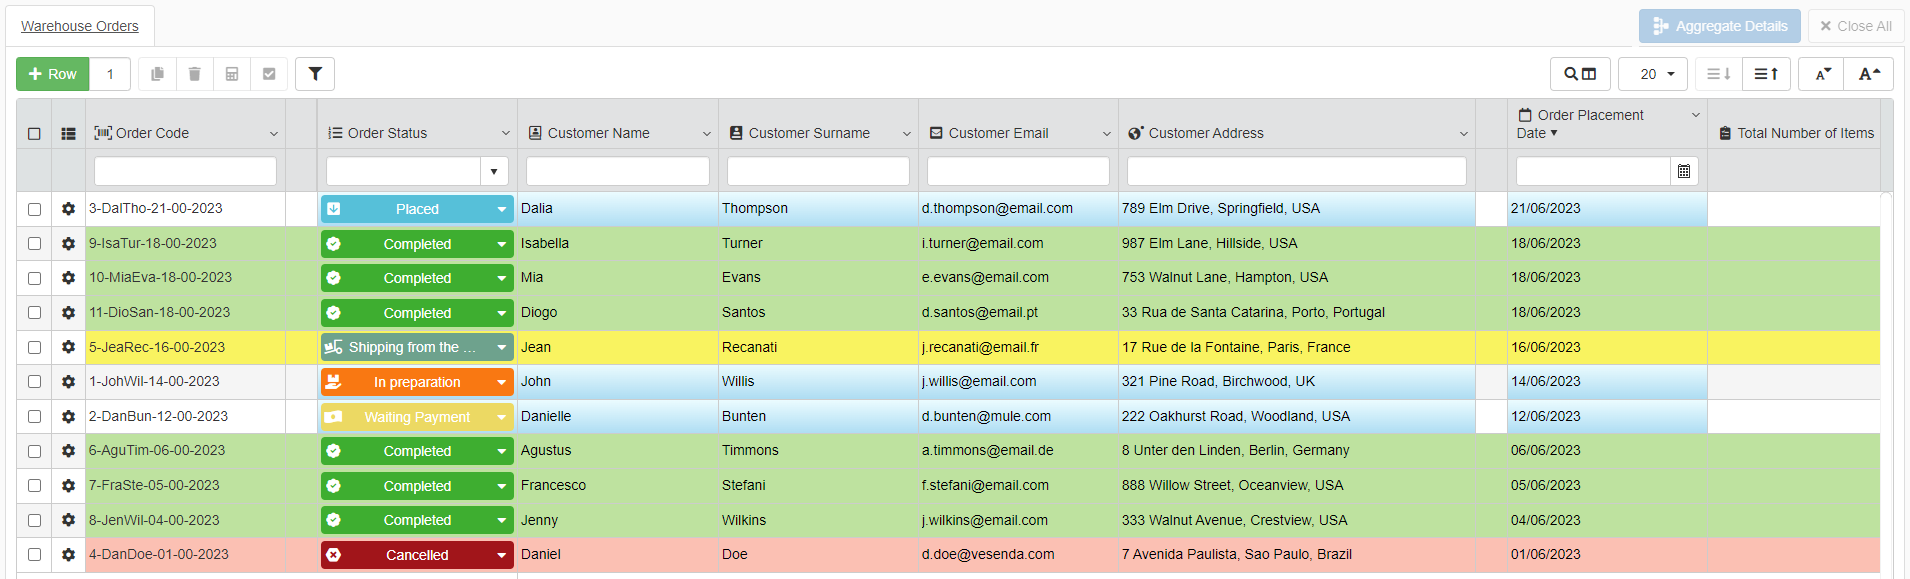
The Warehouse Orders application manages the orders and shipping from a warehouse.
Each Master table's row stands for an order. Each Row has a Lookup drop-down list called Order Status. Order Status records the unique Id for each possible order status. (E.g. The "Placed" status has the Id 1 and the "Cancelled" status has the Id 2.)

Users need an aid to identify orders already completed, waiting to be picked up or cancelled while skimming throught the Master table's pages.

A solution is employing a formula that changes the rows' color according to the order status.
In Design Mode, the Designer accesses the Layout sub-panel.
They choose the Master table Warehouse Orders.
The Designer clicks on the Toggle Advanced Settings toggle-switch.
Then they click on the Background button under the Row Colors label.
The action opens the Row background Color window.
The Designer clicks on the Set Formula button and inserts the following formula:
1 2 3 4 5 6 7 8 9 10 11 12 13 14 15 16 17 18 19 20 21 22 23 24 25 26 27 28 29 30 31 32 33 34 35 36 37 38 39 40 41 42 43 44 45 46 47 48 | |
Then the Designer save the configuration and all the changes in Design Mode.
Now, the application highlights of green the Completed orders, yellow the orders that are shipping from the Warehouse, and red the Cancelled orders.

Inserting Formulas to Change Cell Color
The procedure is the same explained in the section Change Table Headers or Cells Colors.
The only exception is clicking on the Set Formula button in the Color Settings of Cell Bg Color window instead of choosing from the palette or the default color options.

Hint
You can insert a HTML Supported Code to specify a particular color in a Formula between quotation marks (" ").
Hint
The Advanced Settings' preview highlights which cells' color are managed by a Formula

Example
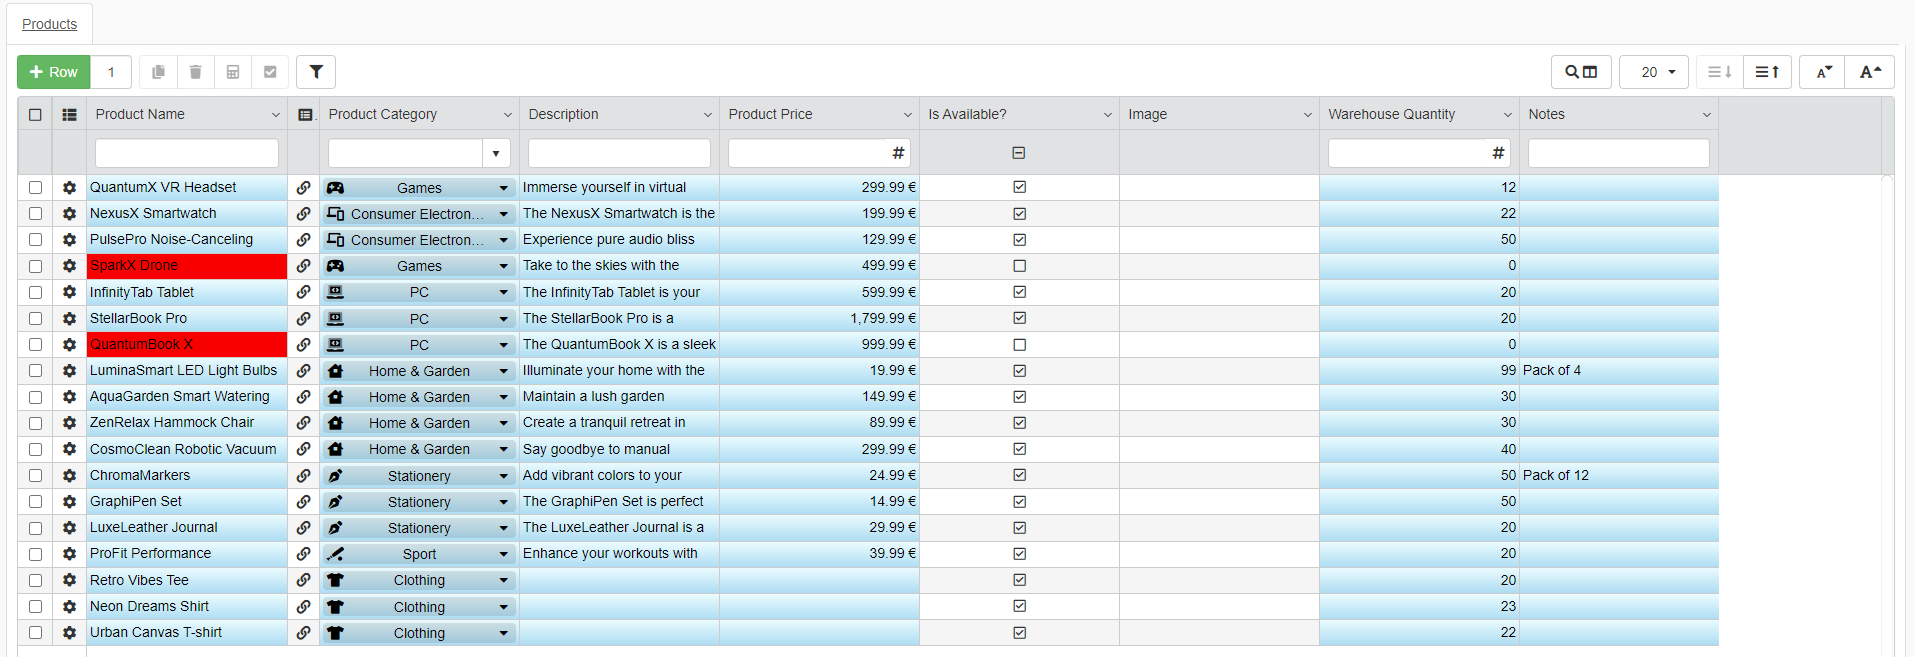
The Warehouse Stock application records the items' catalogue and their quantity in the warehouse.
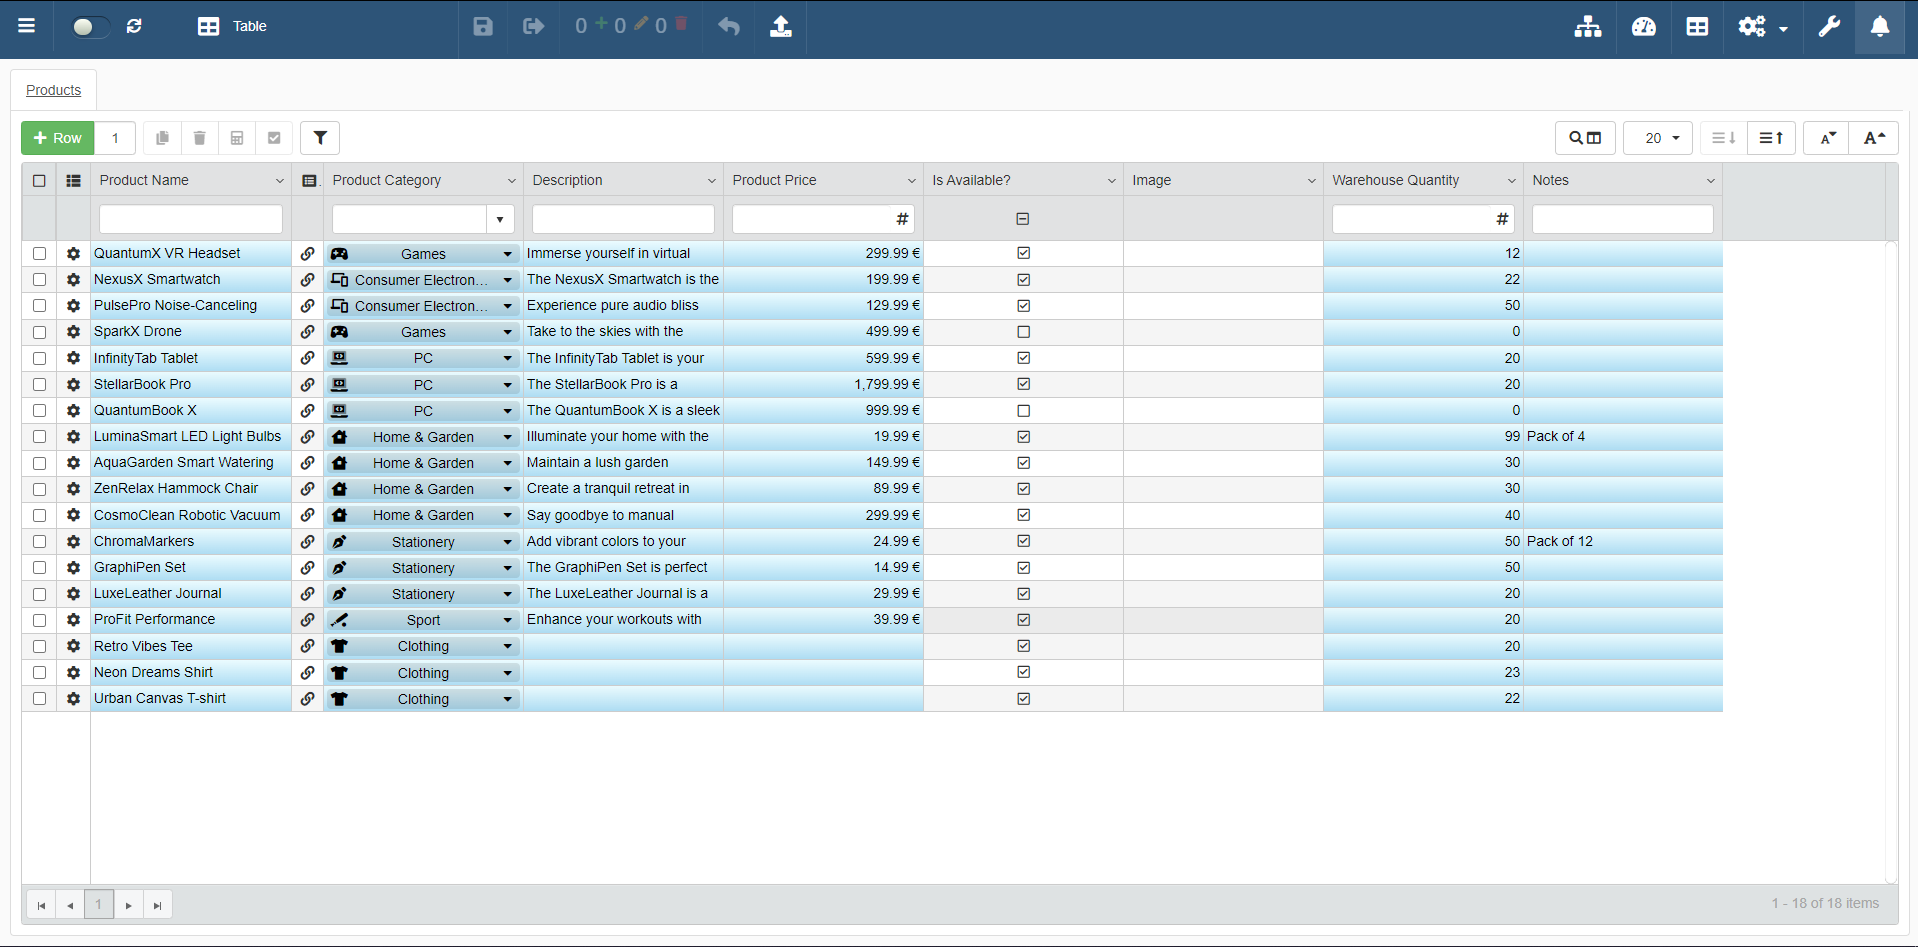
Users might need something highlighting when an item is out of stock without checking the Availability or Quantity fields. A solution is using a Formula highlighting the item's name of red when is not available and the quantity is 0.
In Design Mode, the Designer accesses the Layout sub-panel
Then the Designer chooses the Master table Products and clicks on the Cell Bg Background button for the Product Name field. (Product Name is the String field recording the item's name.) The action opens the Color Settings window for that field.
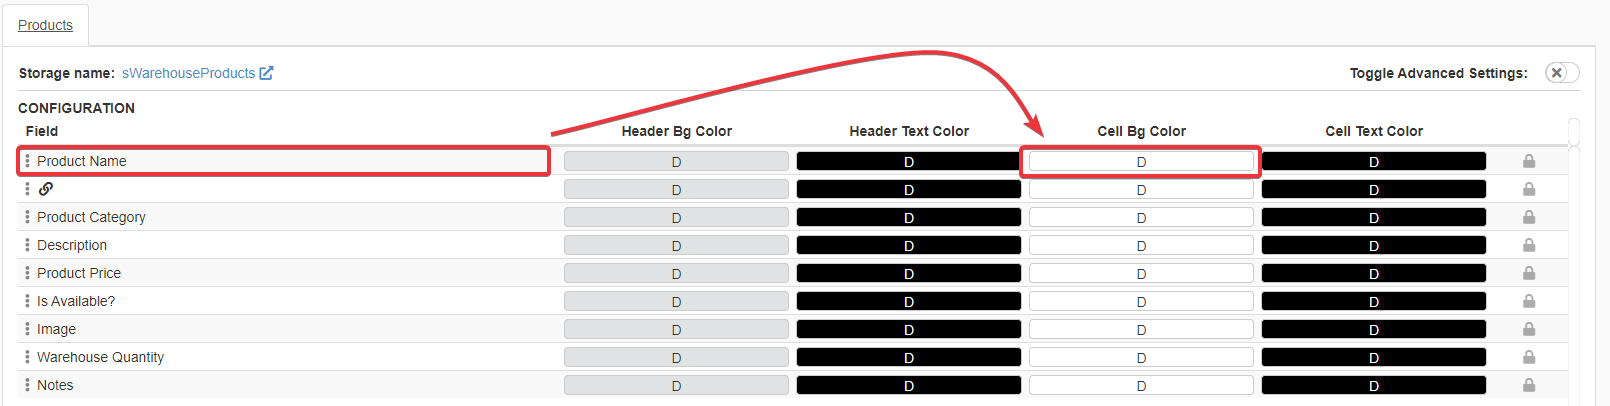
They click on the Set Formula button to insert the following formula:
1 2 3 4 5 6 7 8 9 10 11 12 13 14 15 16 17 18 19 20 21 22 23 24 25 26 27 28 29 30 31 32 33 34 | |
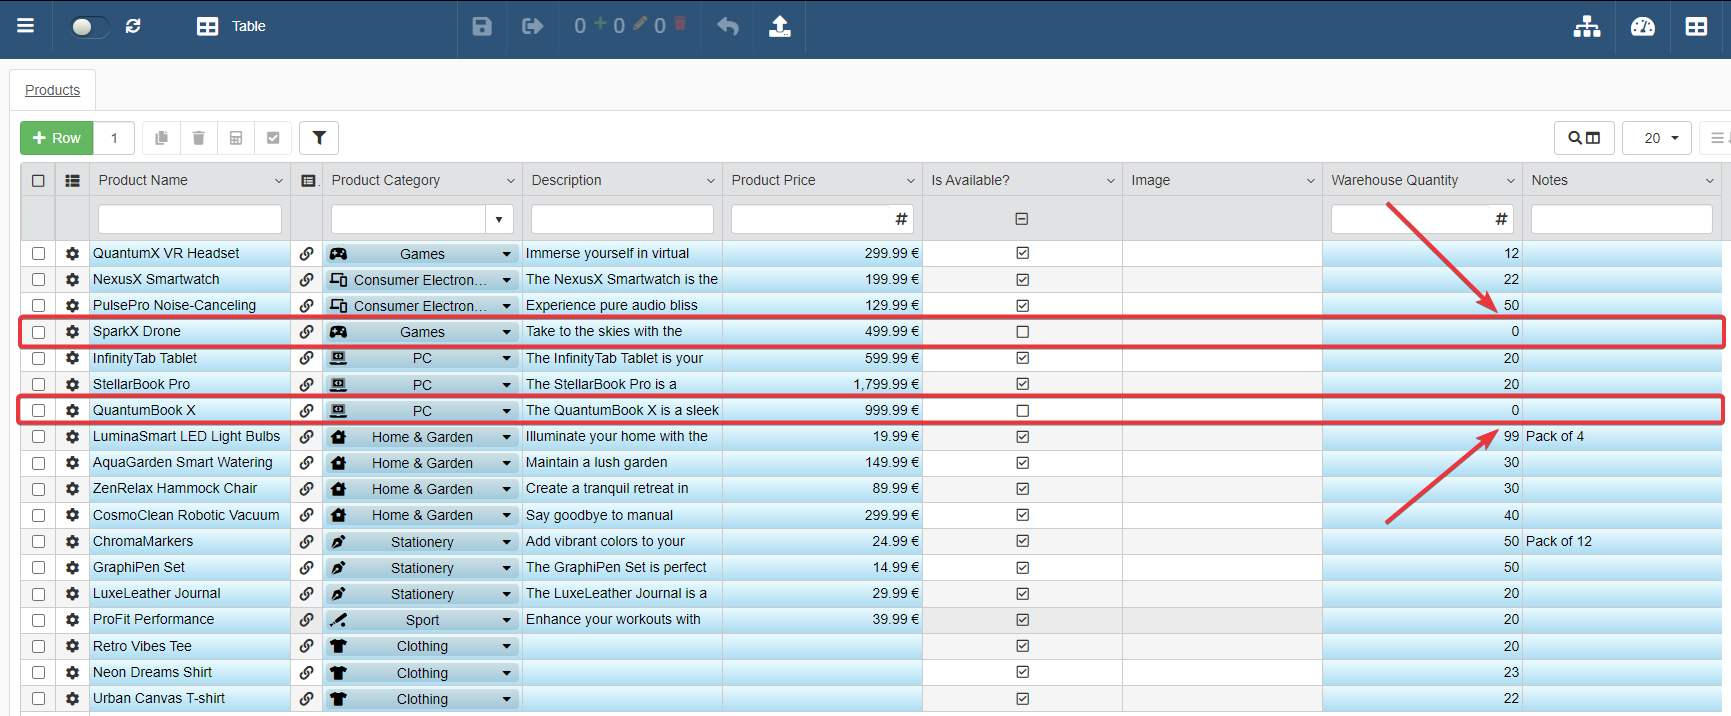
Now, the application highlights with red the field Product Name if the quantity is 0 and the item is out of stock.
Inserting Formulas to Change Header Color
The procedure is the same explained in the section Change Table Headers or Cells Colors.
The only exception is clicking on the Set Formula button in the Color Setting window for the Header Bg Color instead of choosing from the palette or the default color options.
Hint
You can insert a HTML Supported Code to specify a particular color in a Formula between quotation marks (" ").