How to Calculate Values Automatically
Required Permissions
This section requires the Application Designer permission from your Domain's administrator.
Check What are the Design Tasks? to learn more about permissions to work with Design Mode and other tools.
Learn how to insert a Formula to calculate a cell's value automatically. Every time the users create a new row, the Formula calculates the value according to the conditions and the parameters supplied. If the users must compile certain row's fields each time, formulas automate this task for them.
Note
The procedure is the same for both Master and Detail tables.
For a Detail Table, you find the same interface by going into Details > [Desired Detail table] > Configure.
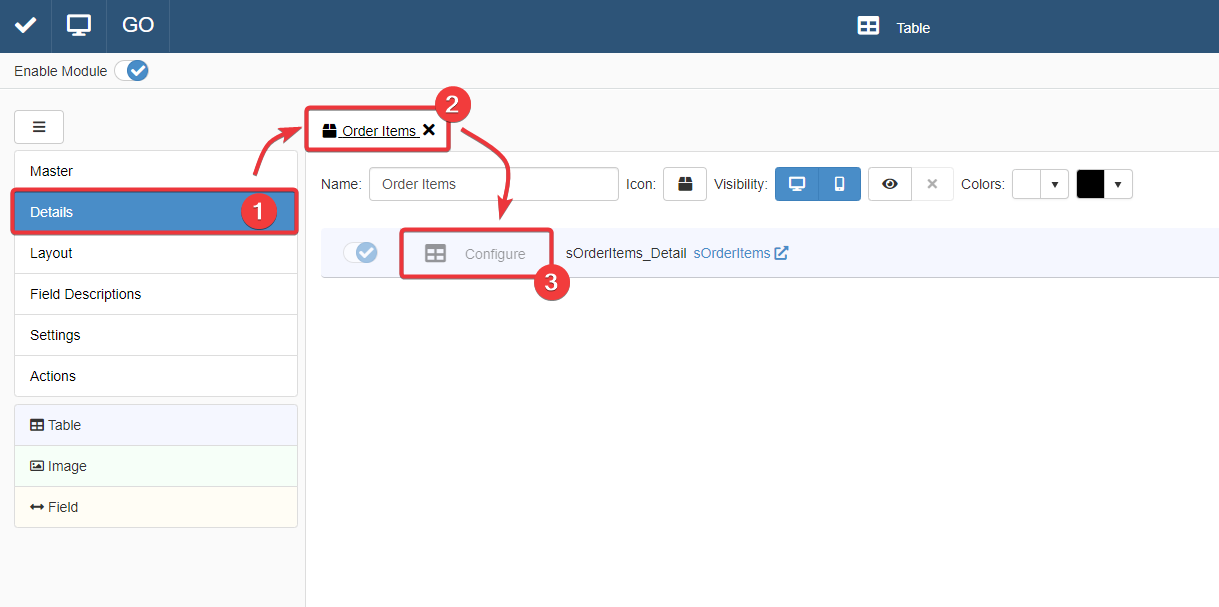
The action leads you to an interface that behaves like that of the Master Table in the Master sub-panel.
For more information about Details, check How to Attach a Table with Further Information to a Row: Detail Tables.
-
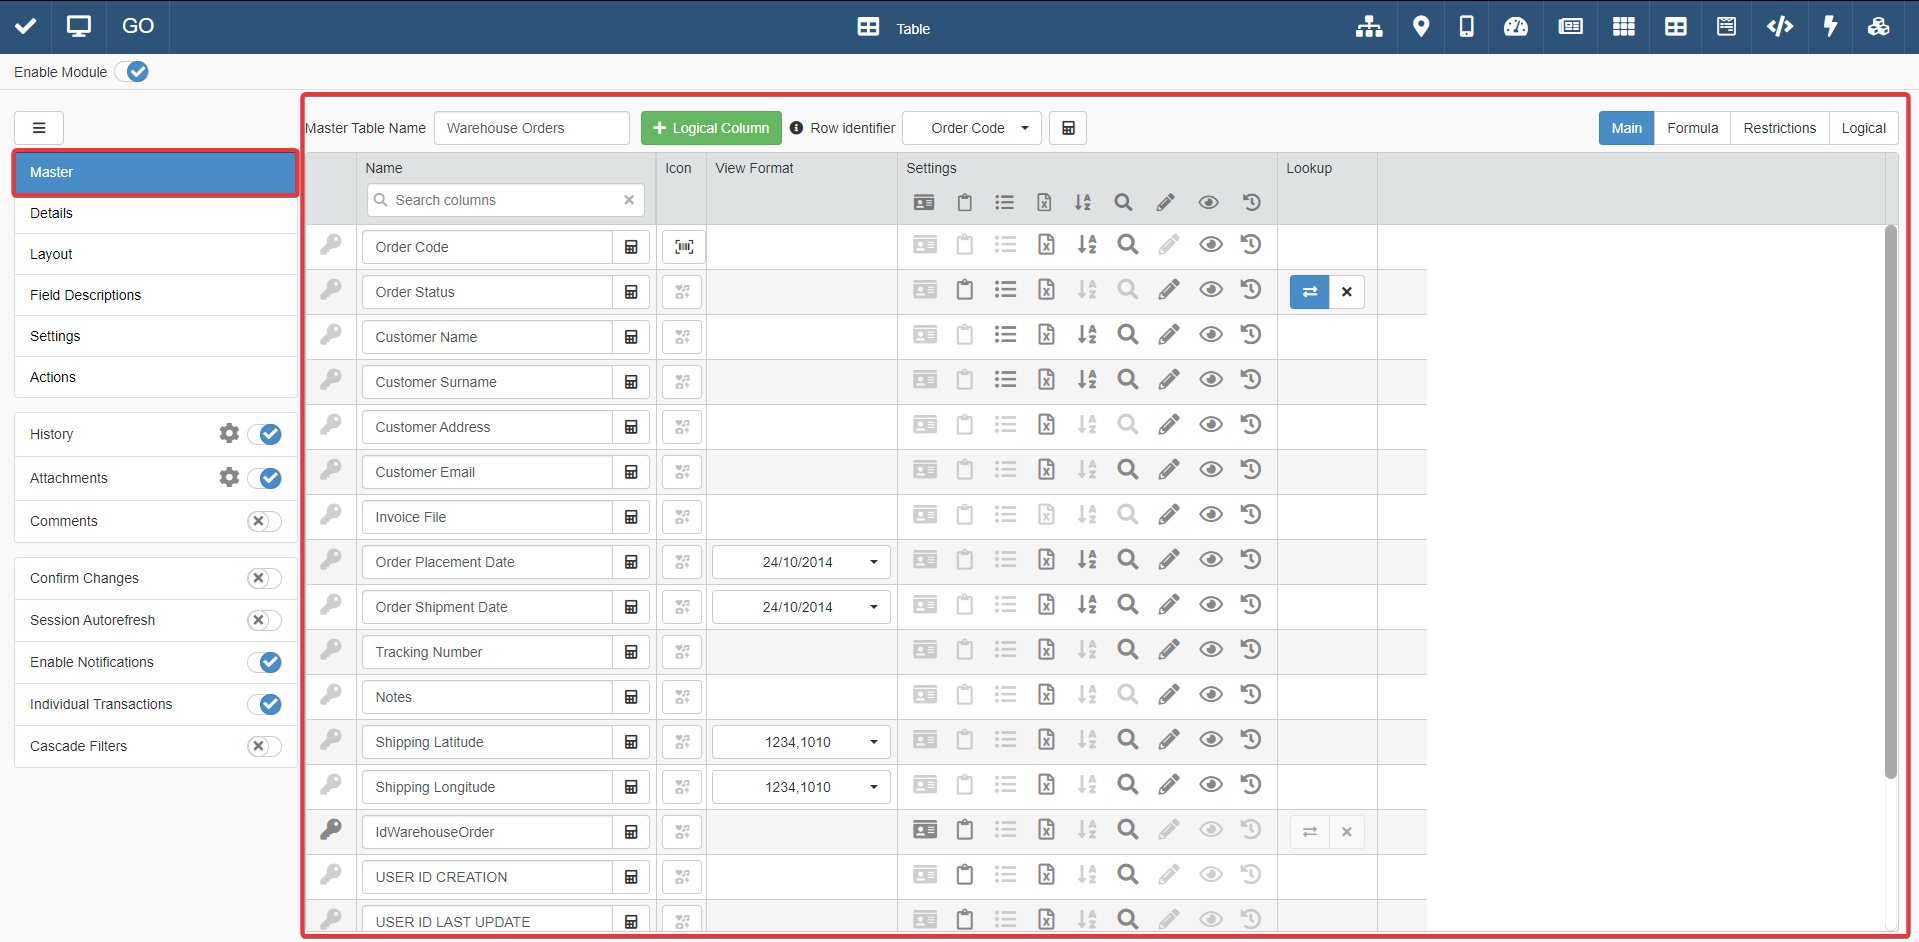
In Design Mode, go to the table's settings containing the field column where you want to insert the Formula.
For Master Table, you can find the table settings under the Master sub-panel. The Master sub-panel is the first panel opening by default when you access the Design Mode.
For Detail tables, you must go to the Details sub-panel. Choose one of the Detail tables and click on Configure.
-
In the table settings, click on the tab Formula. The action leads to the sub-panel where you can configure formulas for calculations.
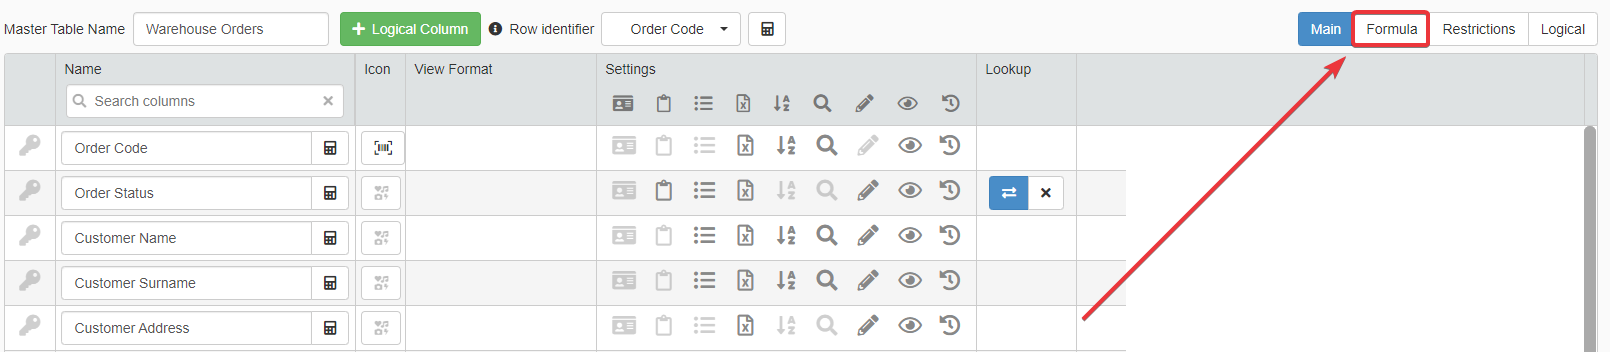
-
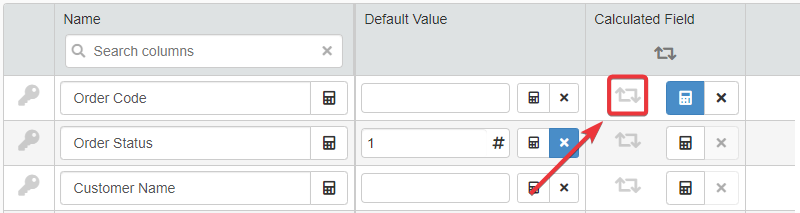
Inserting a formula will automate the calculation for that field's values. No further manual data insertion will be required for that field. Click on the icon next to the field under the Calculated Field column to open the Formula Editor.
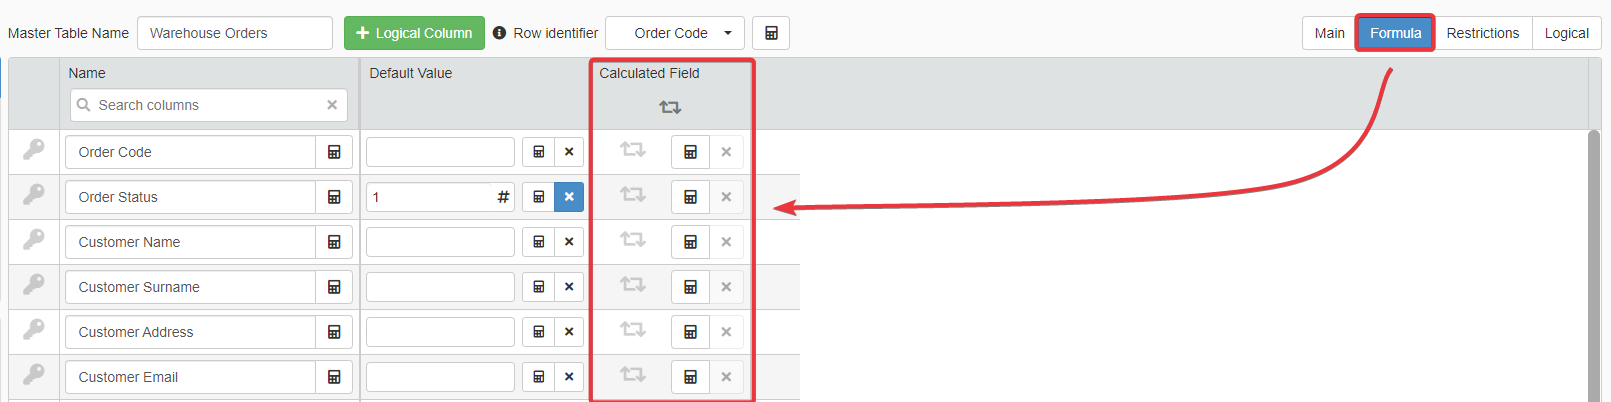
Hint
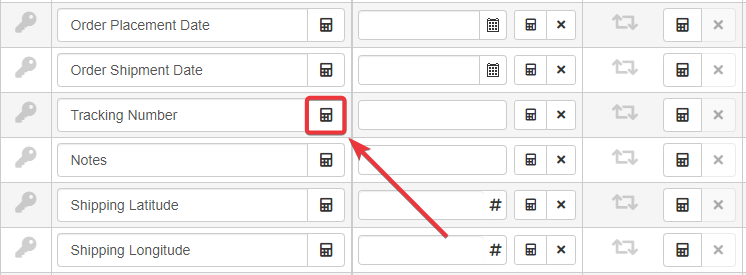
In the Formula sub-panel, Designers can configure formulas to calculate also field names automatically.
Click on the icon next to a field's name under the Name column.
Example
The Warehouse Orders application manages all the orders from a warehouse.
The application must generate a unique code starting from the hidden Identity field IdWarehouseOrder, the first three letters of the Name and Surname fields, and the order placement's date. The String field OrderCode records the code generated through this method.
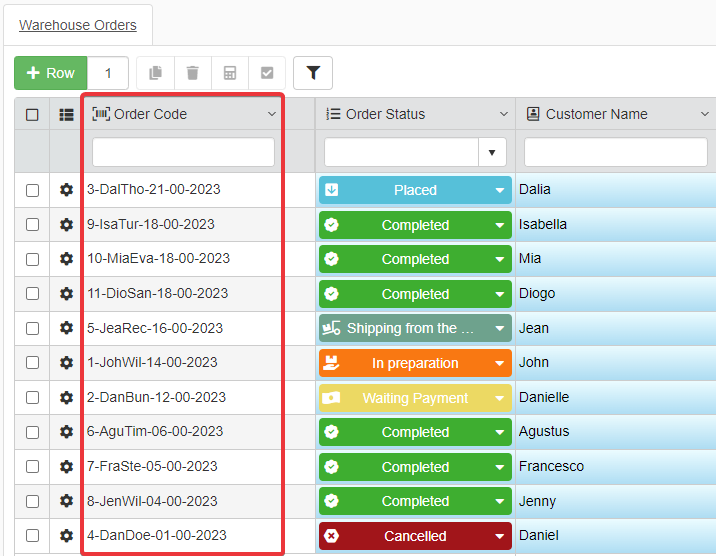
The Designer can automate the code's generation from the Design Mode.
The Designer goes to the Formula sub-panel in the Master table's setting. Then the Designer clicks under the Calculated Field column the icon for the OrderCode field.

They insert the following formula in the Formula Editor.
 1
 2
 3
 4
 5
 6
 7
 8
 9
10
11
12
13
14
15
16
17
18
19
20
21
22
23
24
25
26
27
28
29
30
31
32
33
34
35
36
37
38
39
40
 /*
 The formula creates a code starting from strings
 and fields' values.

 =CONCAT() function accepts any number of parameters to
 merge them in a single alphanumeric string.

 The first parmeter is a reference through the $CURRENTSTORAGE
 to the row's Identity field IdWarehouseOrder.

 The second parameter is a hyphen ("-") dividing
 code's first and second part.

 The third parameter is a =LEFT() function taking as
 argument the field Name through the system variable $CURRENTSTORAGE.Name.
 =LEFT() takes a number of characters from the left string's left side equal
 to the second parameter's value (3).

 The =CONCAT() fourth parameter is another =LEFT() function.
 The only difference is the field: the system variable $CURRENTSTORAGE
 points to the Surname field.

 The fifth parameter is a hyphen ("-") dividing the
 code's second and third part.

 =FORMATDATE() function takes the OrderPlacementDate field value through
 $CURRENTSTORAGE and formats the date as defined in the second parameter ("dd-mm-yyyy").

 The =CONCAT() formula's result is a code generated
 from the above components.
 */

 =CONCAT(
       $CURRENTSTORAGE.IdWarehouseOrder;
       "-";
       =LEFT($CURRENTSTORAGE.Name; 3);
       =LEFT($CURRENTSTORAGE.Surname; 3);
       "-";
       =FORMATDATE($CURRENTSTORAGE.OrderPlacementDate; "dd-mm-yyyy")
 )
The Designer confirms and saves the changes in Design Mode.
The application will generate a code according to the formula's fixed rules and fill the Order Code field.
Example
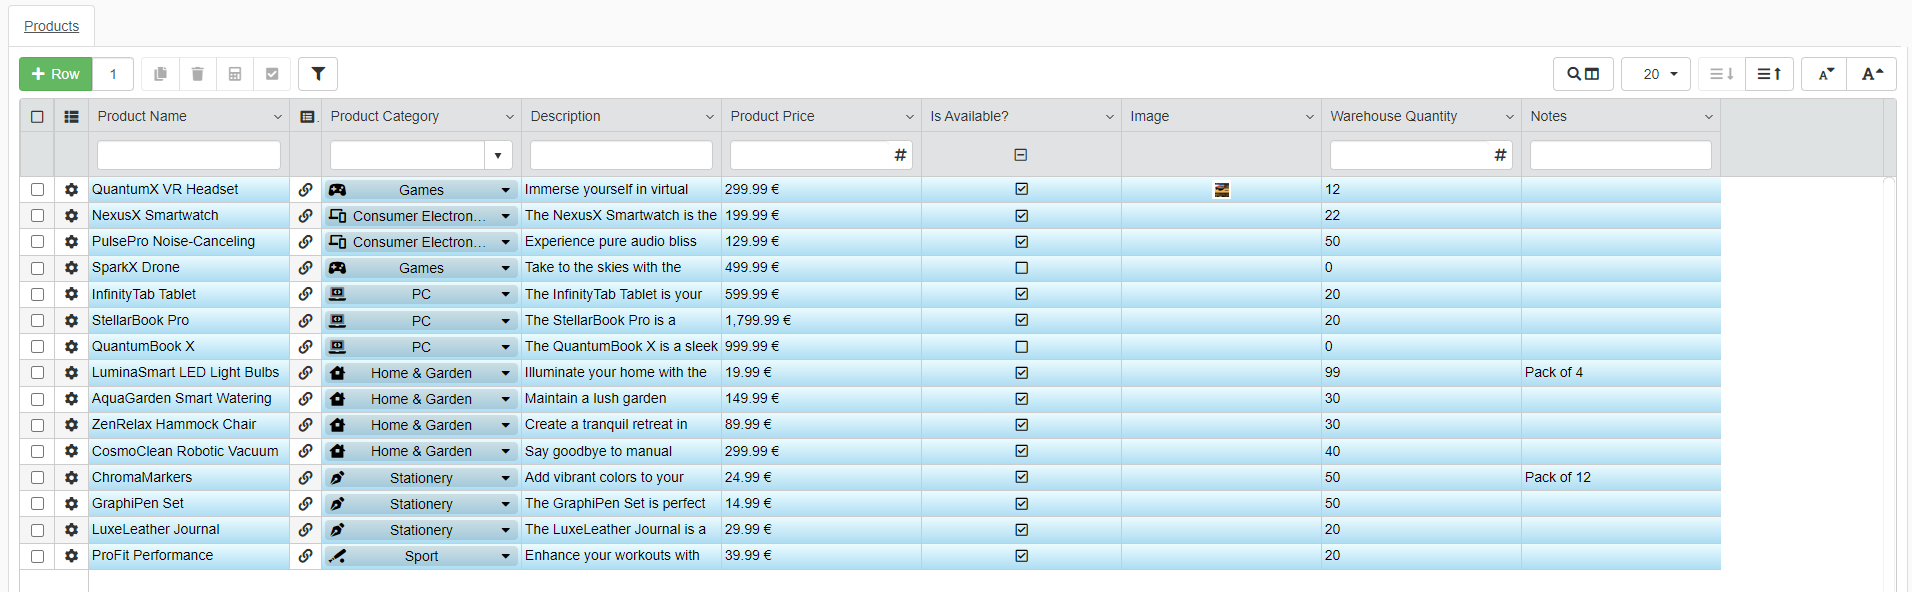
In a warehouse's workflow, there are two key applications: Warehouse Stock and Warehouse Orders.
The Warehouse Stock records the products catalogue, their category, total quantity, and prices.
The Warehouse Orders application manages all the orders from the warehouse.
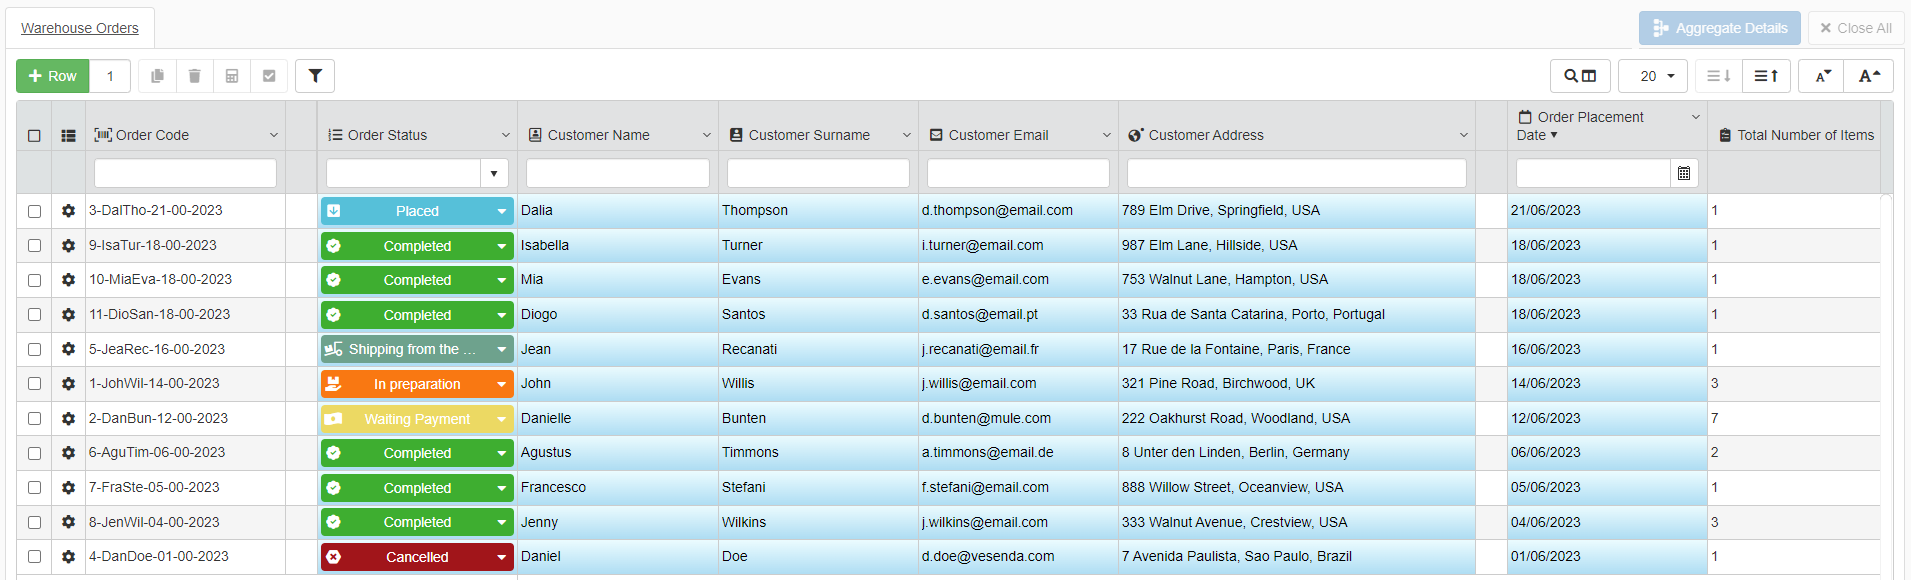
Each row on the Master table is an order. Each order has a Detail called Order Items (Check What are the Details? for more information about Details.)
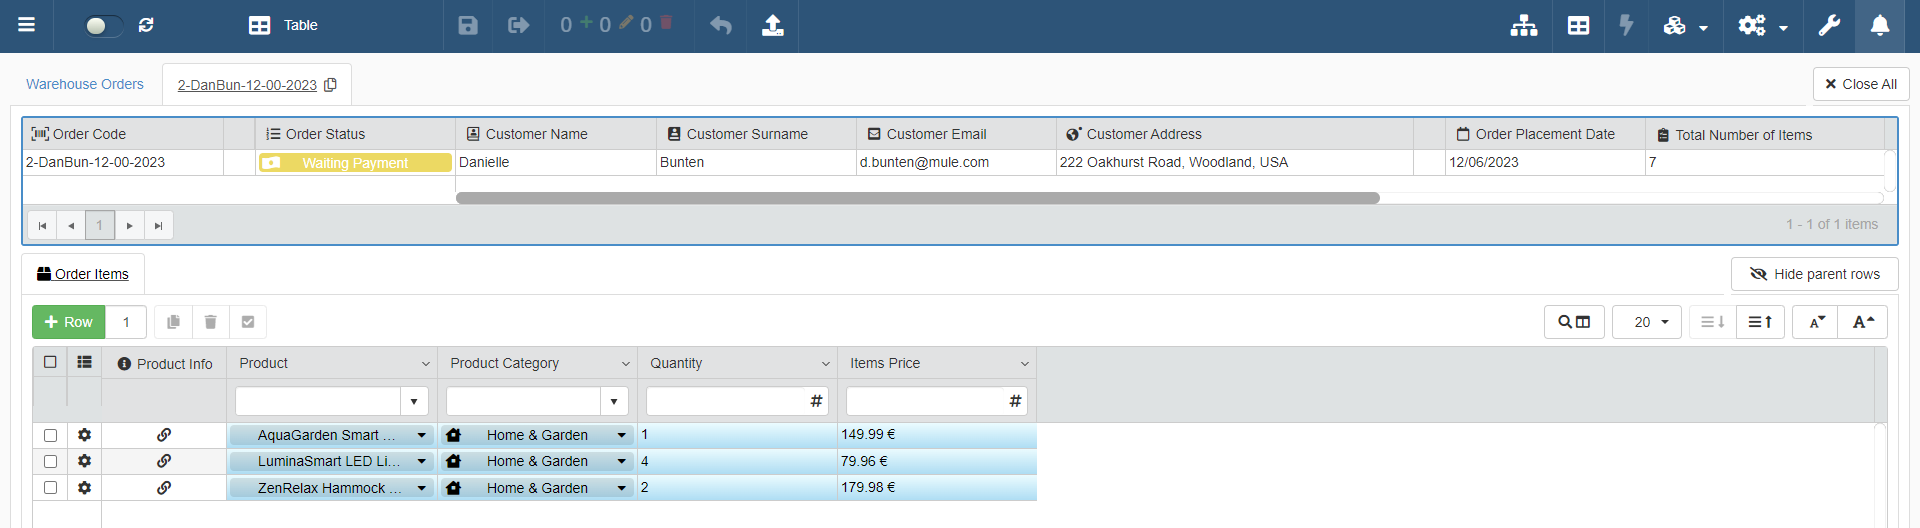
Order Items lists the included items, their quantity, and their price. The user chooses a product from a category and its quantity. The field Items Price must:
- (1) Retrieve the price from Warehouse Stock.
- (2) Multiply it by the Quantity field value.
- (3) Record the total price.
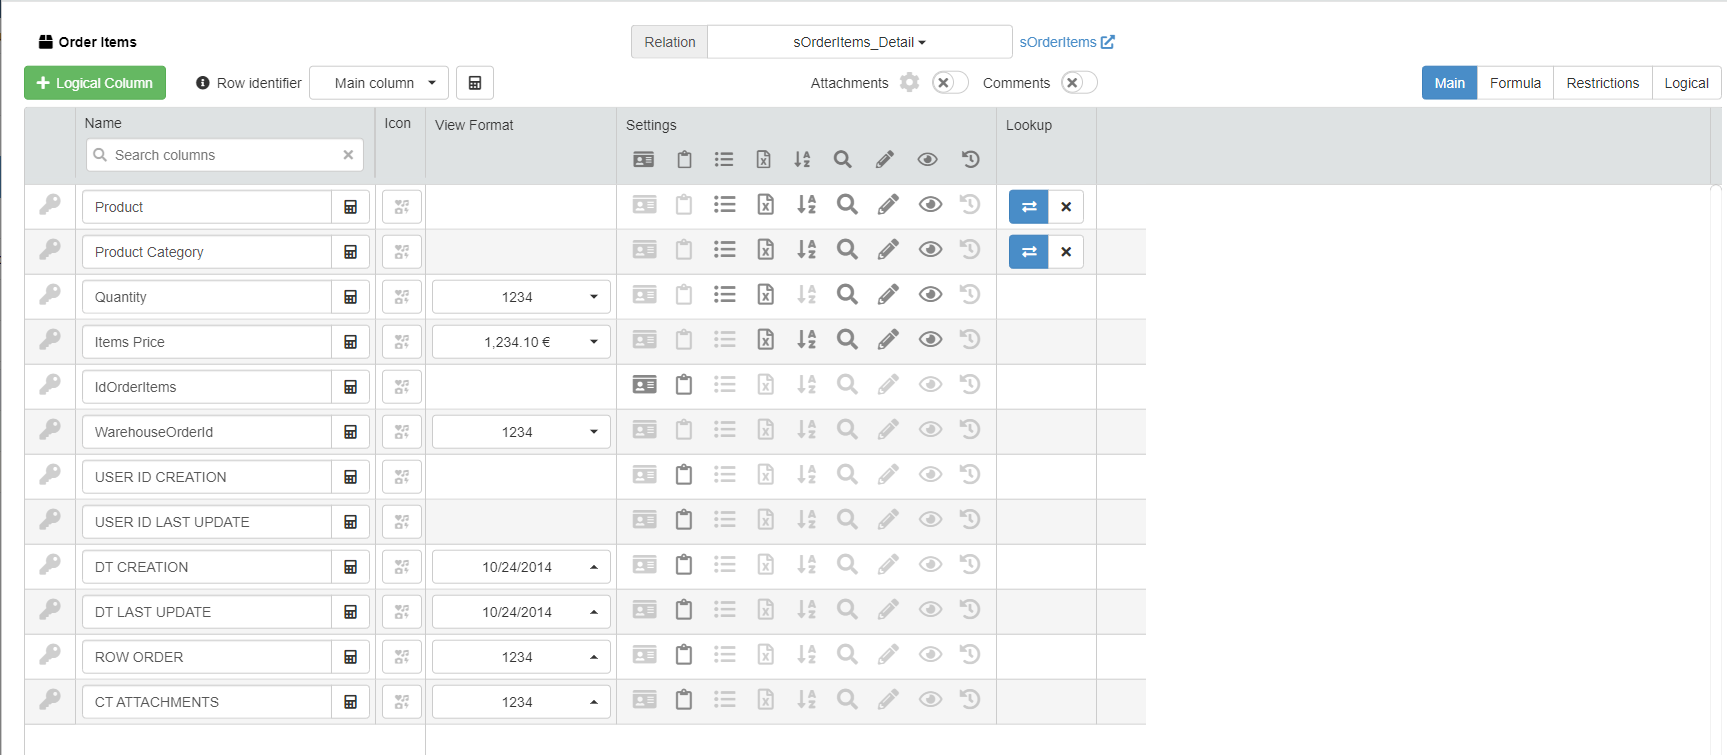
The Designer has to insert a Formula in Order Items Detail for the Items Price field.
In the Detail Order Items' table settings, the Designer goes to the Formula sub-panel.
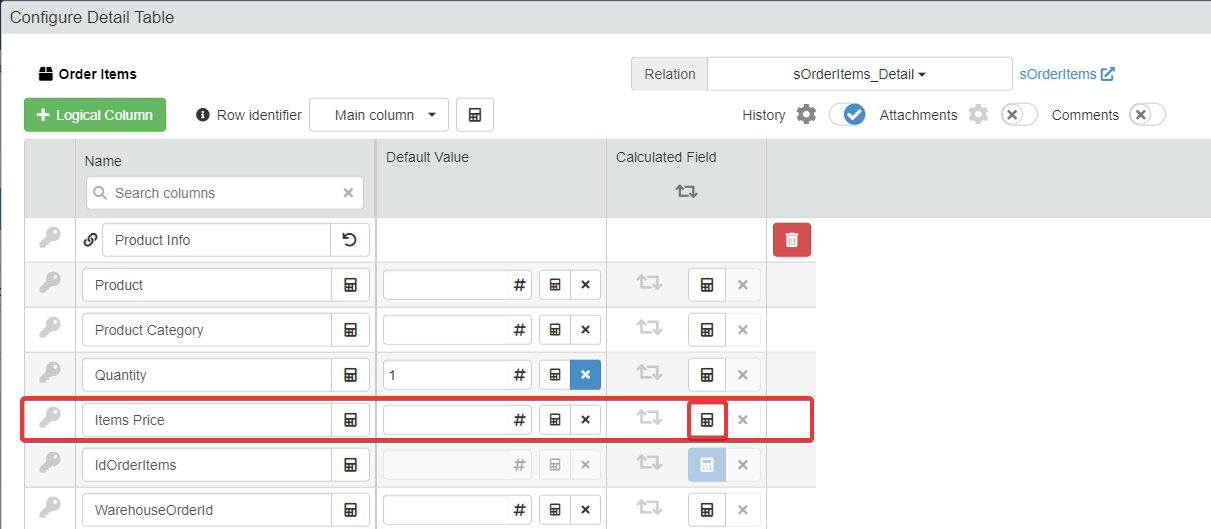
They click on icon under Calculation Field for the field Items Price to insert the following formula:
 1
 2
 3
 4
 5
 6
 7
 8
 9
10
11
12
13
14
15
16
17
18
19
20
21
22
23
24
25
26
27
28
29
30
31
32
33
34
35
36
37
38
/*
The formula retrieves the item's price from the Warehouse
Stock's Storage and multiplies by the inserted quantity.

The =LOOKUP() formula retrieves the price of the chosen item
in the _Order Items_ through the item's Identity field
value IdProduct.

The =LOOKUP() function retrives from a Storage all the
entries satisfying the third parameter's conditions.

The first =LOOKUP() parameter #warehouseProducts references
the Warehouse Stock's Storage warehouseProducts.

The second =LOOKUP() parameter #sWarehouseProducts.ProductPrice
references the field to retrieve and check in warehouseProduct.
In this case, the field Price recording the prices.

The third =LOOKUP() parameter defining the criteria to pick
up entries is =EQ(). =EQ() checks that the item's Id
in warehouseProducts is equal to the product selected in the
Product field in the Order Items Detail.

Outside the =LOOKUP() formula, the symbol * is
the multiplication operator. It multiplies the value picked by
=LOOKUP() by the value of the Quantity field. The system
variable $CURRENTSTORAGE.Quantity refers to the Quantity
field's value.
*/

=LOOKUP(
      #sWarehouseProducts;
      #sWarehouseProducts.ProductPrice;
      =EQ(
            #sWarehouseProducts.IdProduct;
            $CURRENTSTORAGE.Product
         )
) * $CURRENTSTORAGE.Quantity
The Designer confirms and saves the changes in Design Mode.
Each time a user adds items to an order, the application updates Items Price according to the quantity.
-
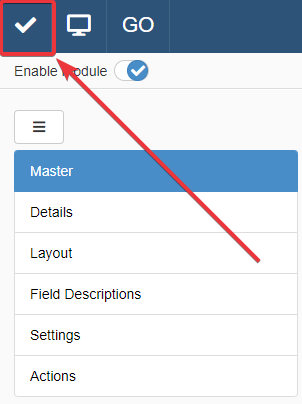
Click on the Save button to save the formulas' configuration. You find the Save button in the upper-left corner of the Design Mode.
Note
Users can recalculate the cells' value manually on the table. (See Recalculating Rows' Value in the User Guide for more information.)
If you want to allow users to recalculate again a value that a formula manages, click on the icon for the desired field in the table settings. You can find the icon under the Calculated Field columnn next to the .
Note that you must enable first the Recalculation action on the Settings for the option to take effect. See Enable or Disable Adding, Cloning, Recalculating or Removing Rows for more information about enabling the Recalculation action on the table.
Success
You have configured a Formula for the selected field. The formula will calculate the values for the field's cells on table.