Customize the Form to Insert the Data on the Table - Input Form
Required Permissions
This section requires the Application Designer permission from your Domain's administrator.
Check What are the Design Tasks? to learn more about permissions to work with Design Mode and other tools.
Learn how to create a custom form for data insertion and editing. A custom form for a table is called Input Form.
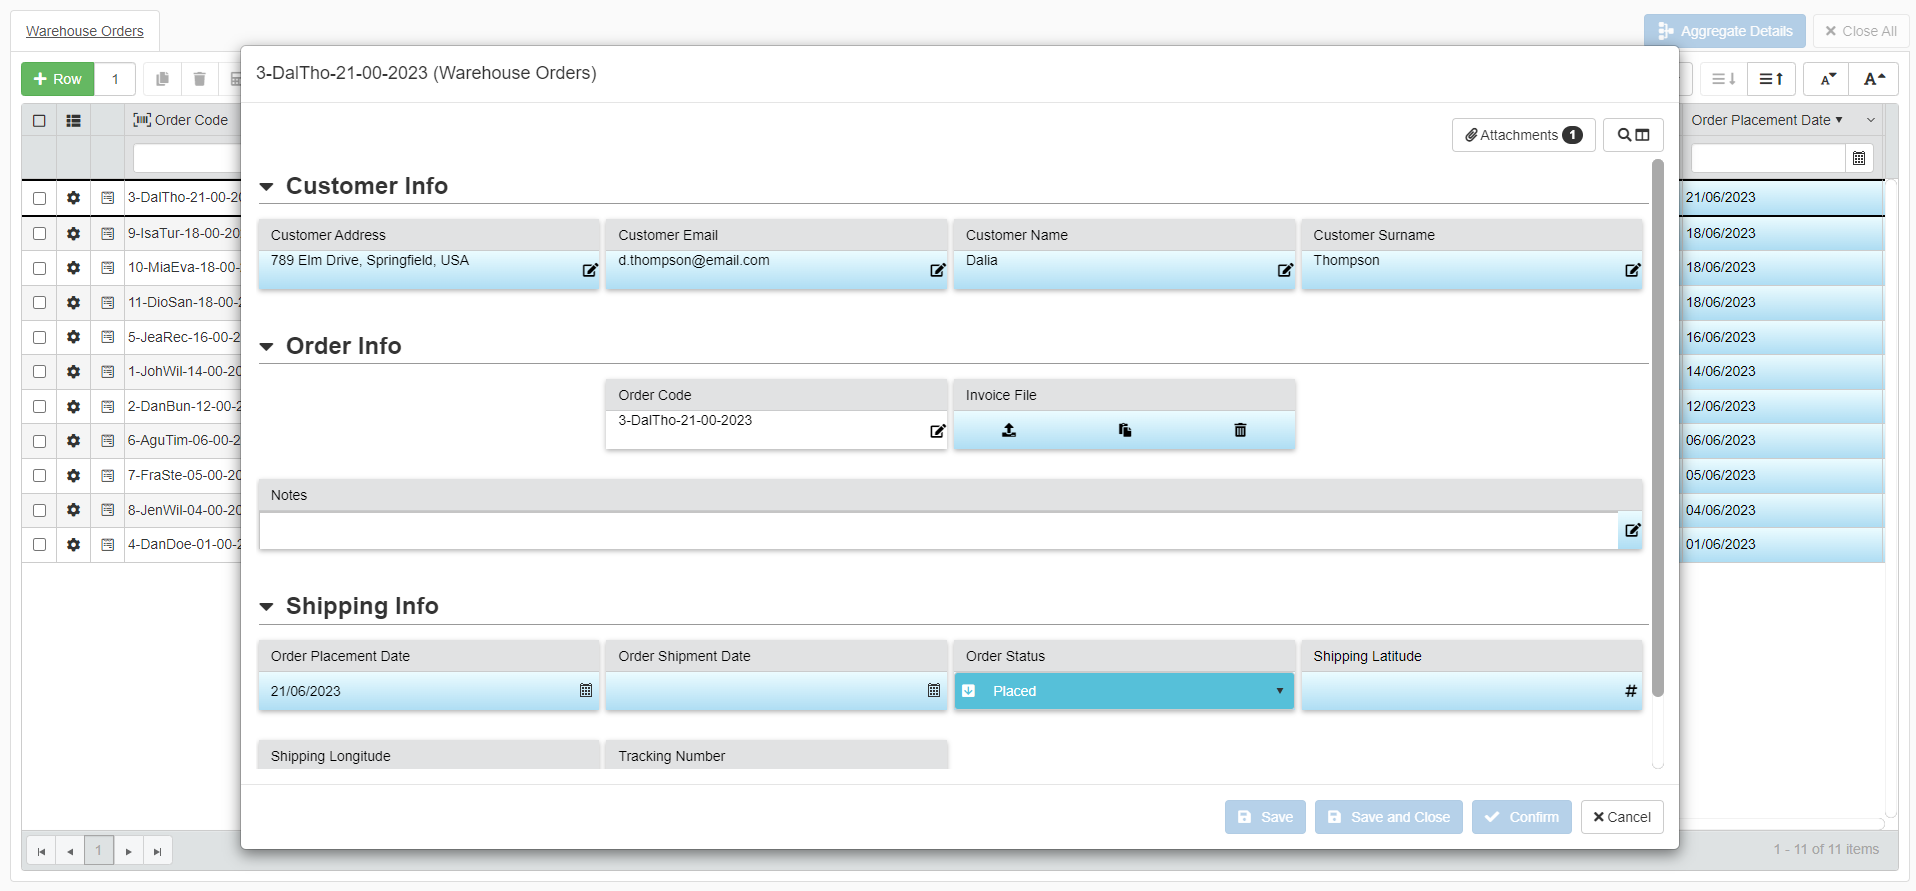
Follow the steps below to create a Input Form.
-
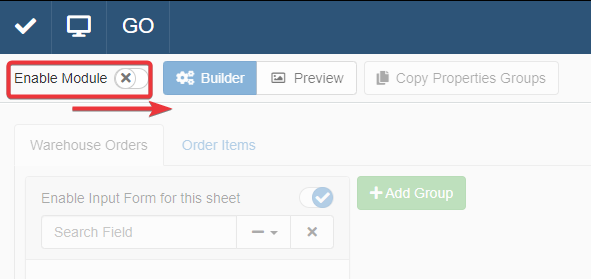
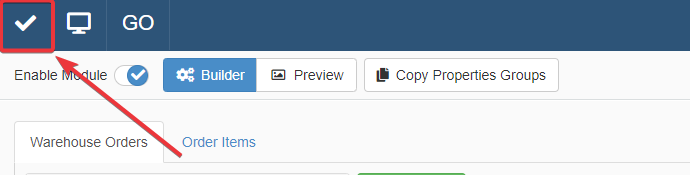
In Design Mode, click the icon in the upper-right corner of the top bar. The action leads to the Input Form panel.

-
In the Input Form panel, turn ON the Enable Module toggle-switch.
-
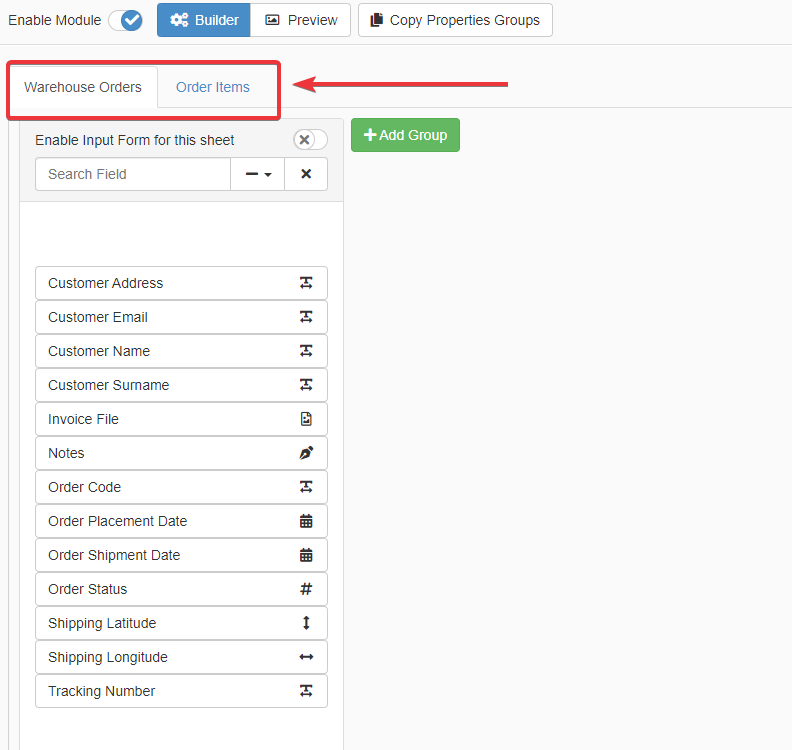
Click on the tab of the table for which you want to design an Input Form.
-
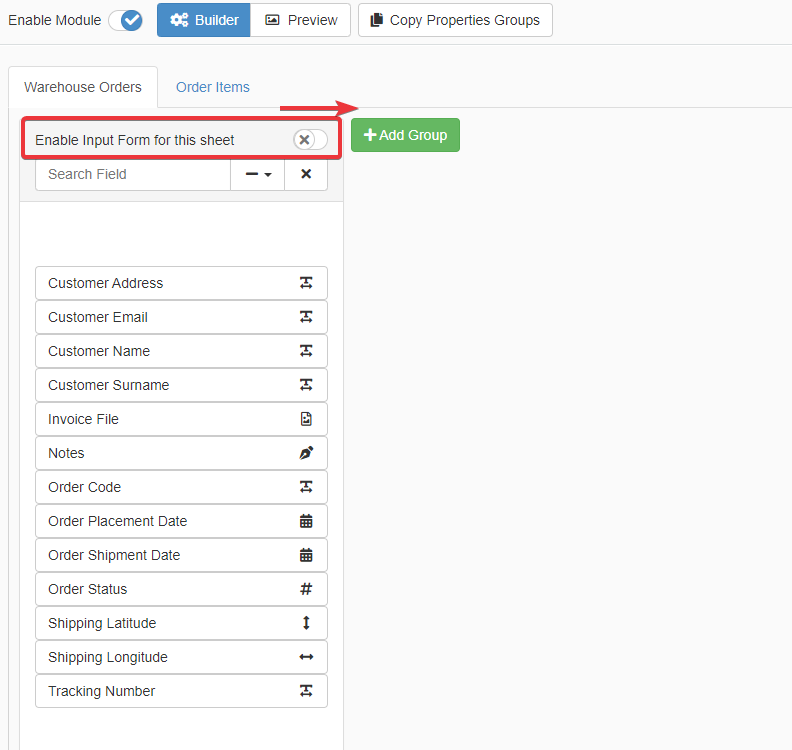
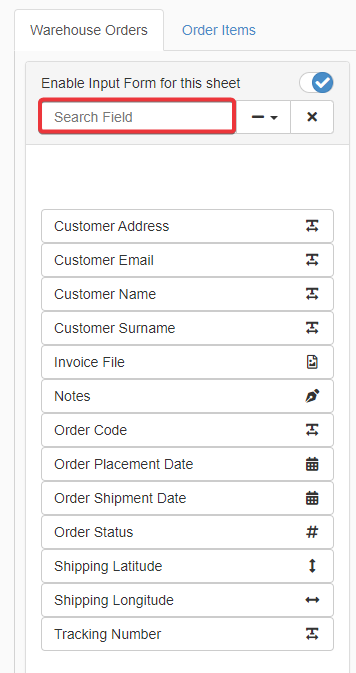
Click on the Enable Input Form for this sheet toggle-switch to enable the Input Form for the selected table.
-
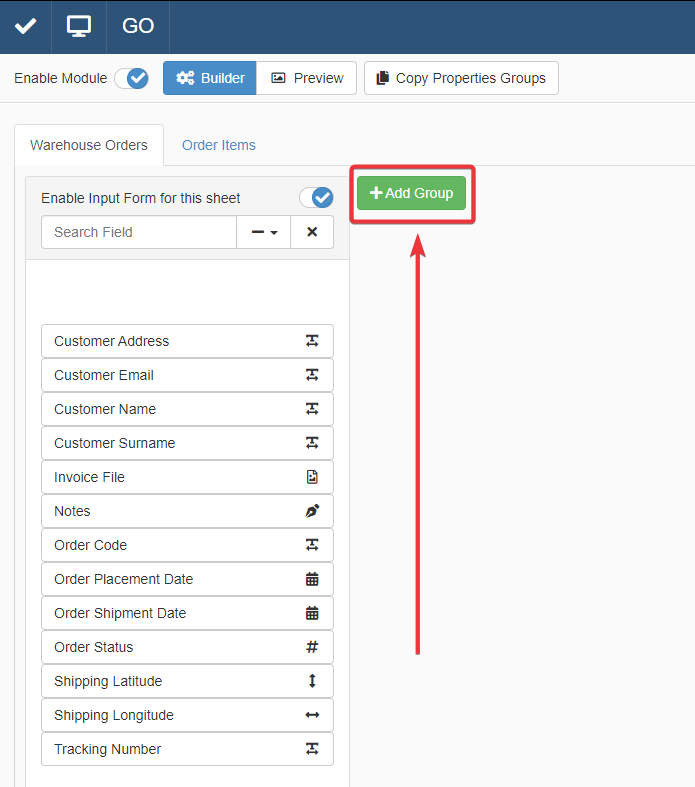
Click on the Add Group button to add at least one group of fields to the Input Form you are designing. Add as many groups as you want to divide the fields in the Input Form.
-
optionalInsert a name in the textbox to identify the group in the Input Form.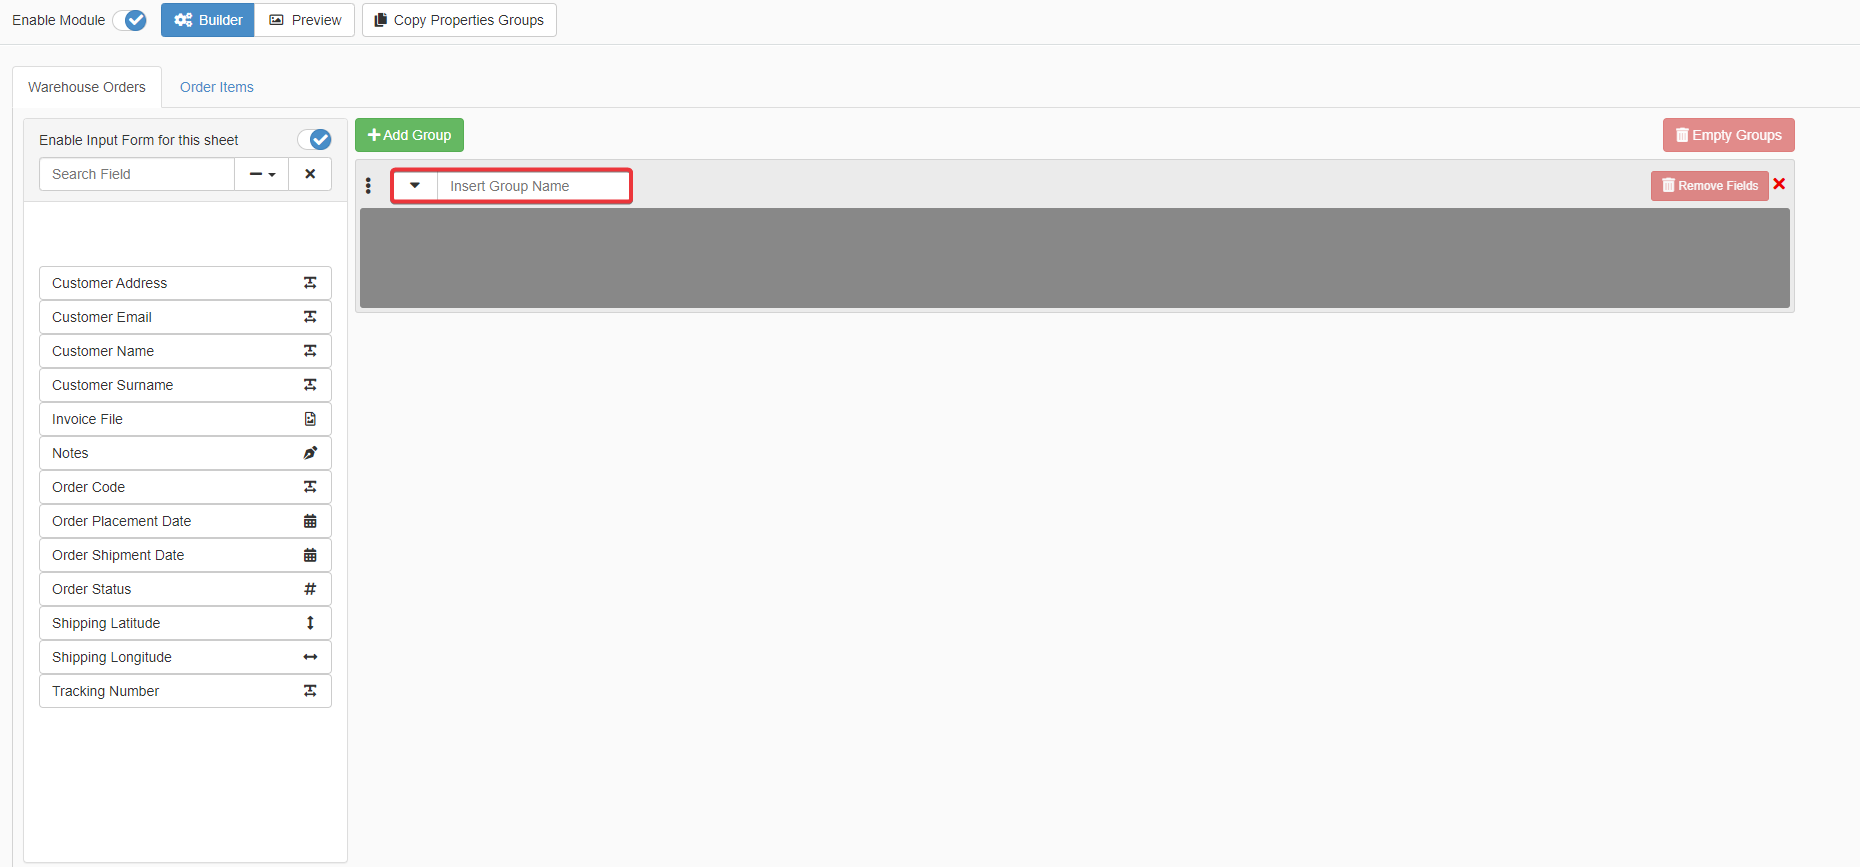
-
optionalClick on the button next to the textbox to decide if the group should be expanded () or collapsed () when you open the Input Form. (By default, the setting is set on expanded ())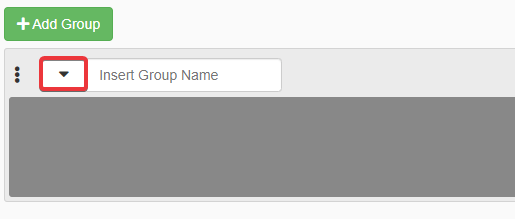
-
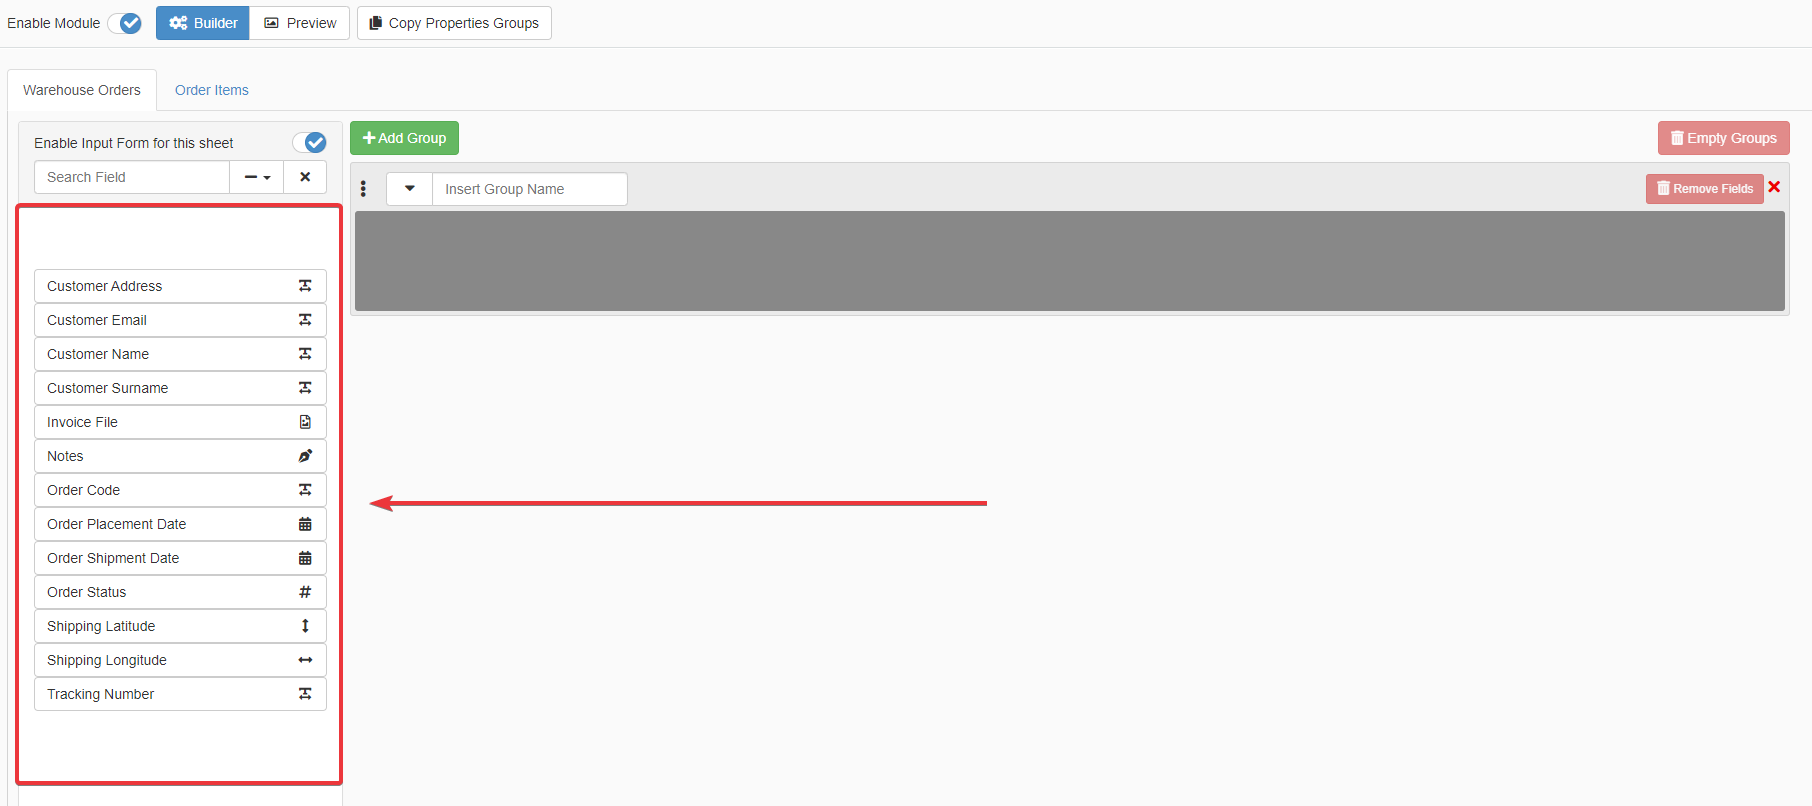
You must select the table's fields to be moved to one of the Input Form's groups.
Hint
You can search by name a particular field for the selection trough the search bar.
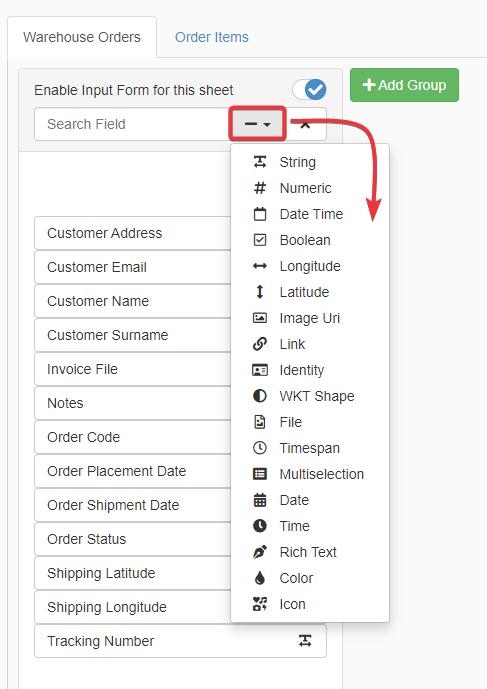
You can even filter the fields' list by type through the drop-down menu next to the search bar.
Click on the field that you want to move to the group. Alternatively, select multiple fields from the list through Shift + Left-Click.
Attention
If you enable the Input Form for a table, you must place all the table's field in one of the form's groups. You won't be able to save the changes if you haven't place all the fields in at least one group.
-
Drag & Drop the Drag Items from here bar to the group in which you want to place the selected fields.
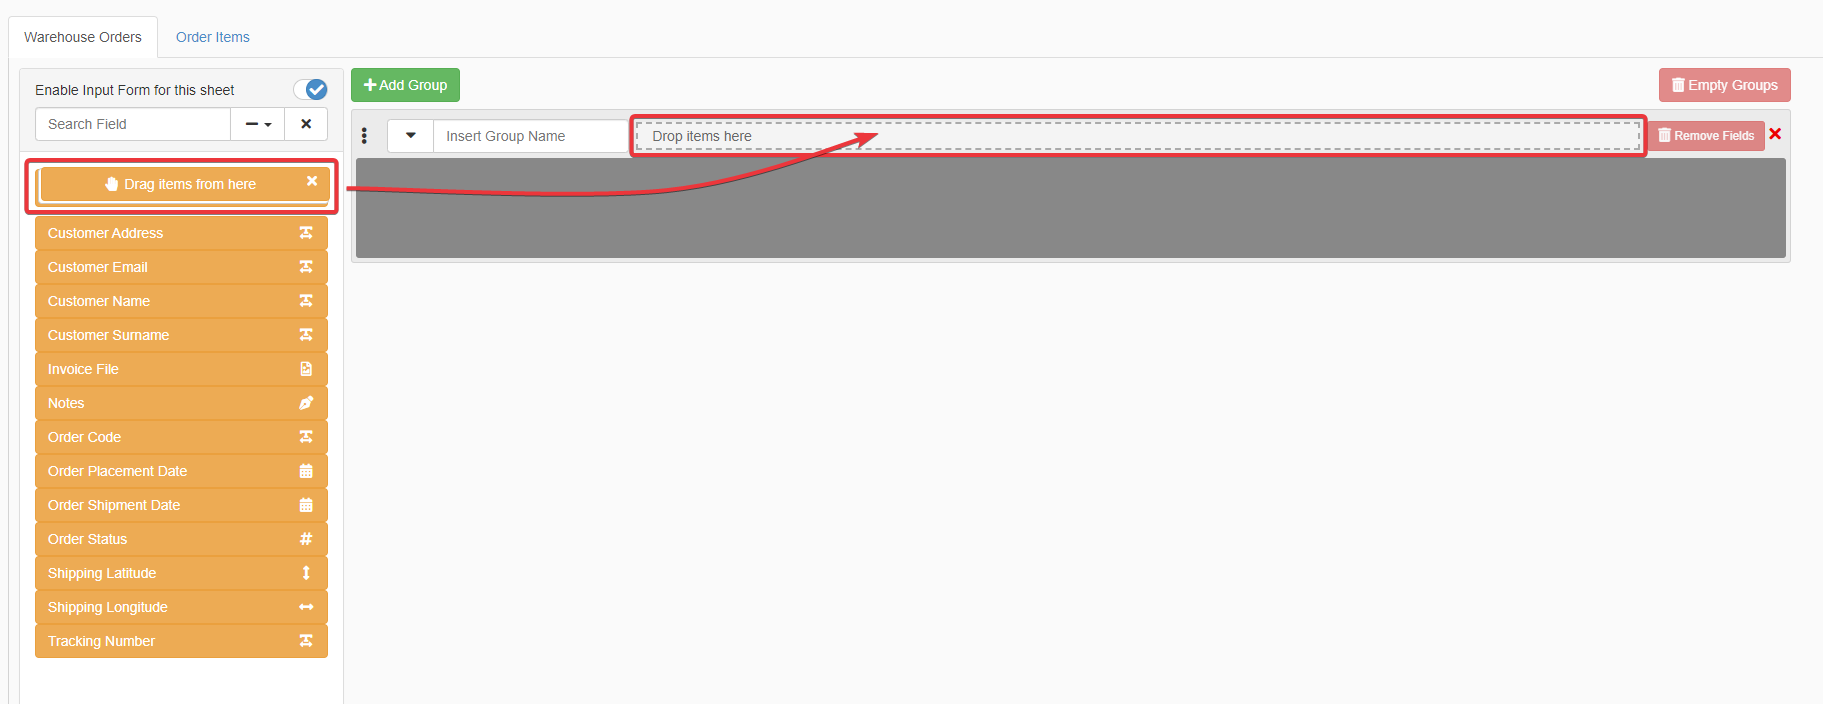
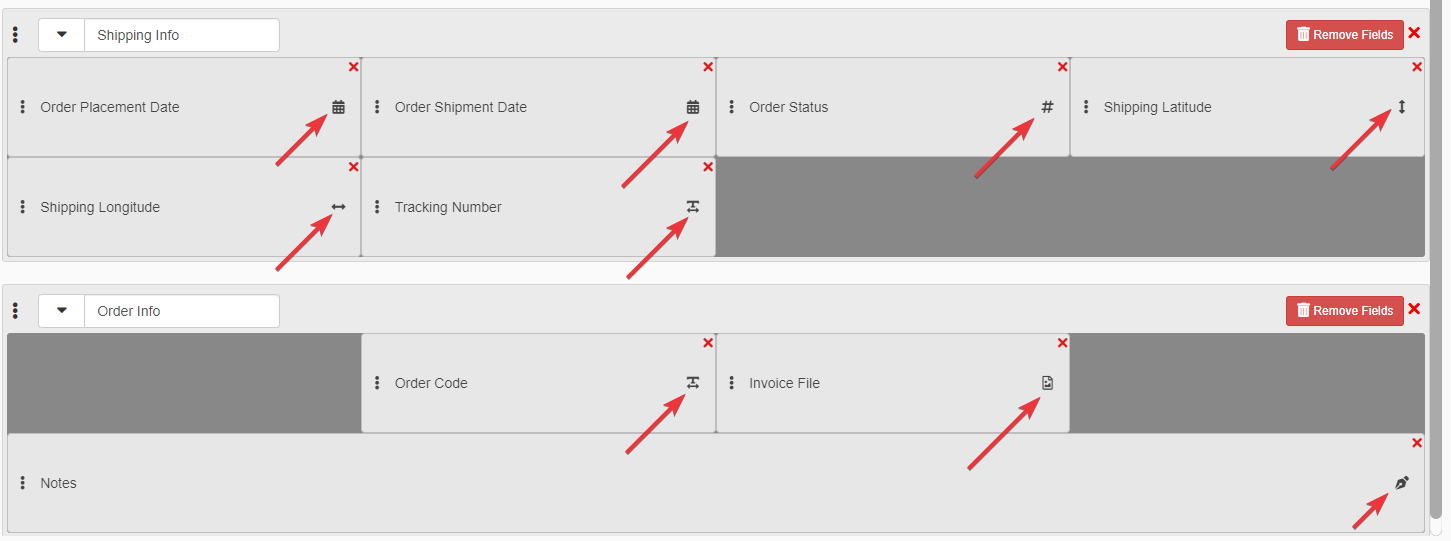
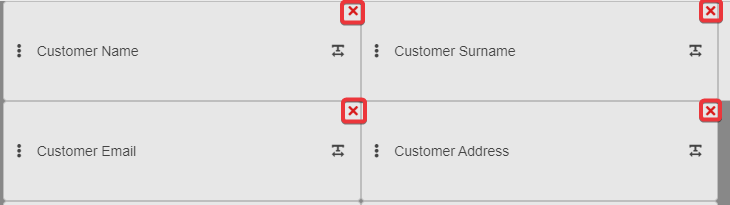
The fields will appear in the chosen group.
Hint
On each field's tile on a group, an icon highlights the field's type on the Storage.
-
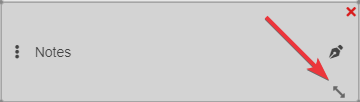
Arrange as you prefer the fields in the group.
Resize a field's tile by dragging it from the icon in the tile's bottom-left.
Hint
If you want to remove a field to move it to another group, click on the icon on the field's tile upper-right corner.
Alternatively, click on the Remove Fields button to remove all the fields from a group or the Empty Groups to remove all the fields from all the groups.
Hint
You can arrange the groups by dragging & dropping them through the icon.
Hint
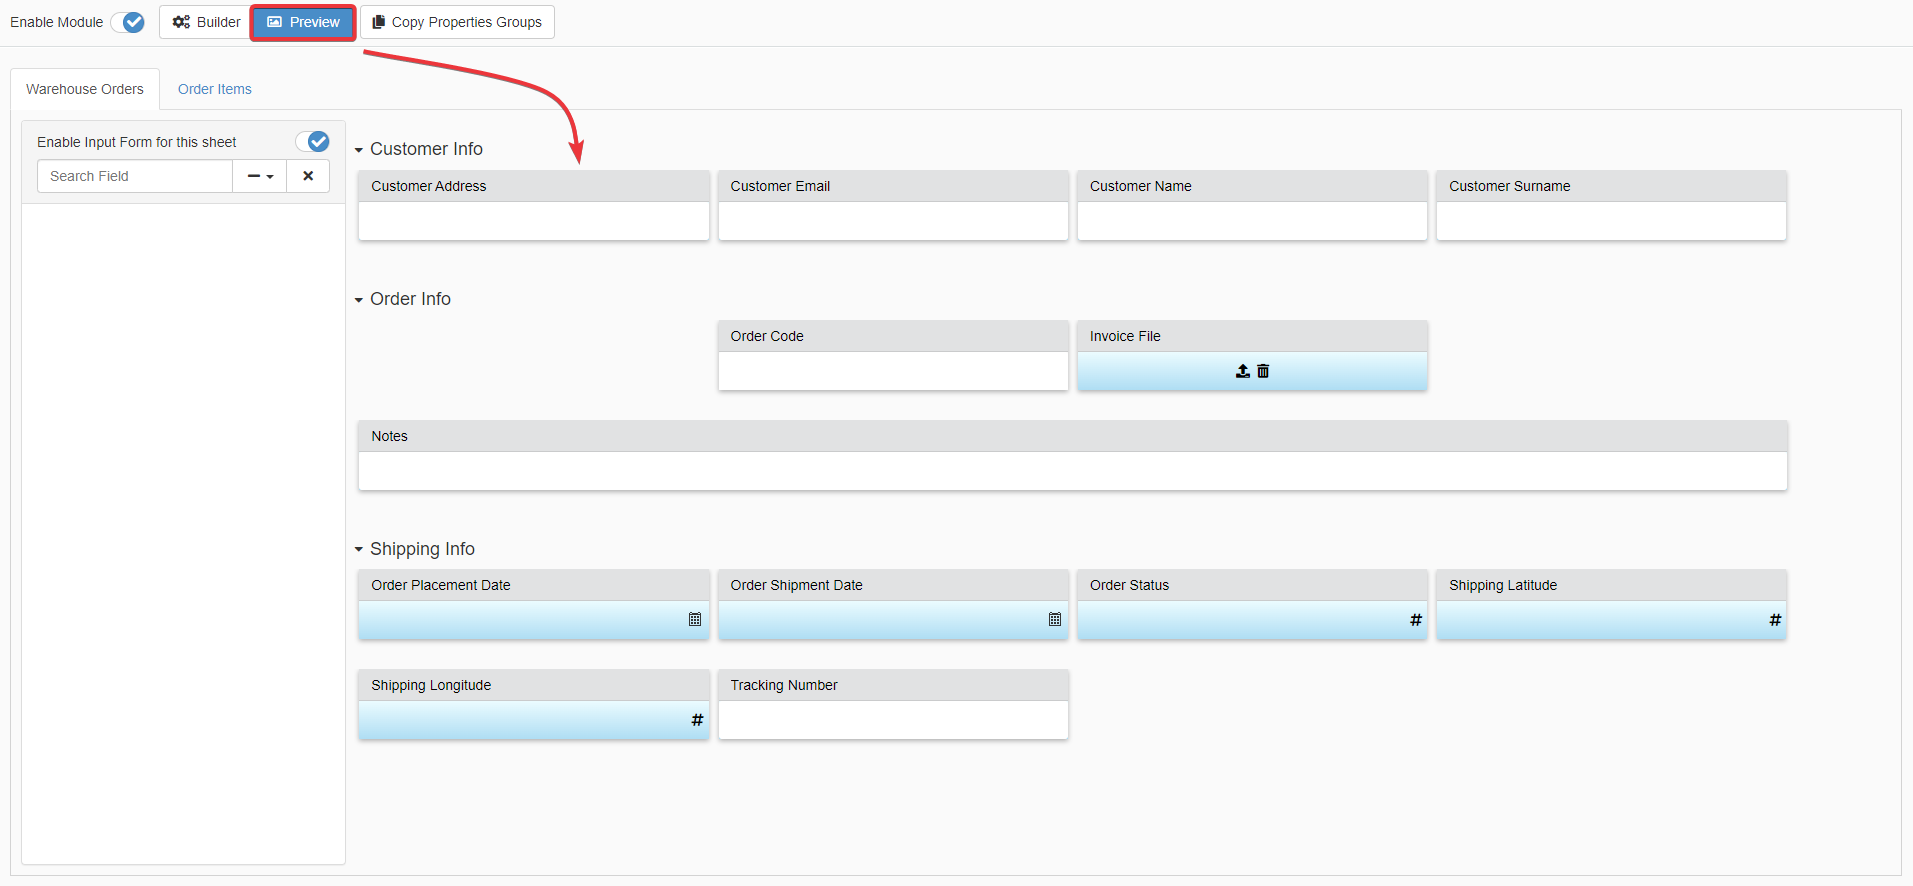
You can preview the Input Form's final appearance by clicking on the Preview button.
-
When you have finished with the configuration, click on the Save button to save all the changes. You find the Save button in the upper-left corner of the Design Mode.
Note
If you want to mirror in the Input Form the same Groups of the Properties, click on the Copy Properties Group.

The action recreates the same Groups of the Properties with the same fields in the table's Input Form.
See How to Create a Custom Set of Filters for the Users: Properties for more information about the Properties.
Success
You have created a custom form to insert or modify data for an application's table.