Make Column Cells Editable
Required Permissions
This section requires the Application Designer permission from your Domain's administrator.
Check What are the Design Tasks? to learn more about permissions to work with Design Mode and other tools.
Learn how to make a field column's cells editable and enable the users to insert or modify their data.
Note
By Default, when you create an application, the fields are editable.
Note
The procedure is the same for both Master and Detail tables.
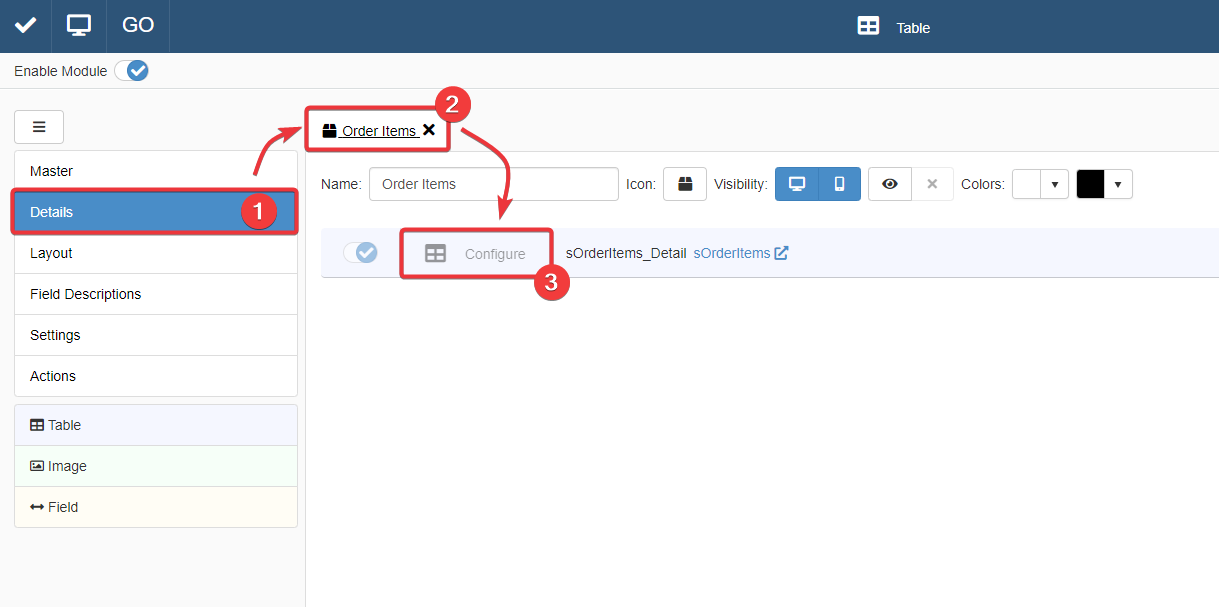
For a Detail Table, you find the same interface by going into Details > [Desired Detail table] > Configure.
The action leads you to an interface that behaves like that of the Master Table in the Master sub-panel.
For more information about Details, check How to Attach a Table with Further Information to a Row: Detail Tables.
Follow the step below to make a field editable by the user.
-
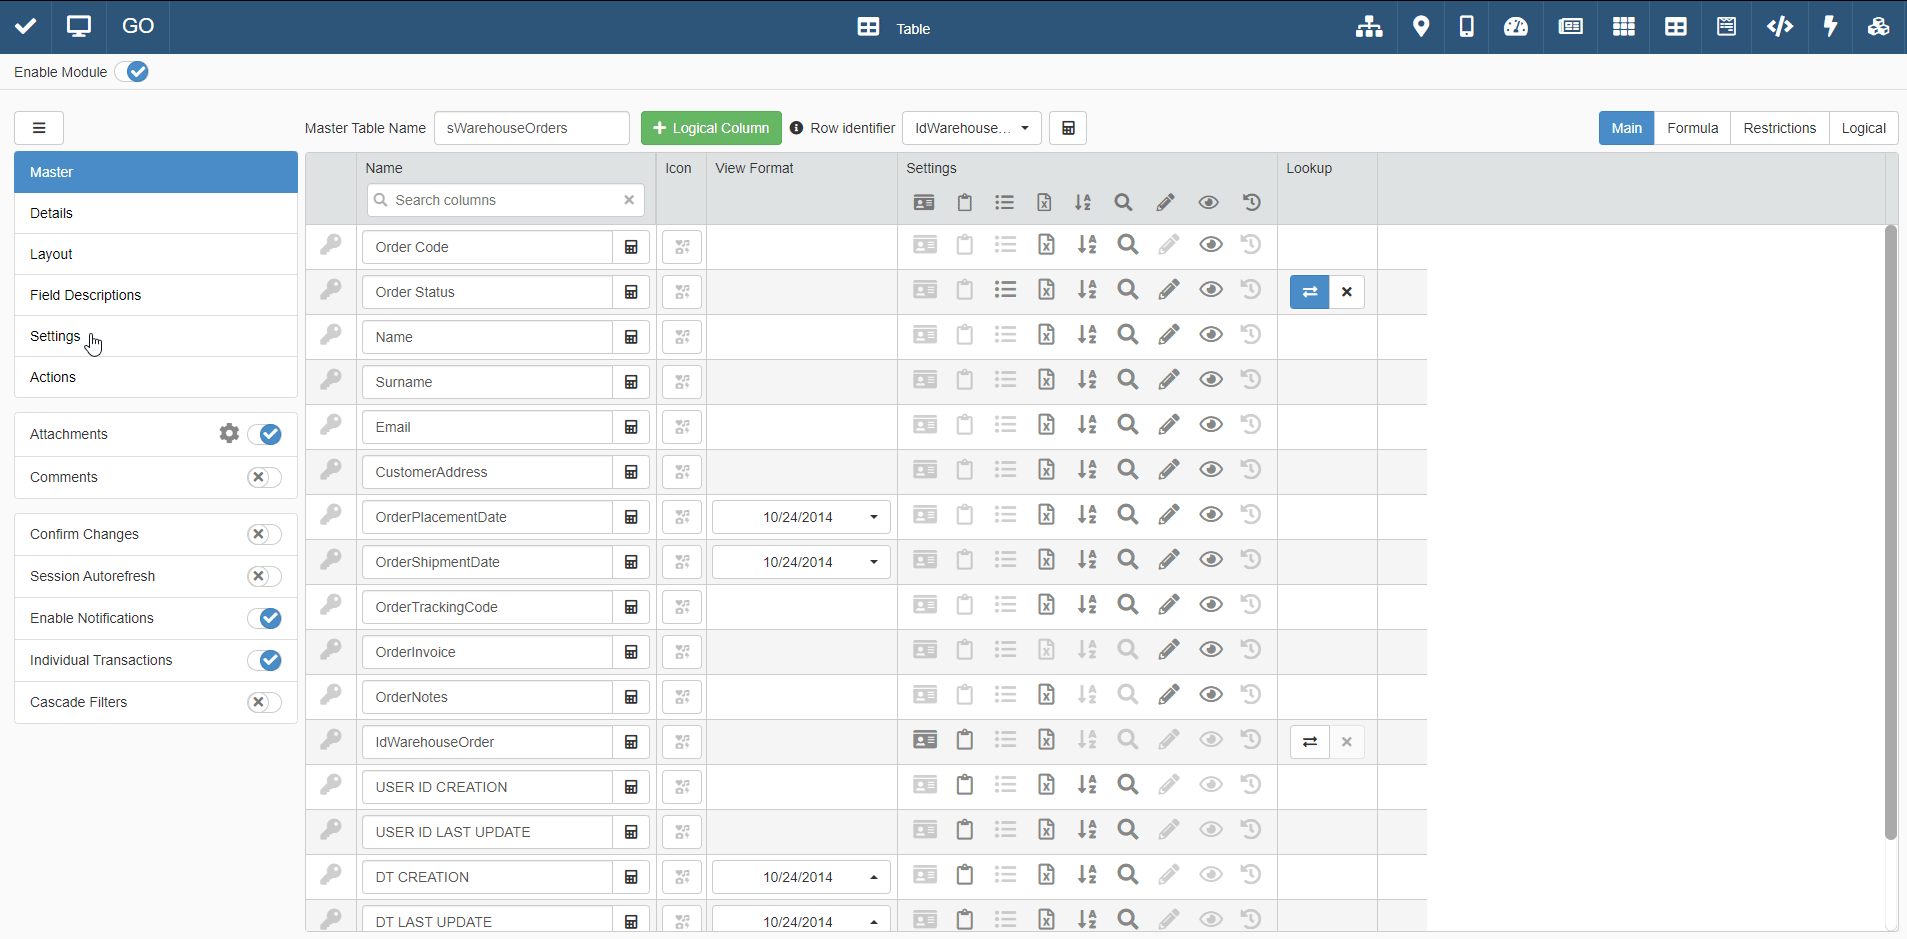
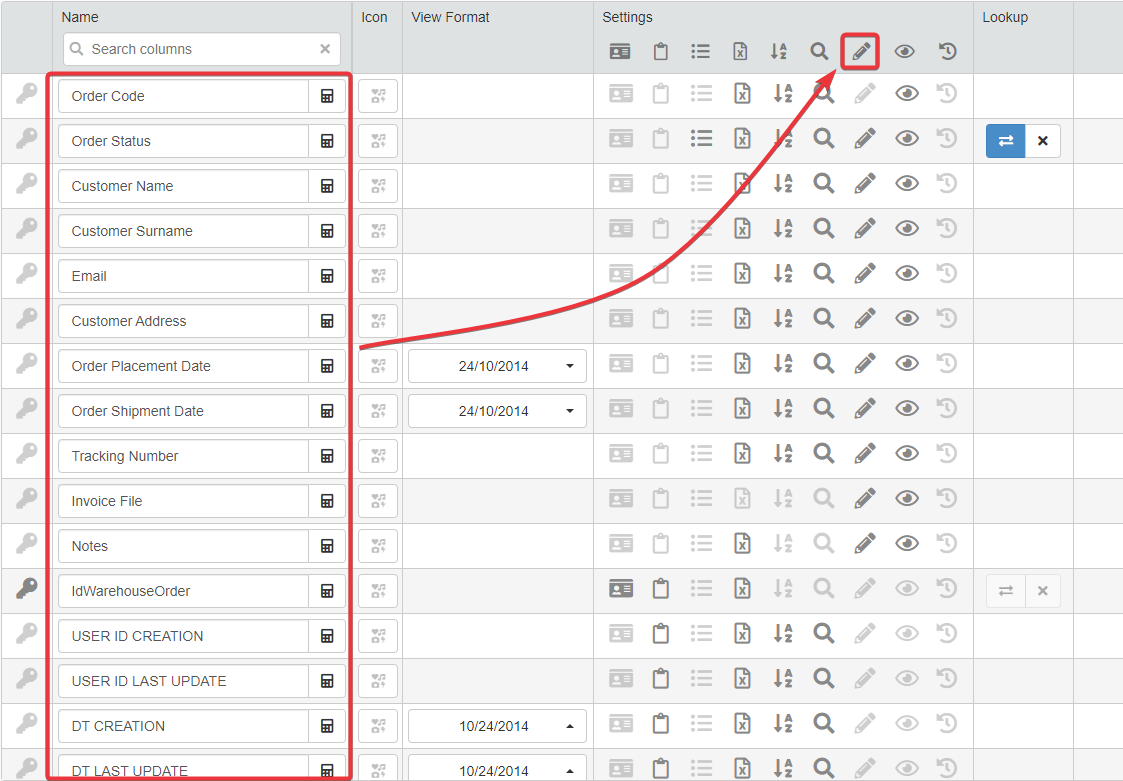
In Design Mode, go to the table's settings containing the field column you want to make editable.
For Master Table, you can find the table settings under the Master sub-panel. The Master sub-panel is the first panel opening by default when you access the Design Mode.

For Detail tables, you must go to the Details sub-panel. Choose one of the Detail tables and click on Configure.
-
Find the field you want to make editable on the table's settings.
-
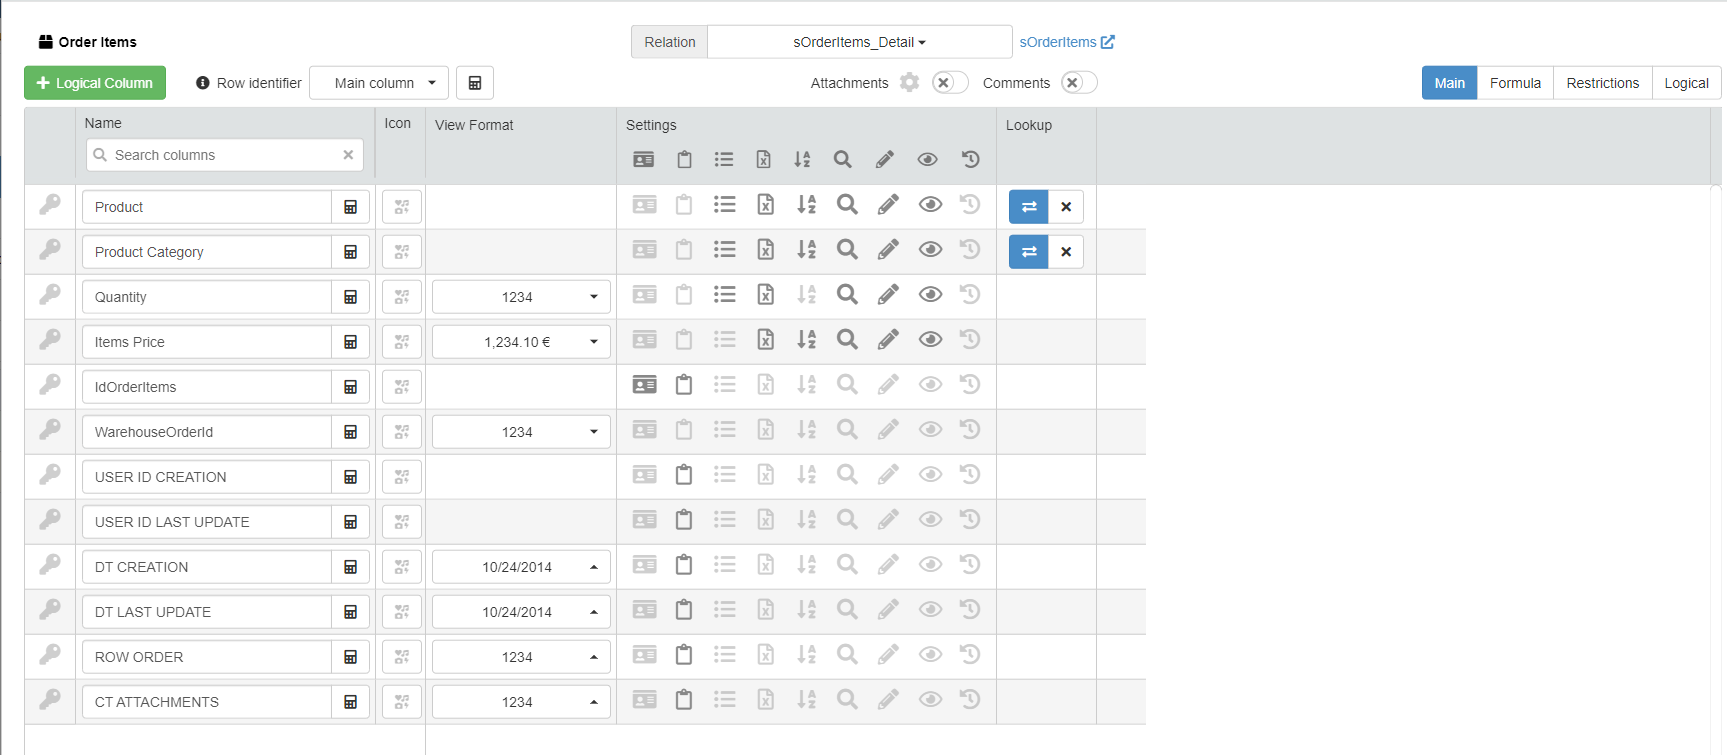
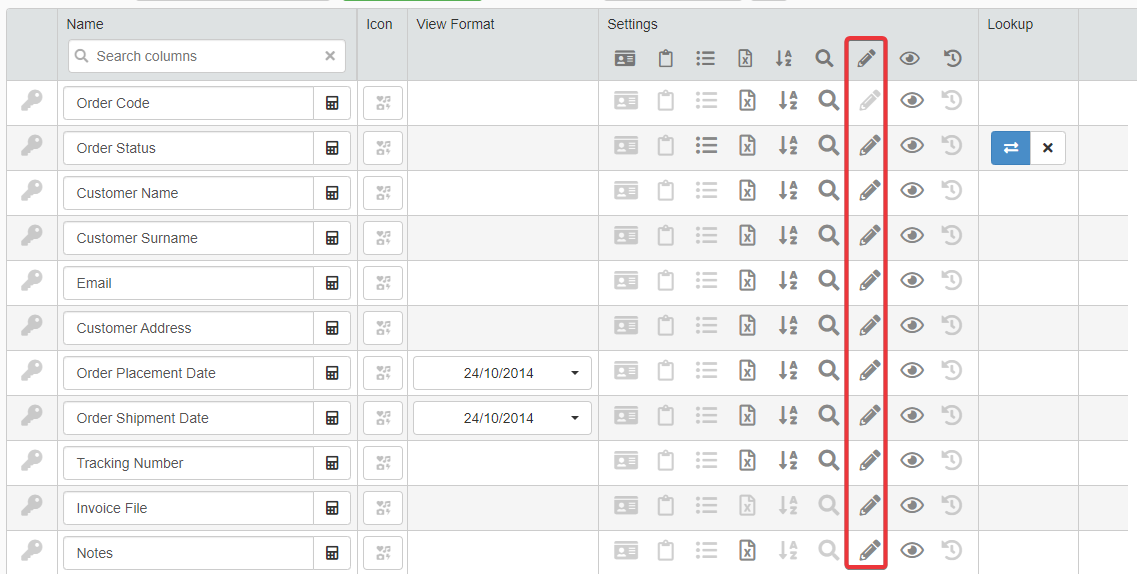
Click on the icon under the Settings column.
Attention
You cannot configure as editable the System Fields:
CT ATTACHMENTS,DT CREATION,DT LAST UPDATE,ROW ORDER,USER ID CREATION, andUSER ID LAST UPDATE. A tooltip and the point will inform you if a field is a system field or not.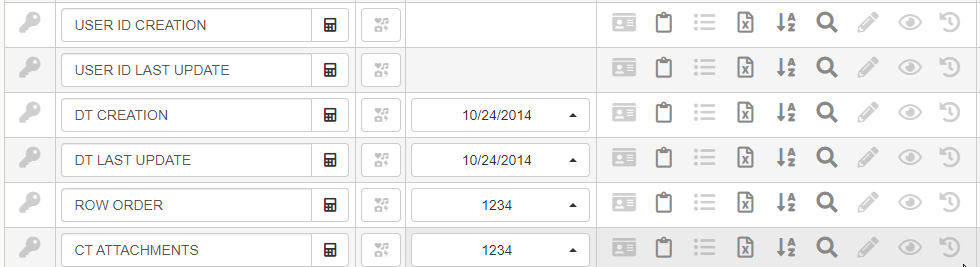
See What Are Storages and Why Do You Need Them? and Hide or Show a Field on the Table for more information about System Fields.
-
Click on the Save button to save the changes made. You find the Save button in the upper-left corner of the Design Mode.

Success
You have made editable the chosen field column's cells on the table.