Change the Position and Size of a Column in the Table
Required Permissions
This section requires the Application Designer permission from your Domain's administrator.
Check What are the Design Tasks? to learn more about permissions to work with Design Mode and other tools.
Learn how to customize the columns' size and position on the application's tables.

Follow the steps below to customize the position and size of the field columns.
-
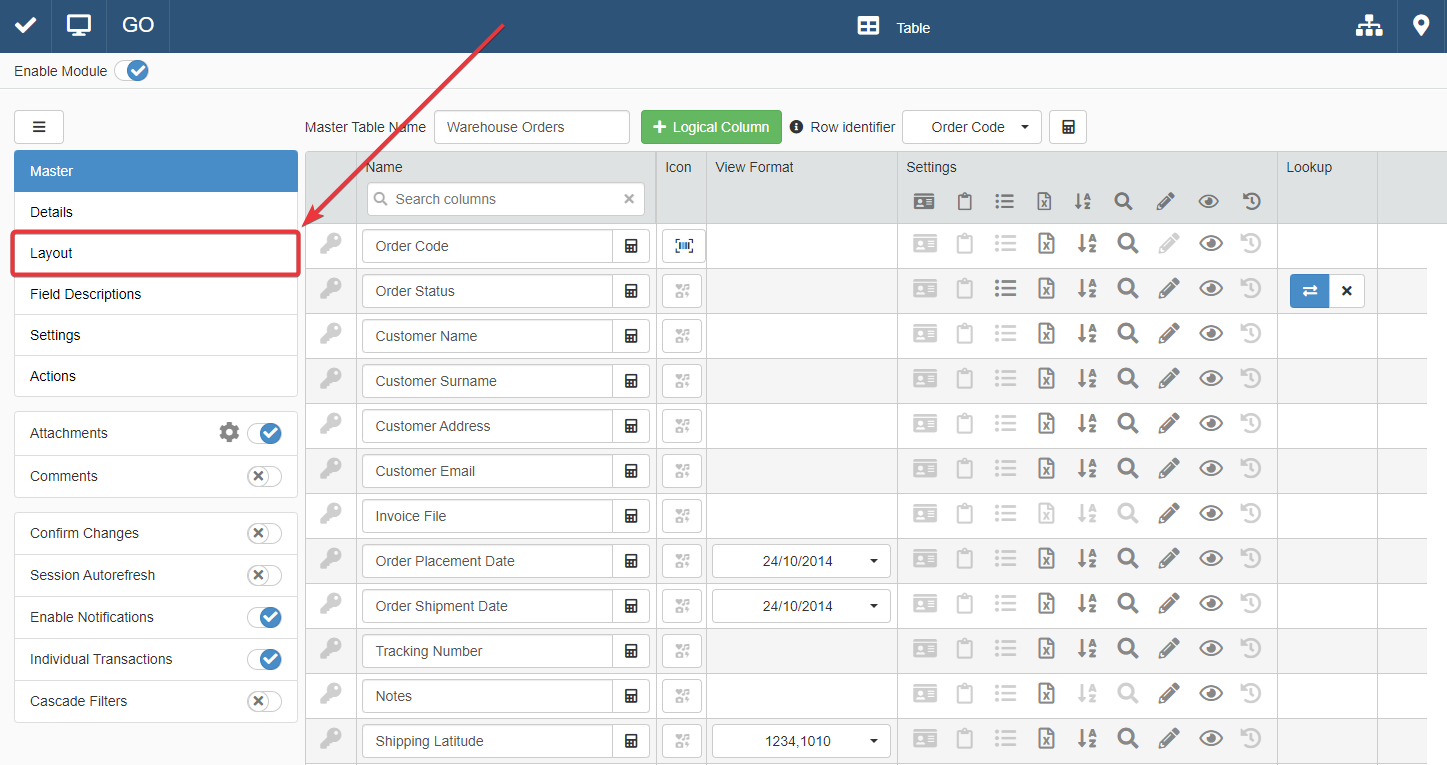
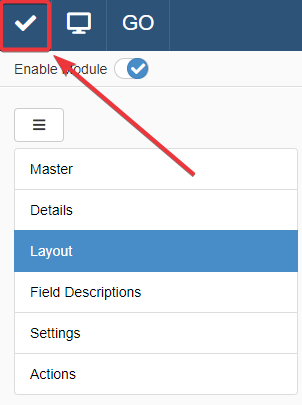
In Design Mode in the main panel Table, click on Layout in the left sidebar.
-
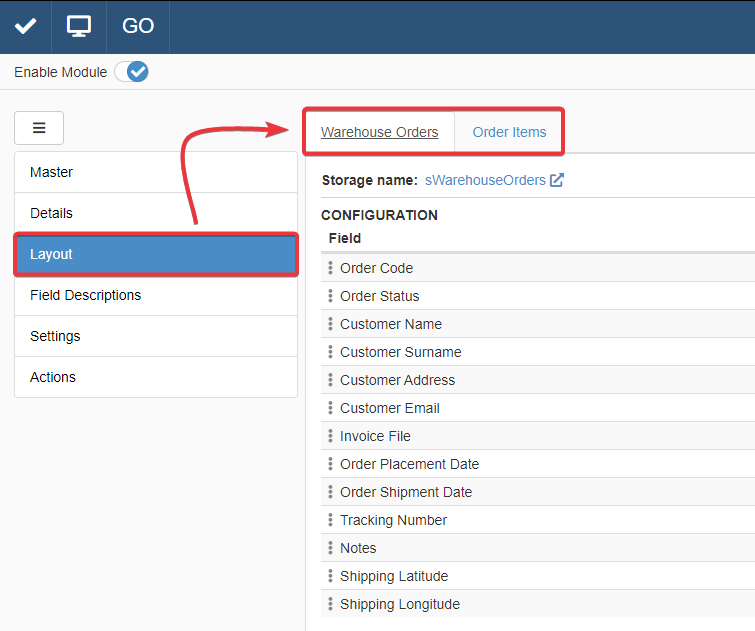
In the Layout panel, click on the tab of the table you want to customize.
-
In the corresponding tab, you find the table's list of visibile fields.
Info
Check Hide or Show a Field on the Table to learn how to show or hide fields on the table.
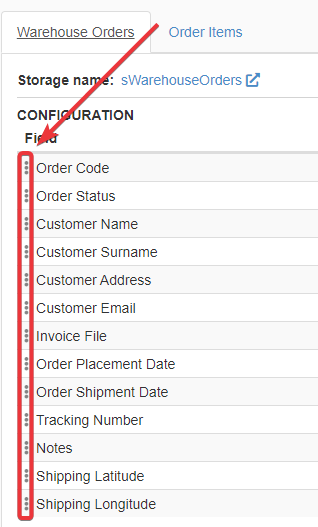
Drag & drop hte fields through the icon in the order you prefer. The columns in the application will reflect the field's order in the Layout sub-panel.
Hint
You can decide to block certain columns. The blocked columns will remain visible when the users scroll to the side to view the rest of the columns.

Click on the icon on a field's row in the table's Layout sub-panel to block a field column.
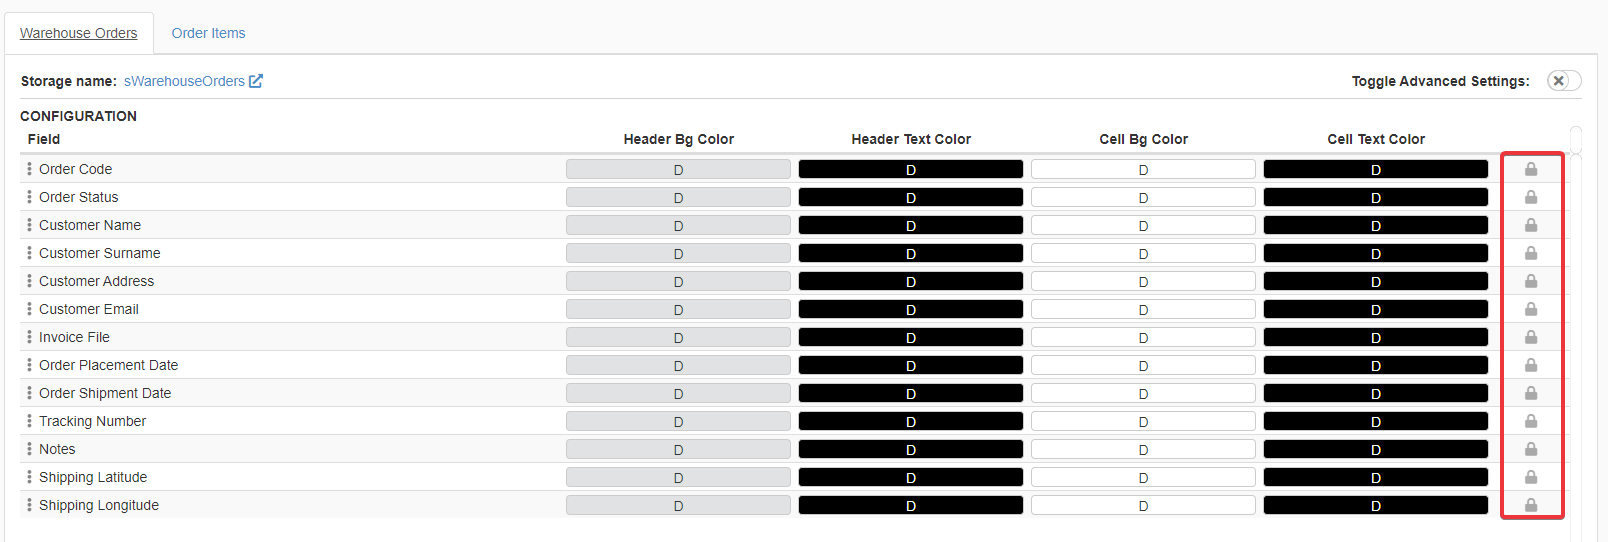

Note that blocking one column will lock also all the columns preceding it in the layout from left to the right.
-
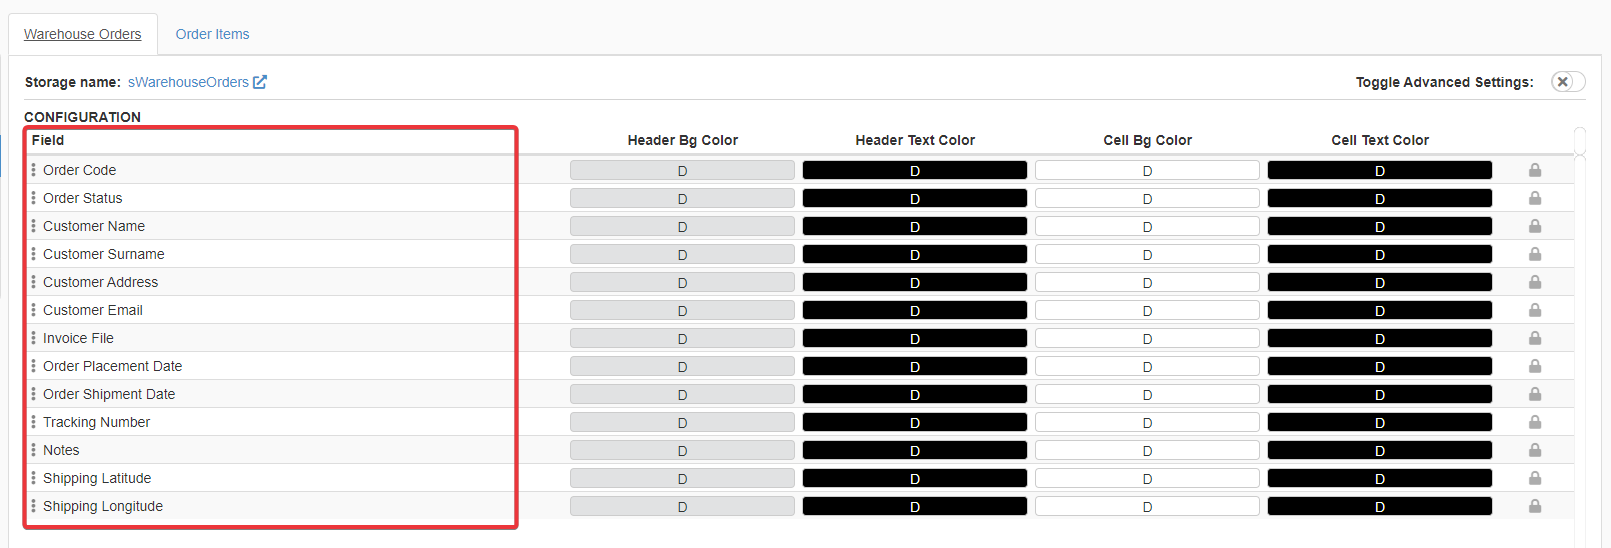
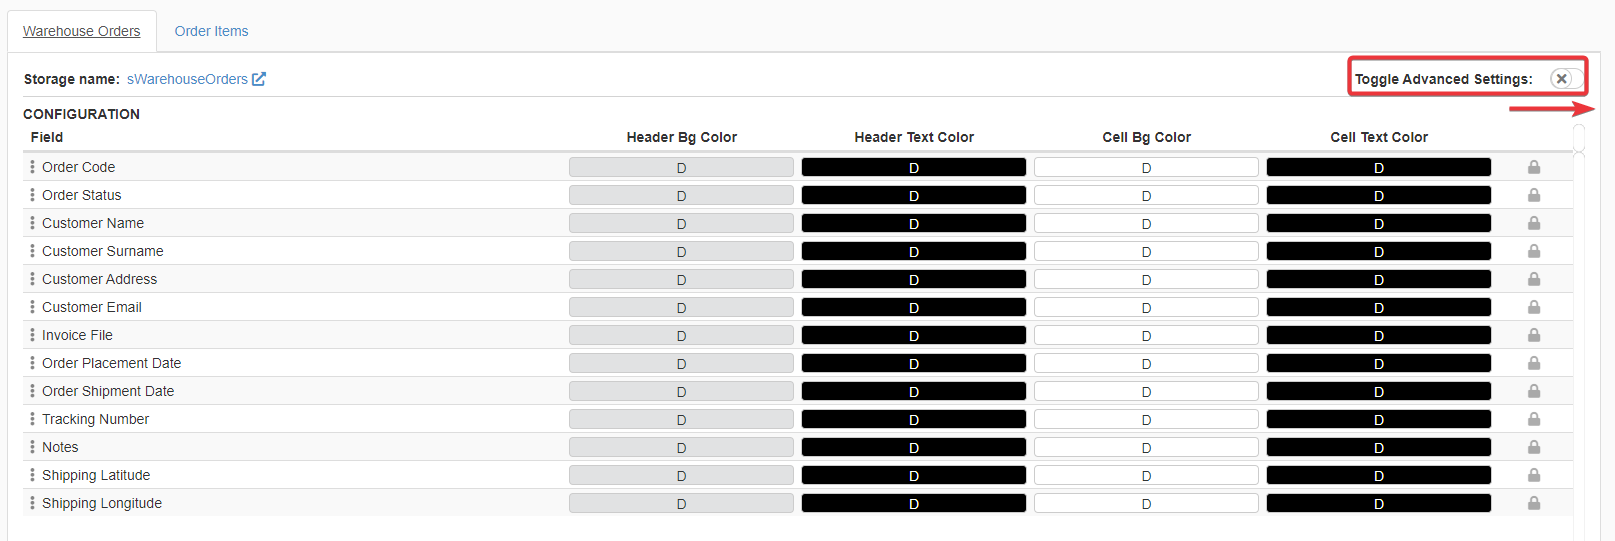
Click on the Toggle Advanced Settings toggle-switch in the top-right corner of the sub-panel. The action opens the advanced setting where you can customize the size of each column.
-
Resize the column you want to shrink or enlarge by dragging the column from the border in the table's preview.
Hint
Besides the columns' size, in the Advanced Settings you can choose to customize the table cells' size.
Drag the slider on the top-left corner of the Advanced Settings to adjust the cells' size.
-
Click on Save button. You can find the Save button in the upper-left corner of the Design Mode.
Success
You have customized the position and size of the selected table's field columns.