Enable the Application to Track the History of Changes on the Table
Required Permissions
This section requires the Application Designer permission from your Domain's administrator.
Check What are the Design Tasks? to learn more about permissions to work with Design Mode and other tools.
Learn how to configure the application to track changes on the tables and to restore the previous state if required. This feature is called History.

Attention
You can enable the History for an application if and only if at least one table's Storage with the Enable History Tracking option enabled.
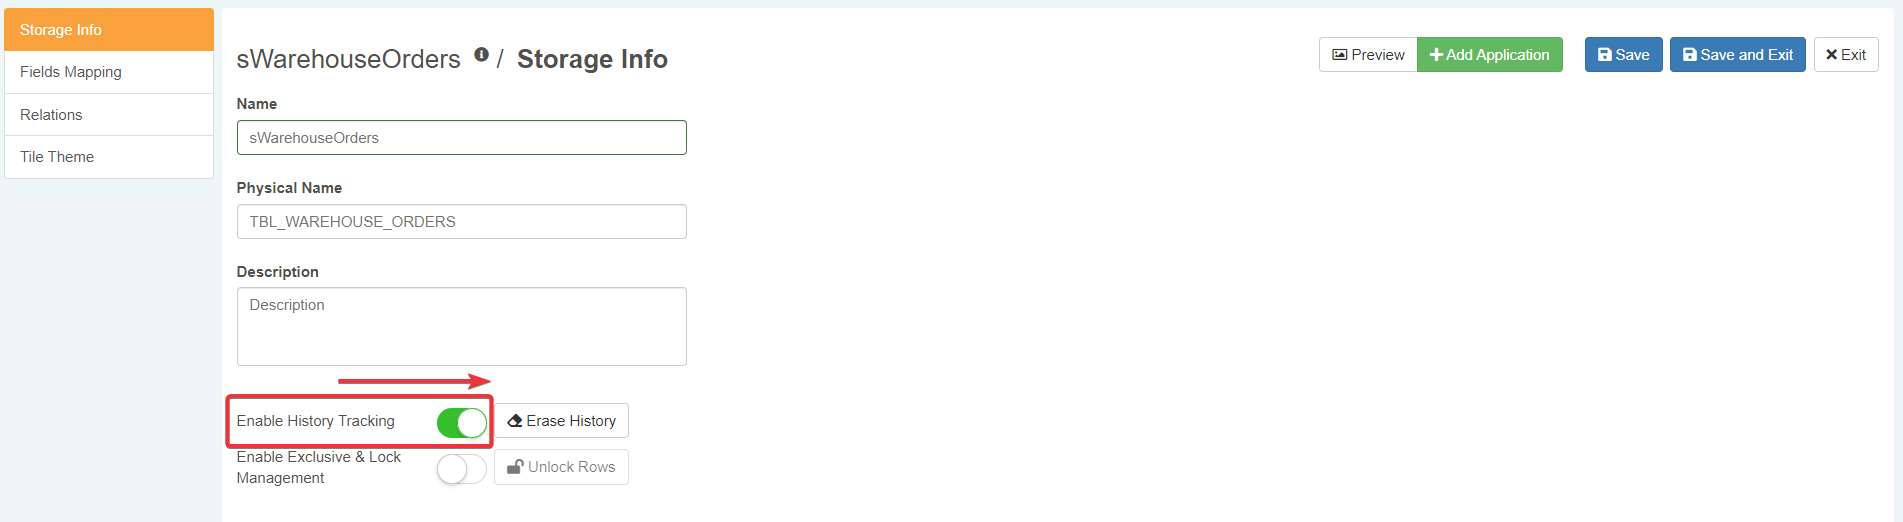
See Create an Empty Storage to learn how to create a Storage and where to find the Enable History Tracking option.
-
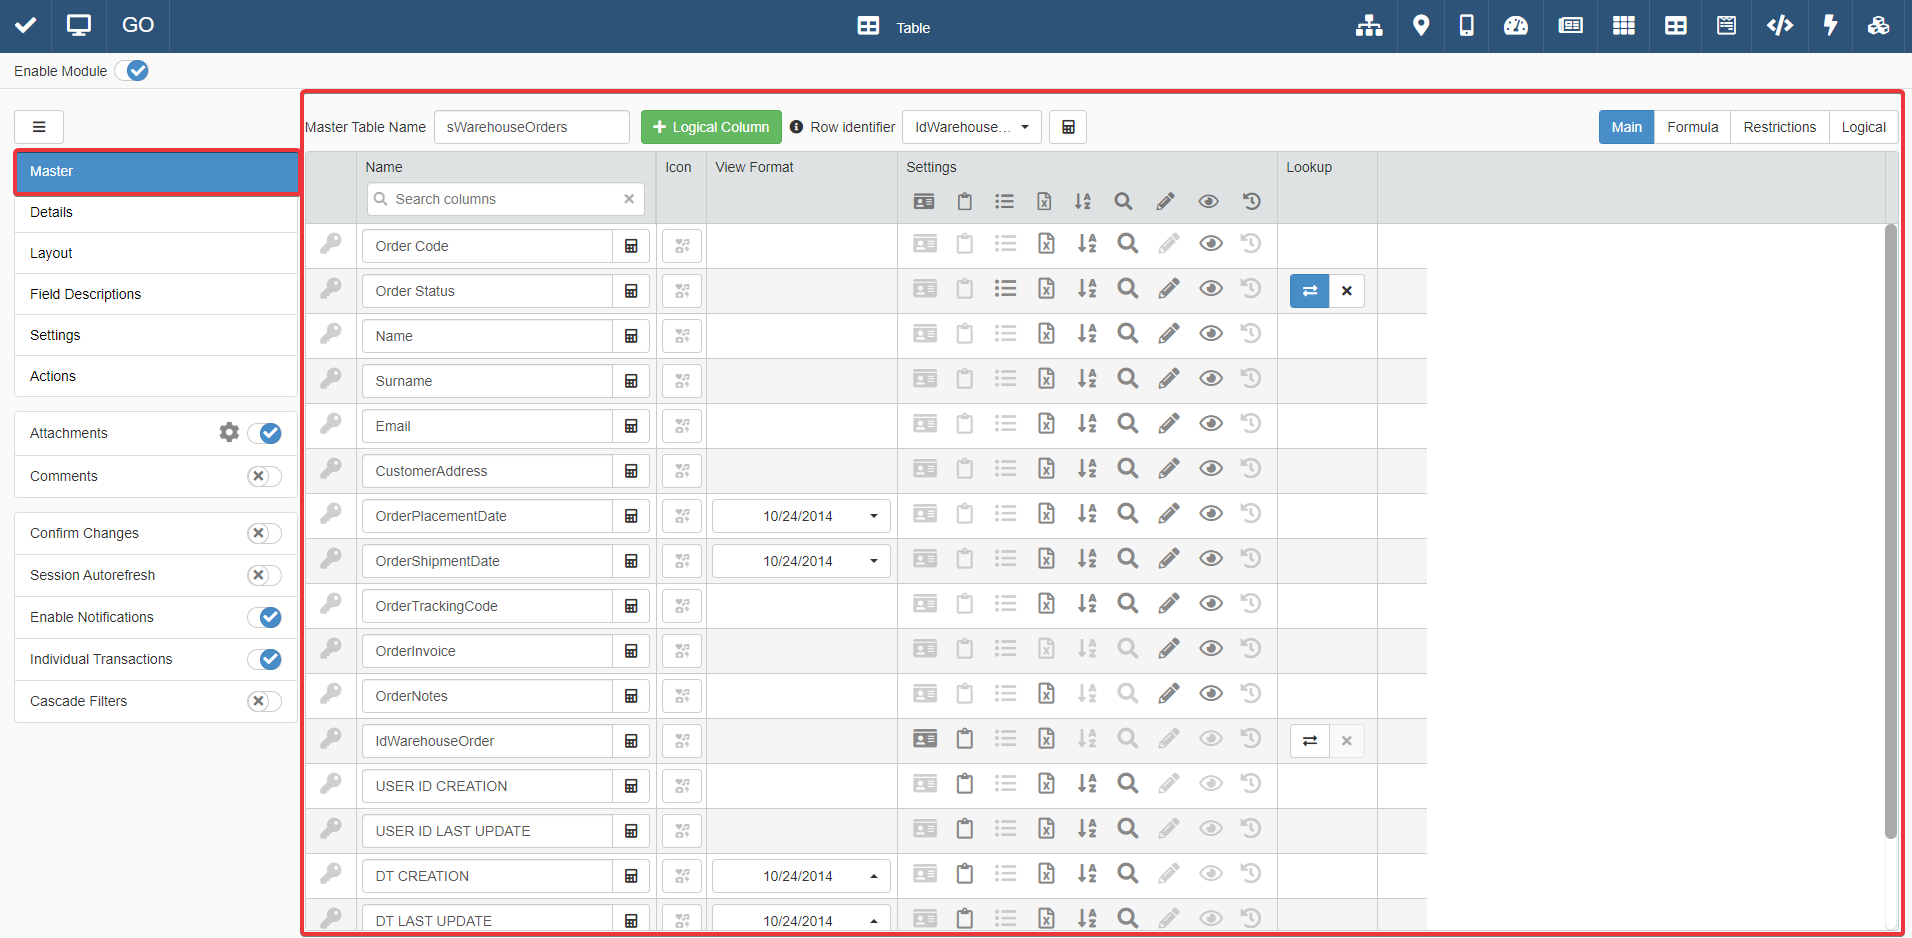
In Design Mode in the Table main panel, go to the settings of the table on which you want to enable the History.
For Master Table, you can find the table settings under the Master panel. The Master panel is the first panel opening by default when you access the Design Mode.
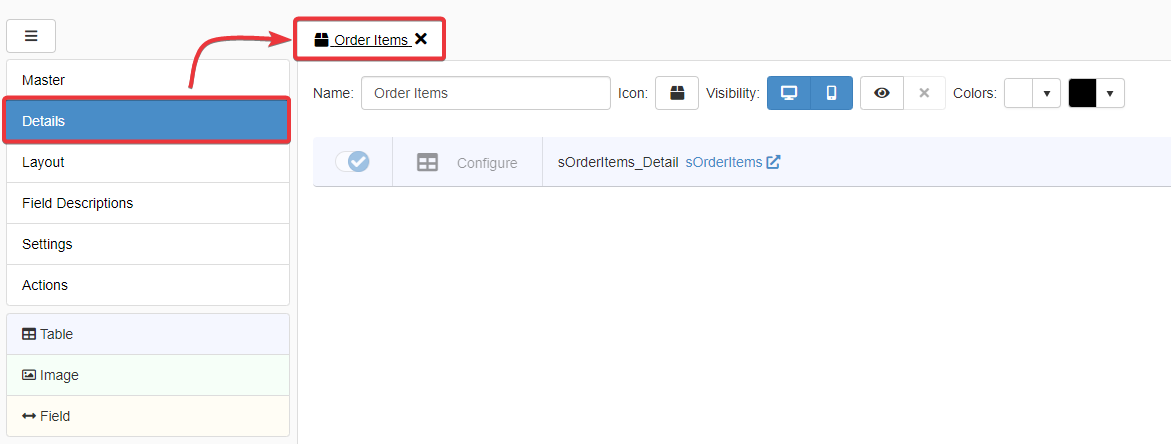
For Detail tables, you must go to the Details panel. Choose one of the Detail tables, and click on Configure.
-
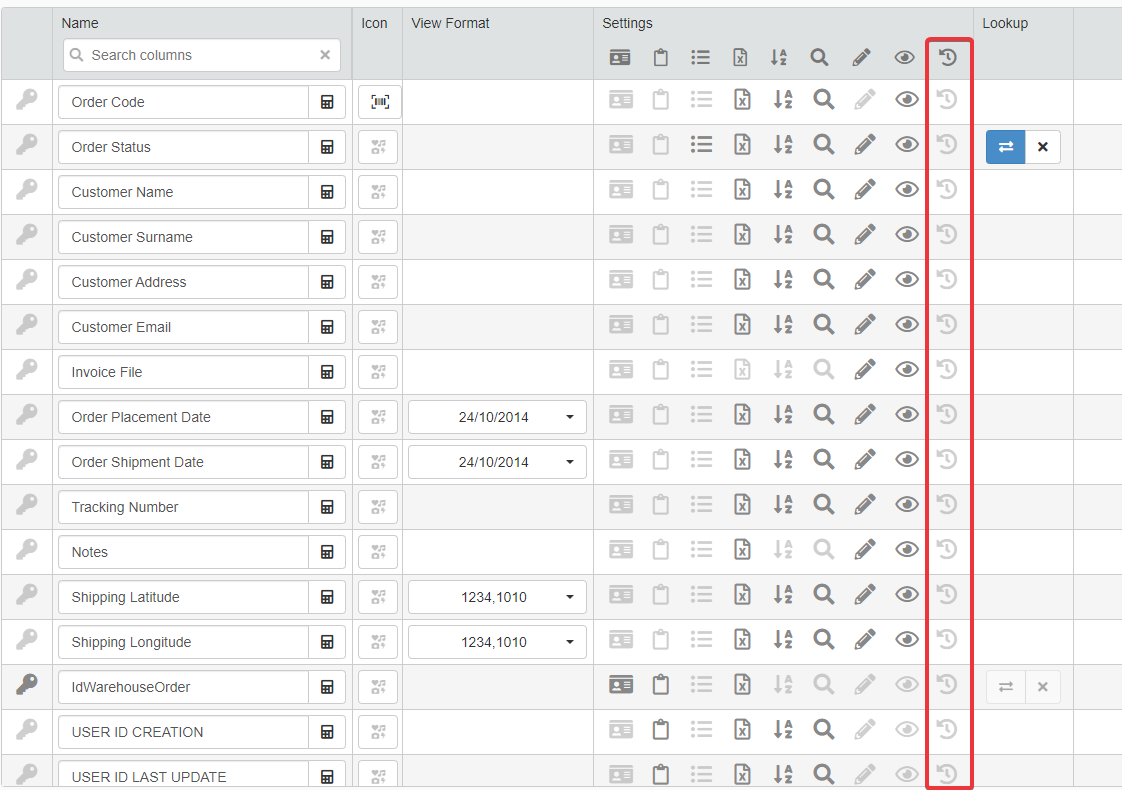
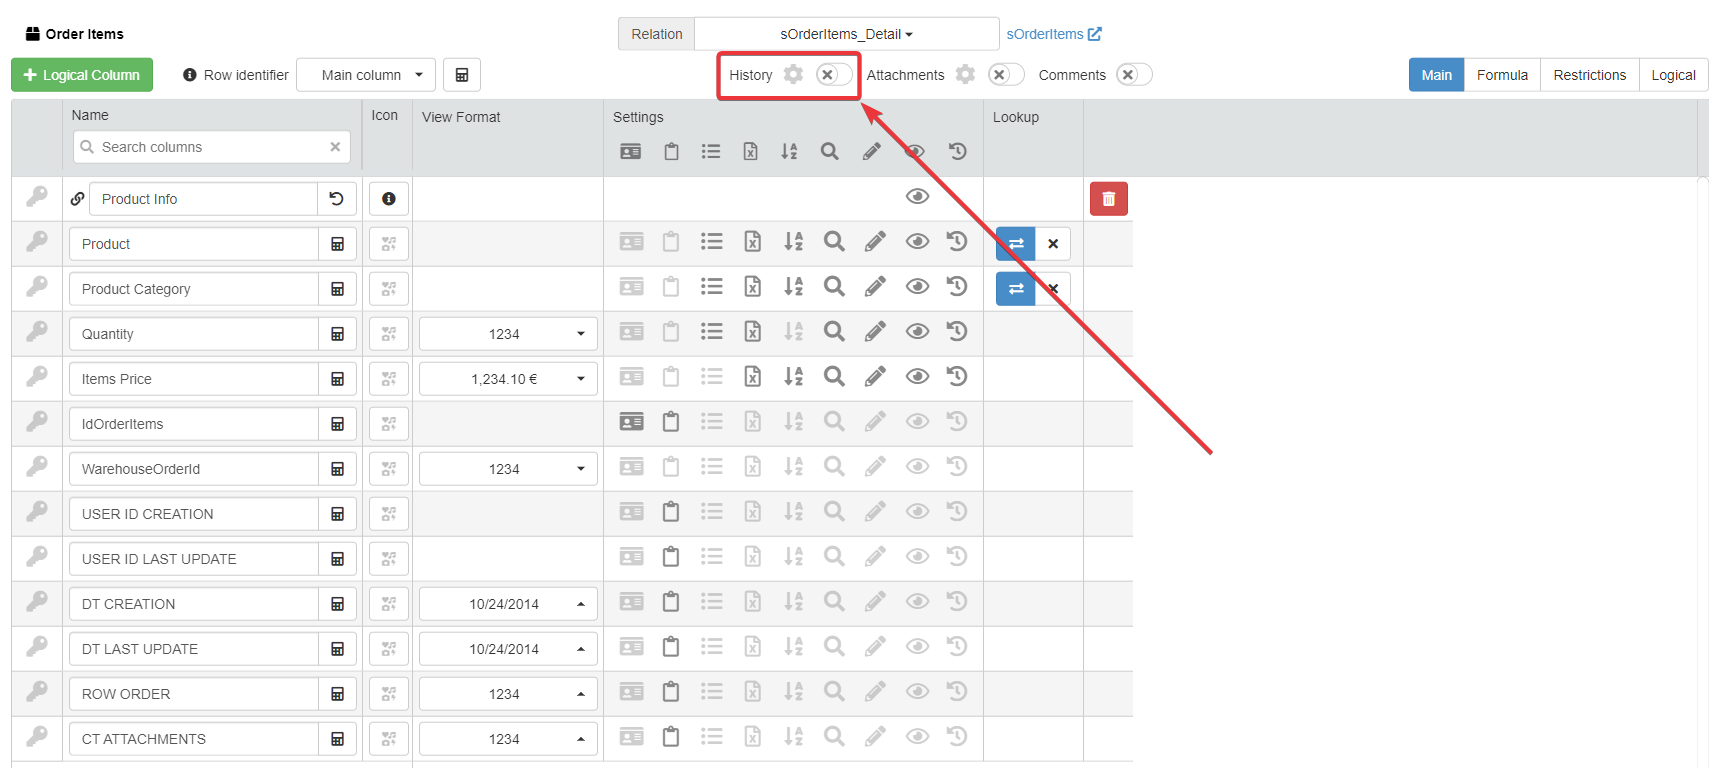
For each field you want to track the changes, click on the icon under the corresponding column.
-
You can find the History toggle switch for the Master Table in the left side bar.
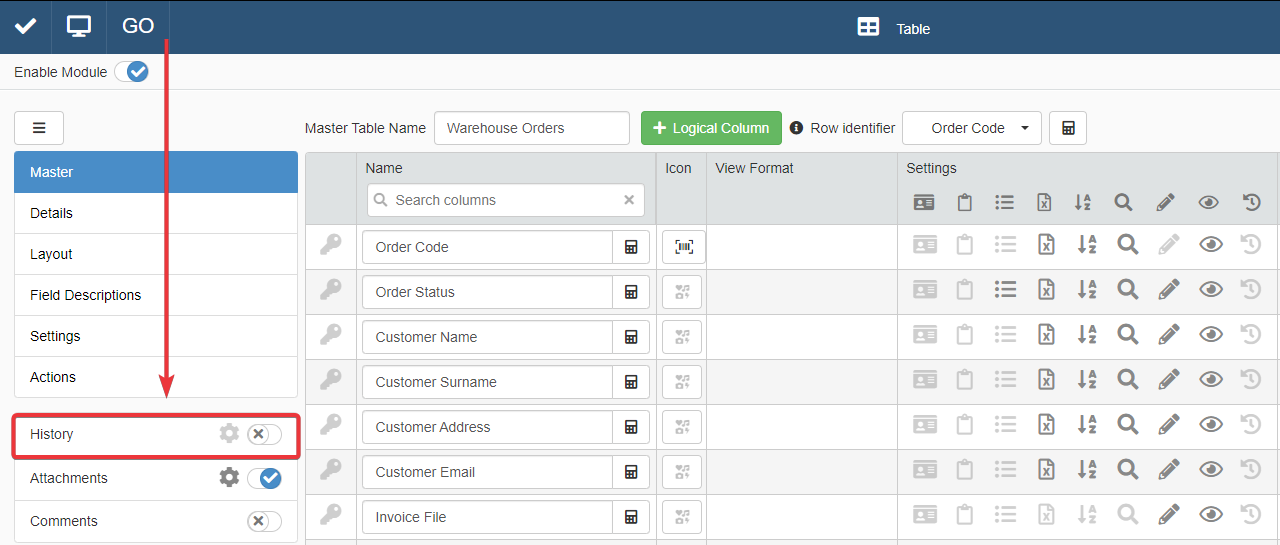
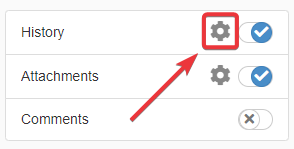
Turn on the History's toggle switch.
You find the option to enable the History for Detail tables in the Details sub-panel. (See How to Attach a Table with Further Information to a Row: Detail Tables for more information about the Details.)
-
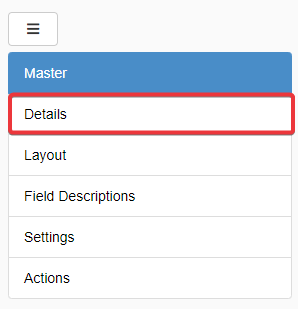
Click on Details in the left side bar in the main panel Table.
-
Click on the Detail table's tab for which you want to enable the History.
-
Click on the Configure button.

-
You find the History toggle switch and settings icon on top of the Detail's table settings.
For the rest, the procedure is the same from step 4 and onwards.
-
-
Click on the icon next to the History toggle switch to configure the History for the Master or Detail table.

-
Configure the desired settings for the table's History.
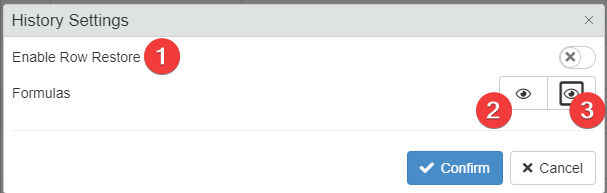
- (1) Enable the possibility to restore previous versions of the row before the current state.
- (2) Configure a Formula to display the table's ' History only under certain conditions. Opens the Formula Editor. (See Formulas for more information about functions to employ to define conditions.)
- (3) Configure a Formula to display the History of single rows only under certain conditions. Opens the Formula Editor. (See Formulas for more information about functions to employ to define conditions.)
Click on Confirm to confirm the configuration. (Click on Cancel to abort the changes.)
-
Click on Save button. You can find the Save button in the upper-left corner of the Design Mode.

Success
You have enabled the changes' tracking for one or more application's tables.