How to Schedule an Action or Notification at a Certain Time?
Required Permissions
This section requires either the Scheduler Management or Domain Admin permissions from your Domain's administrator.
Check What are the Design Tasks? to learn more about permissions to work with Design Mode and other tools.
Summary
Learn how to configure scheduled actions in your eLegere Domain at specific dates and times.
Designers and administrators can create scheduled actions and decided their time frame through the Scheduler panel.
Note
There are different kinds of scheduled actions that you can configure. Each scheduled action has its own settings, but the creation and certain options are common to every scheduled action.
Check Create a Scheduled Action to setup a Scheduled Action
The particular settings of each Scheduled Action types are discussed in Scheduled Action Types.
Create a Scheduled Action
Follow the steps below to create a Scheduled Action in the Scheduler.
Note
Step 6 changes according to the selected Scheduled Action type.
At step 6, read the paragraph Scheduled Action Types to learn how to configure the specific action type's tab settings.
-
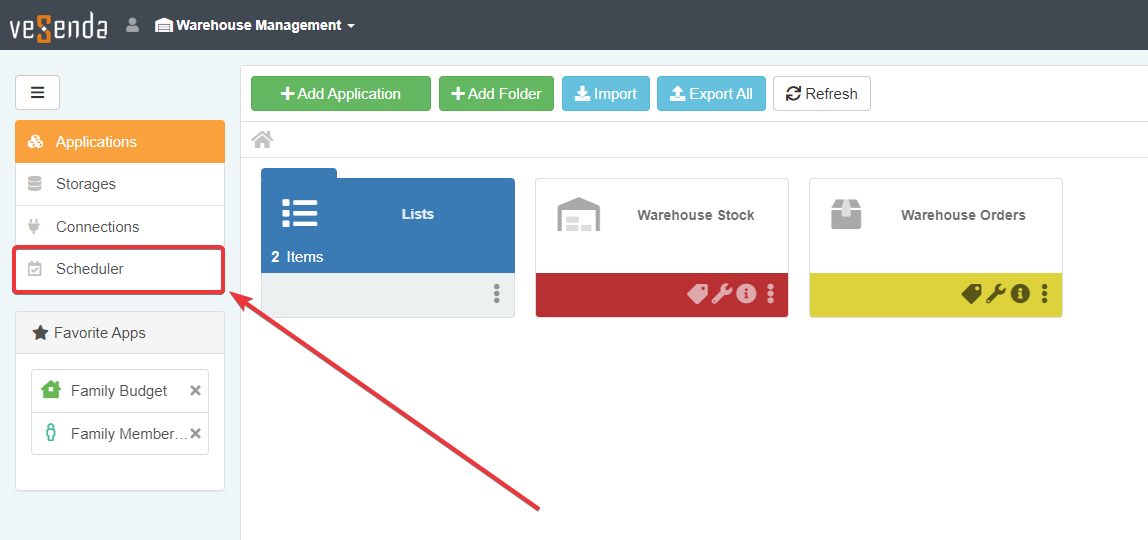
In the Home, click on the Scheduler panel in the sidebar.
-
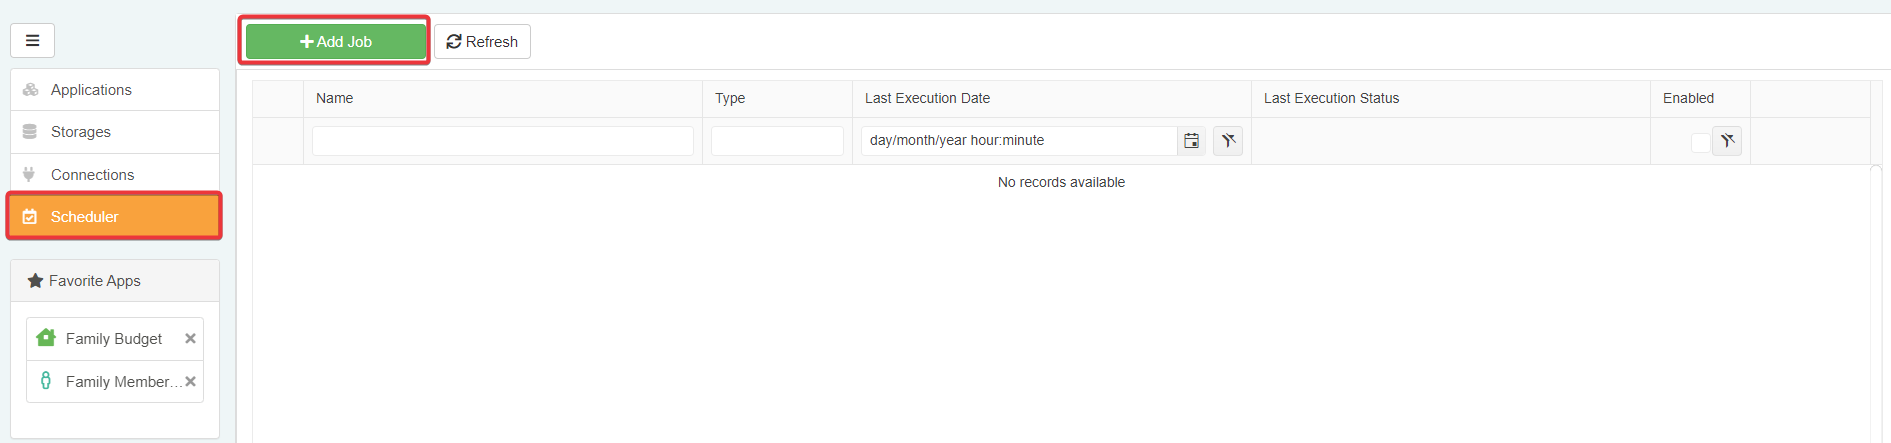
In the Scheduler panel, click on the Add Job button. The action opens the Add Job window.
-
The previous step opens the Add Job window.
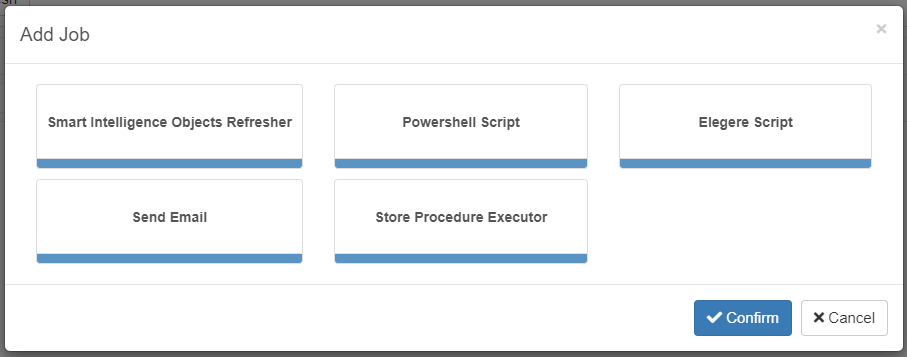
In the Add Job window, you can choose the Scheduled Action's type.
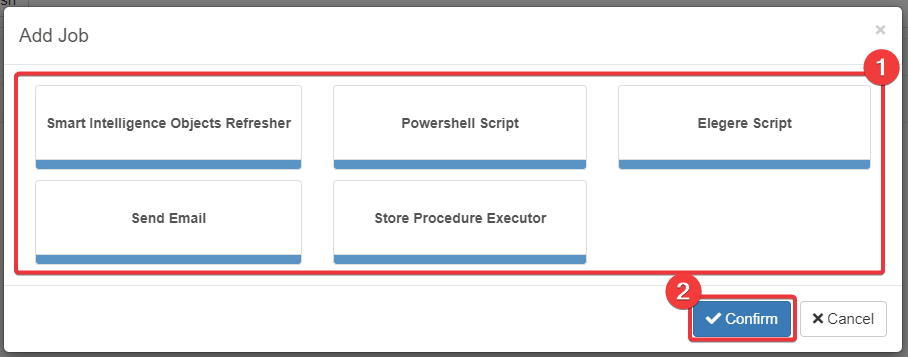
(1) Choose the Scheduled Action's type
Scheduled Actions Types
You can configure the following Scheduled Action types:
Powershell Script Runs a Powershell script at a certain date and time.
Elegere Script Runs a eLegere Script at a certain date and time. (Check eLegere Script section to learn more about eLegere's scripting language.)
Send Email Sends a Email notification at a certain date and time.
Stored Procedure Executor Runs a Stored Procedure directly on the eLegere database without interacting with an application at a certain date and time.
Read the Scheduled Action Types paragraph in this document to learn about the settings for each type.
(2) Click on the Confirm button to create and configure the action. (Click on Cancel to abort the creation instead.) The action leads to the Scheduled Action's configuration.
-
In the Scheduled Action's settings, you can read the Scheduled Action's type on the window.
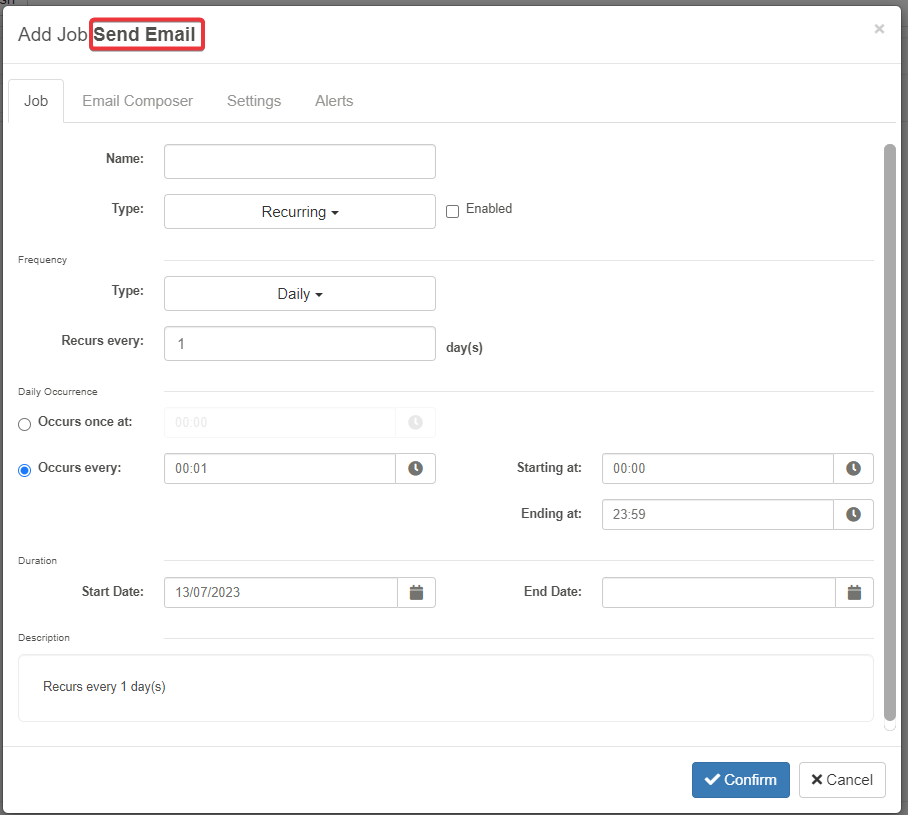
Insert the required settings.
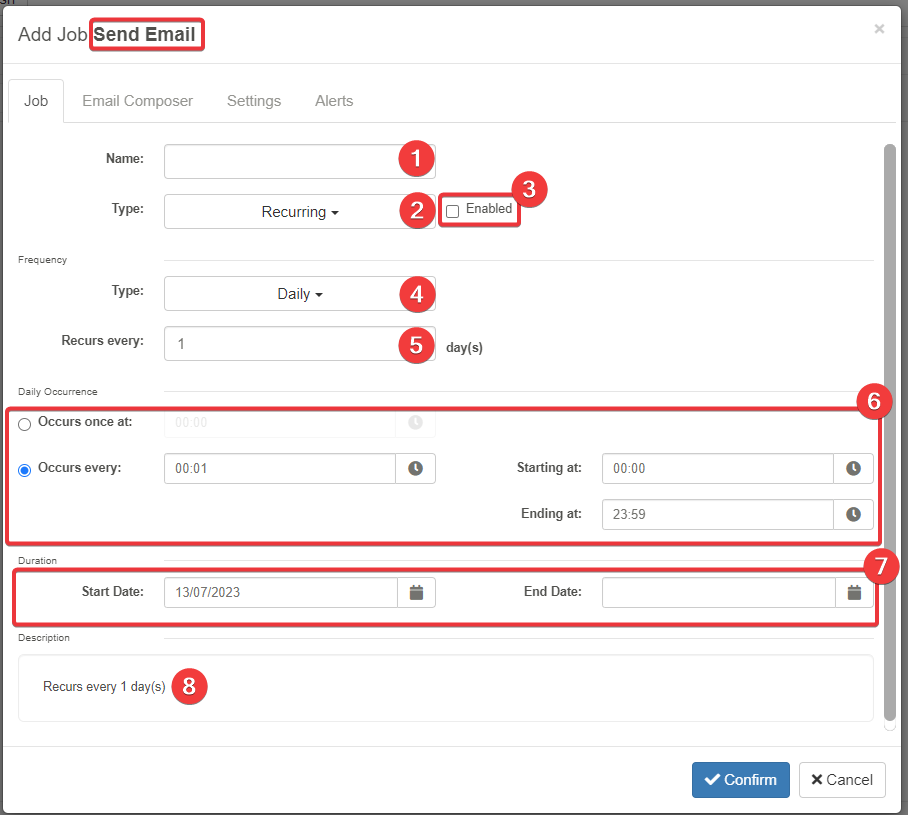
- (1) Name Insert a name to identify the Scheduled Action.
-
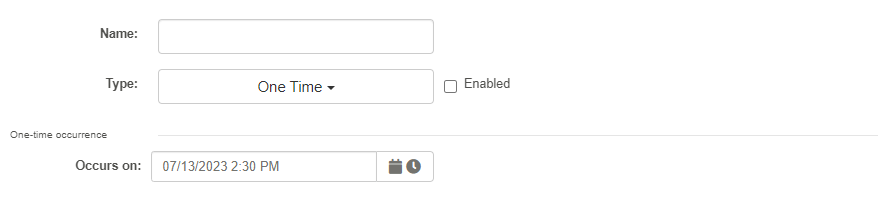
(2) Type Choose if the scheduled action happens one time or in a recurring time frame.
If happens one time, the Job tab displays only the date and time for running the Scheduled Action.
-
(3) Enabled Check this option to activate the Scheduled Action. (By default is not checked.)
- (4) Frequency Type Decide if the action runs daily, weekly or monthly.
-
(5) Recurs every Decide the action's frequency in days, weeks, and months according to point (4).
If Weekly, choose the days to run the action.

If Monthly, decides either a period in the month or a certain day.

-
(6) Choose the specific moment when the scheduled action runs in the day.
- (7) Choose a Starting Date and End Date for the Scheduled Action's recurring execution.
- (8) The window yields a brief descriptor starting from the window's settings.
-
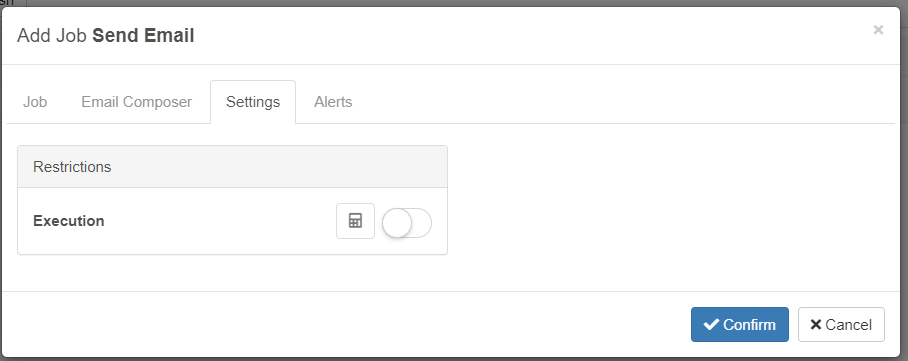
Check Scheduled Action Types to learn how to configure the specific action type's setting. The specific action type setting is the tab between the Job tab and the Settings tab.
-
This step is optional. Turn on the toggle-switch to enable a restriction; i.e. conditions to satisfy to trigger the Scheduled Action in the configured time frame. Click on the icon to open the Formula Editor and insert a Formula specifying the conditions.
-
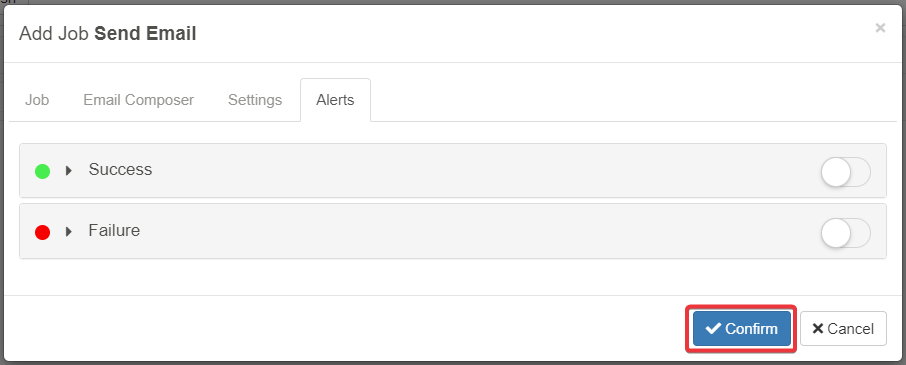
This step is optional. Decide if you need an email notification Alert after the Scheduled Action's Execution.
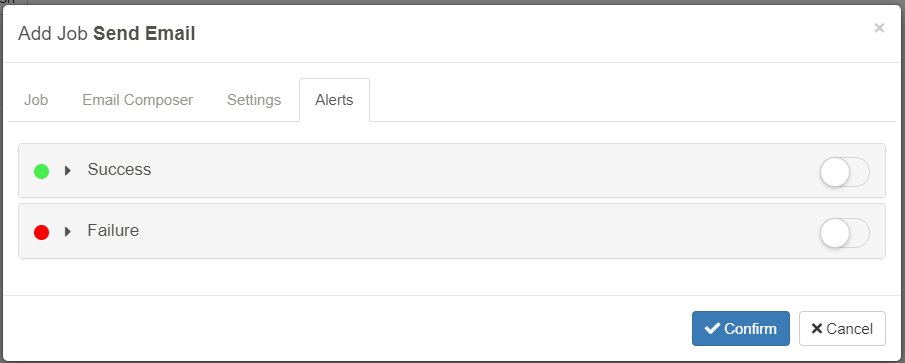
Turning ON the Success toggle-switch enables to configure an email.
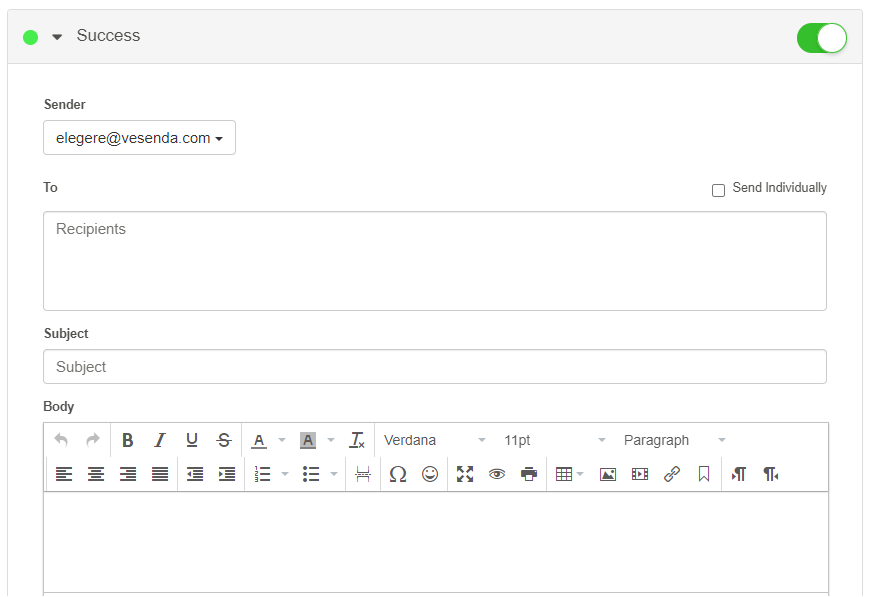
- Choose a Sender email address from the list that your Admins has created.
- Insert the Recipients addresses
- Check Send Individually if you want to send an mail to each Recipient instead of single email with multiple recipients. (By default is unchecked. The Scheduler sends a single email with all the recipients in the To email field.)
- Insert a Subject
- Insert a Body
In case of Success, the action warns the recipients of the success.
Turning ON the Failure toggle-switch enables to configure an email.
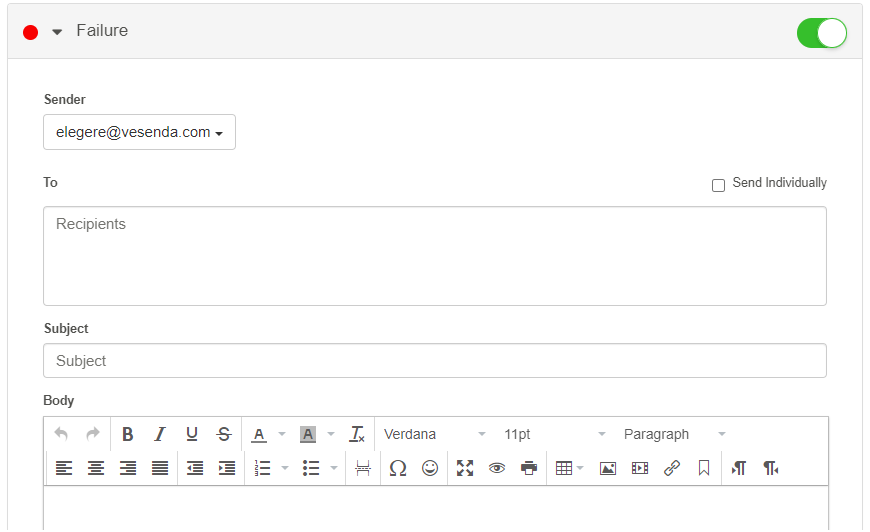
- Choose a Sender email address from the list that your Admins has created.
- Insert the Recipients addresses
- Check Send Individually if you want to send an mail to each Recipient instead of single email with multiple recipients. (By default is unchecked. The Scheduler sends a single email with all the recipients in the To email field.)
- Insert a Subject
- Insert a Body
In case of Failure, the action warns the recipients of the success.
-
Click on the Confirm button to save the Scheduled Action's creation. (Click instead on the Cancel button to abort.)
Success
You have configured a Scheduled Action that runs at the specified date and time.
Scheduled Action Types
Learn how to configure the specific tab of each Scheduled Action type.
At step 6 of Create a Scheduled Action, you must configure the specific settings of the type you have selected.
Scheduled Actions Types
Powershell Script
If you have chosen the Powershell Script type, configure the following settings.

-
Insert the path to the Powershell script on the eLegere's installation.
-
Click Add Parameters button to add a couple of parameter' names and value to be passed to the script.
-
Insert the parameter's Name and Value to be passed.
Repeat steps 2 and 3 for each parameter to be passed to the script.
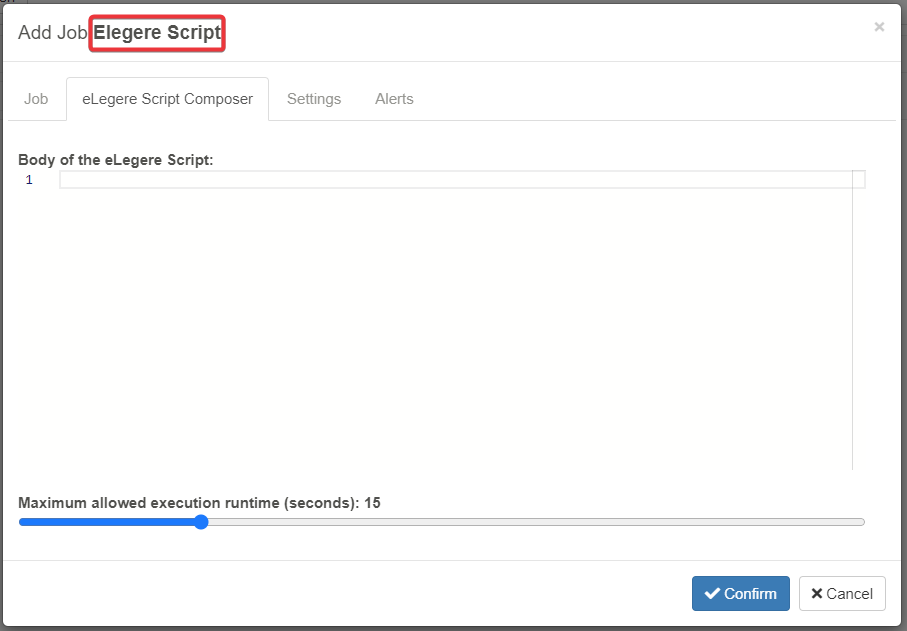
Elegere Script
If you have chosen the Elegere Script type, insert the eLegere Script in the Body of the eLegere Script section.
Decide also the maximum time limit for the Scheduler to wait before considering the script timed out. (By Default are 15 seconds.)
Send Email
If you have chosen the Send Email type, configure the following settings.
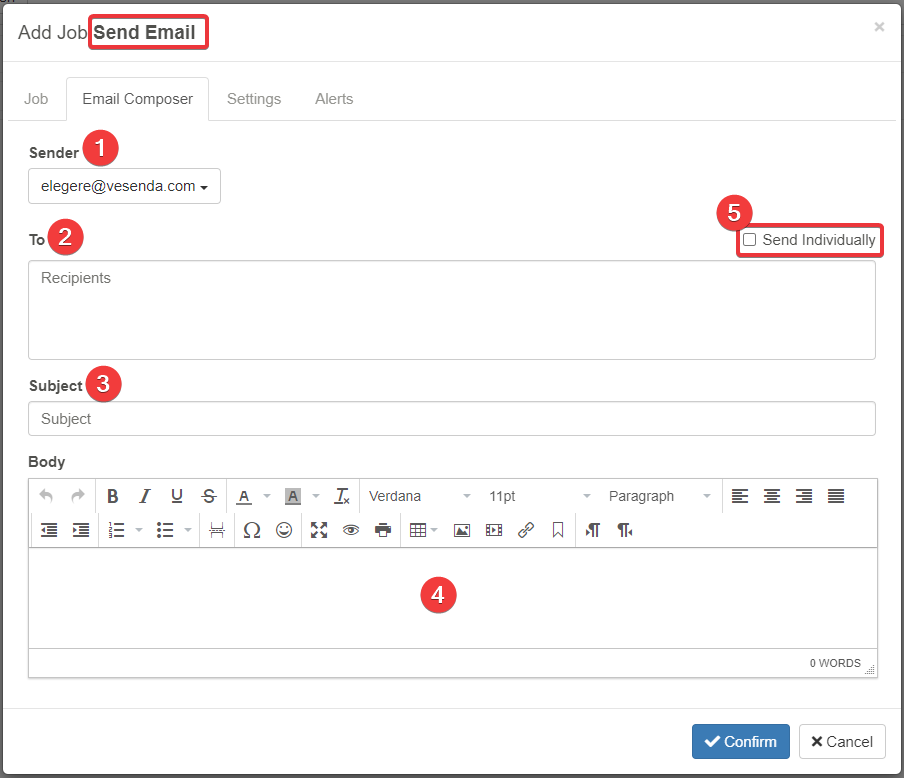
- Sender Choose an email address from the list that your administrator has configured.
- To Type the email addresses that must receive the email notifications.
-
Subject Insert a standard subject for the email notification. You can insert Formulas between
[].Attention
Inserting formulas either in the Subject or the Body requires enclosing the formula between two squared brackets
[]. Inside Subject and Body in Send Email Scheduled Actions, the Scheduler interprets formulas outside squared brackets[]as standard text and won't run them. -
Body Insert the content of the email's notification by using the embedded editor. You can insert Formulas between
[].Attention
Inserting formulas either in the Subject or the Body requires enclosing the formula between two squared brackets
[]. Inside Subject and Body in Send Email Scheduled Actions, the Scheduler interprets formulas outside squared brackets[]as standard text and won't run them. -
Check Send Individually if you want to send an mail to each Recipient instead of single email with multiple recipients. (By default is unchecked. The Scheduler sends a single email with all the recipients in the email's To.)
Stored Procedure Executor
If you have chosen the Stored Procedure Executor type, configure the following settings.
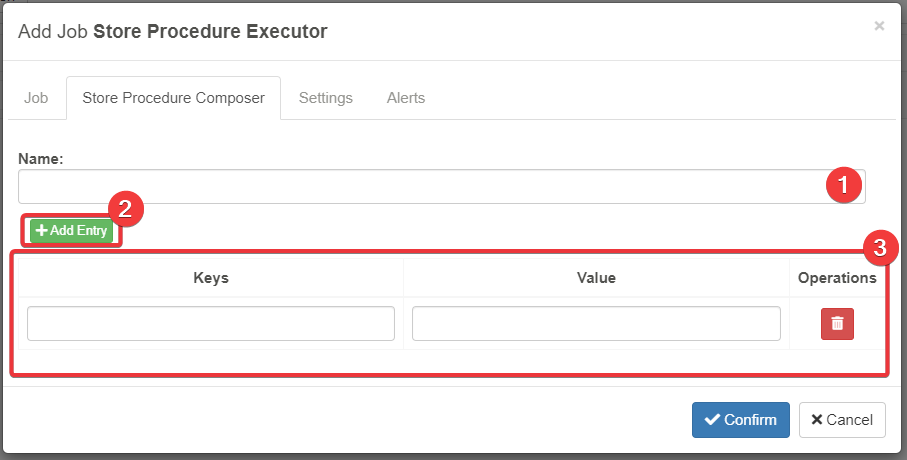
- Insert the Stored Procedure's name on the database.
- Click on Add Entry to add a couple of value and key for the Stored Procedure
Clicking on Add Entry inserts as couple of key and value. Insert in the line the key and the value to be passed to the Stored Procedure.
Manage, Edit, and Delete Scheduled Actions
Learn how to manage, edit, and delete scheduled actions in the Scheduler
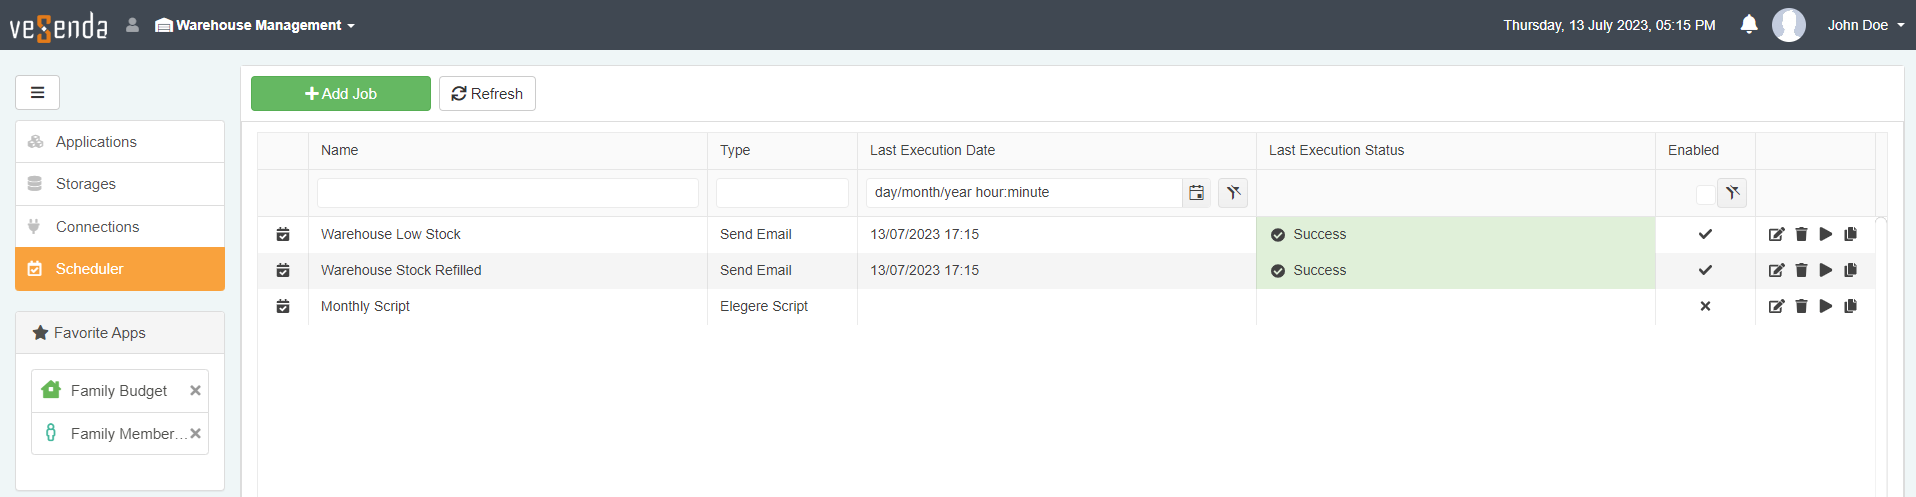
The Scheduler's List and Commands
You can manage all the Scheduled Actions from your Domain in the Scheduler.

- Name Reports the Scheduled Action name
- Type Reports the Scheduled Action's type.
-
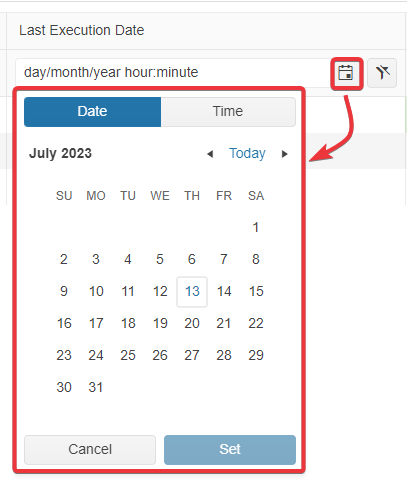
Last Execution Date Reports the latest time the Scheduled Action has run.
Click on the Toggle date-time selector icon and choose a date and time to filter the actions for.
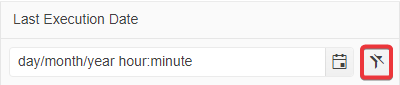
Click on the icon next to Toggle date-time selector to remove the Last Execution Date filter.
-
Last Execution Status Reports if the Scheduled Action succeeded or failed during the last execution.
-
Enabled Reports if a Scheduled Action is Enabled or not. An action runs at the specified date and time if and only if is Enabled.
You can filter the Scheduled Action by their Enabled\Disabled status by checking the box.

-
The column lists the commands to manage a Scheduled Action. From the left to the right:
- Edit Opens again the Scheduled Action to change the settings.
-
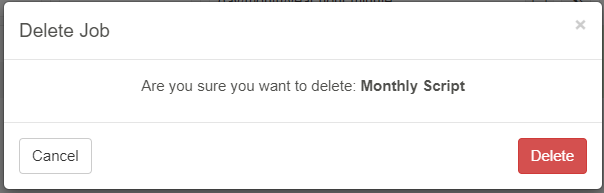
Delete Deletes the Scheduled actions.
-
A window will ask for confirmation. Click on Delete to delete the action or Cancel to abort the deletion.
-
-
Run Forces the Scheduled Action's execution manually outside the scheduled date and time.
- Clone Creates a copy of the Scheduled Action.
Hint
Click on a column to order in Ascending or Descending order the Scheduled Actions according to that field.

Execution Status and Logs
If you want more info about a Scheduled Action's execution status, click on the icon next to a Scheduled Action to open the Job Details.
In the Job Details, you can read the Execution Date in descending order, the Start Time, End Time, and the Status (i.e. Success/Failure result).
Click on the Log button to access a detailed Log about a particular execution in the list.
Hint
Click on the Refresh button to update the Scheduled Action's log.