Export Applications and Storages
Required Permissions
This section requires the Domain Admin permission from your Domain's administrator.
Check What are the Design Tasks? to learn more about permissions to work with Design Mode and other tools.
You can export Applications, Storages, Data, and Folders from your current Domain to another Domain in the same eLegere installation or in another one.
Learn how to export either all the Applications, Storages, Data, and Folders or just an individual application. In both the cases, the Home will prepare for you a file in .eap format containing everything you wanted to Export.
Info
The .eap file contains everything you have exported. See the Import Applications and Storages in a New Domain section to learn how to Import Applications, Storages, Data, and Folders through the .eap file.
Export All the Application
Learn how to export all the Applications, Storages, Data, and Folders from your Domain.
Attention
The Export function doesn't export scheduled actions from the Scheduler.
If you want to export all the elements from your Domain, follow the steps below.
-
In the Home, click on the Export button. The action opens the Export All wizard.

-
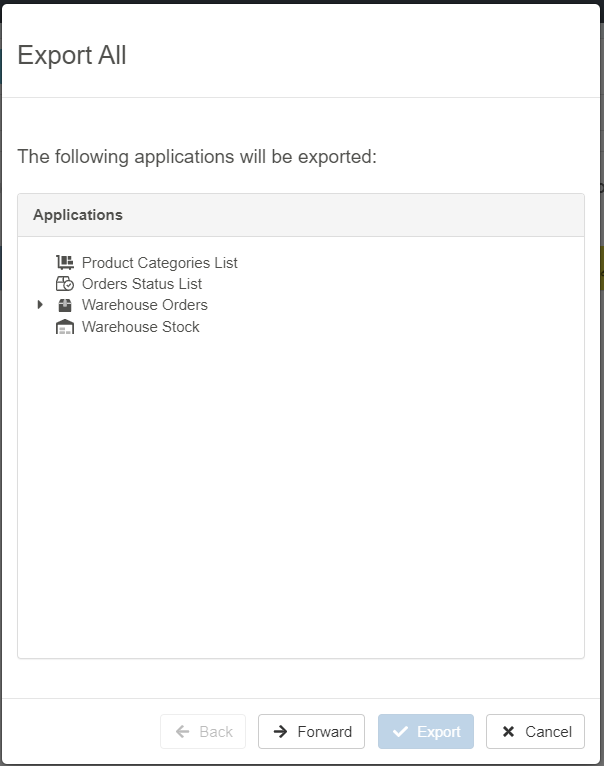
In the Export All wizard, the first window displays the list of applications that the wizard is going to export. If you are satisfied, click on the Forward button or Cancel to abort the export.
-
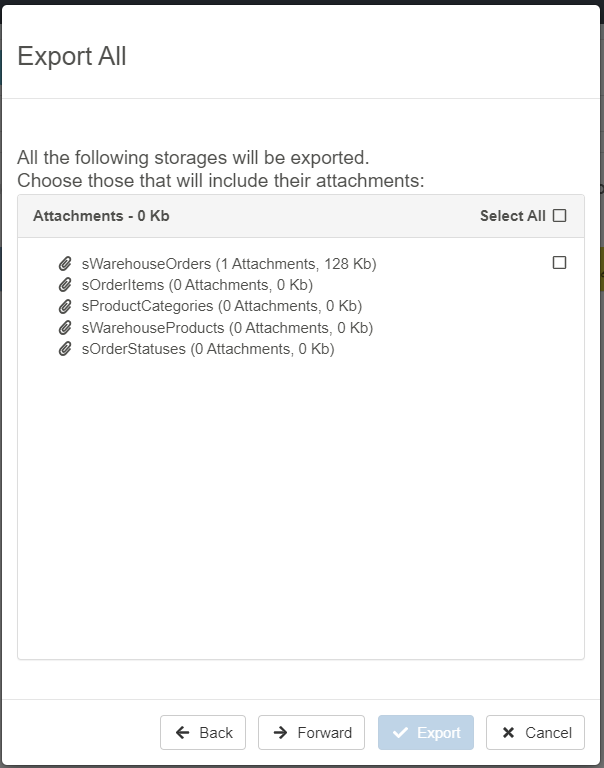
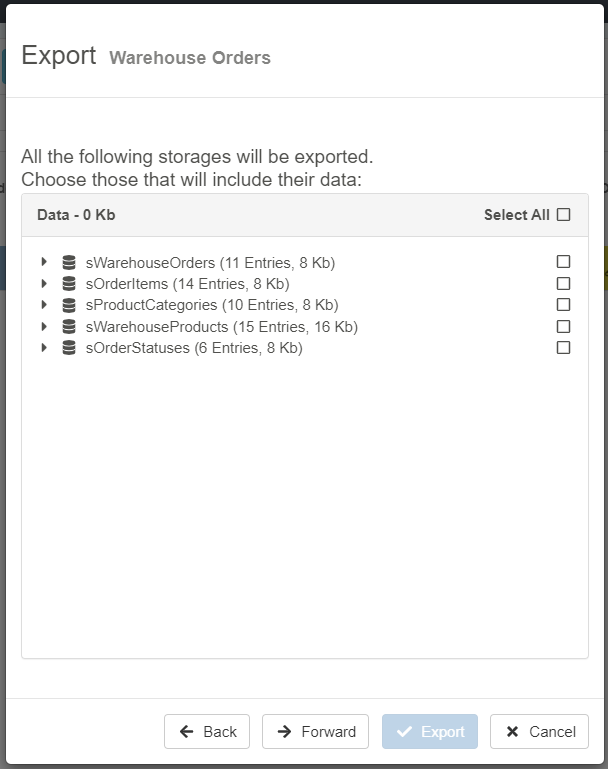
The next window summarizes the Storages that the wizard is going to export.

Select the Storages for which you want to export also the data besides the fields. If you don't want to export the data but only the fields, don't select anything. By Default, no data are selected for the Storages.
If you are satisfied, click on the Forward button or Back to go back to the previous step. Click on Cancel to abort the export.
-
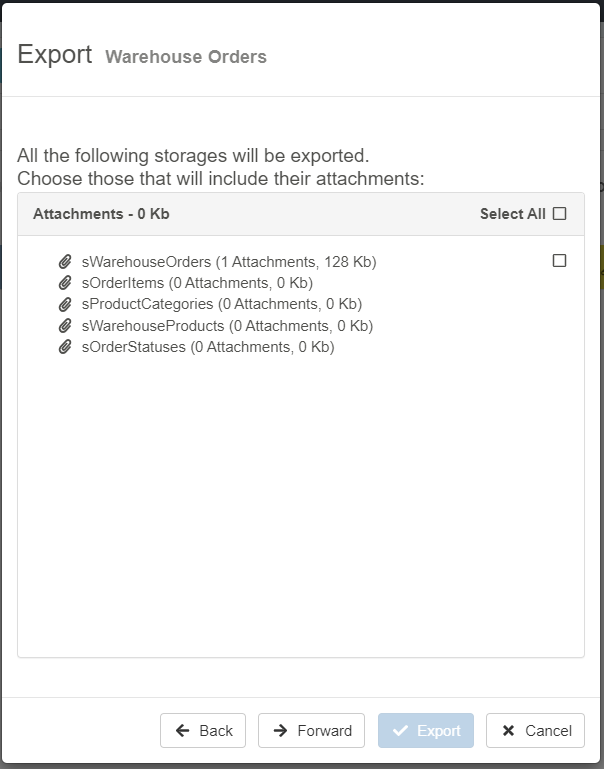
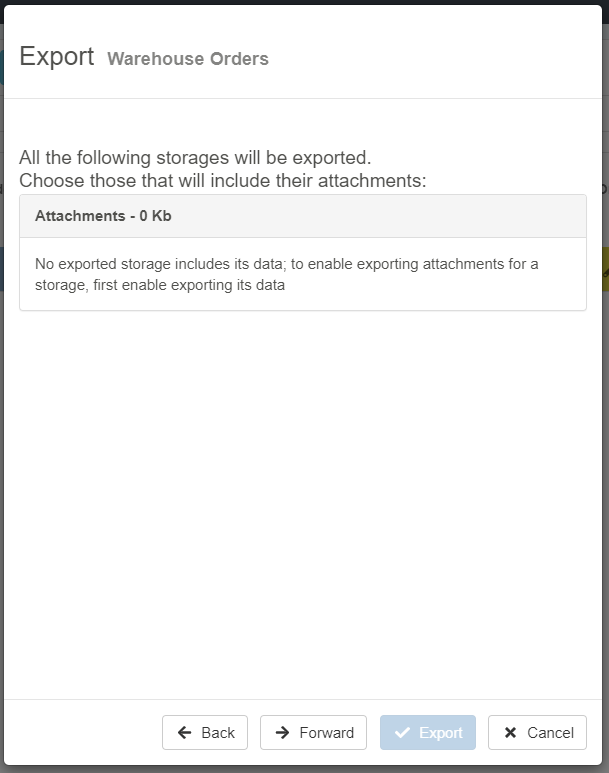
In case you have selected data from the previous step, choose for which Storages you want to export the rows' attachments (if any).
Note
In case you haven't selected to export data from the previous step, this window is empty.
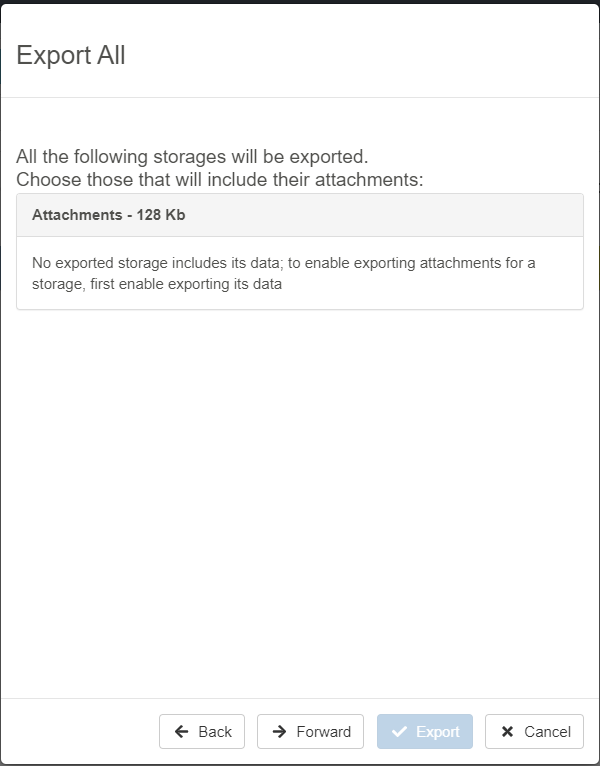
If you are satisfied, click on the Forward button or Back to go back to the previous step. Click on Cancel to abort the export.
-
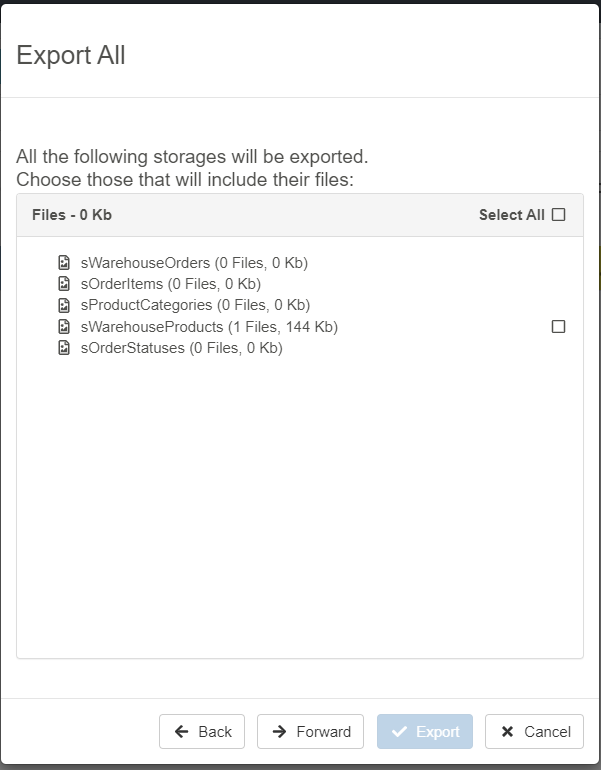
In case you have selected data from the previous step and you have a File-type field, choose for which Storages you want to export the files (if any).
Note
In case you haven't selected to export data from the previous step, this window is empty.
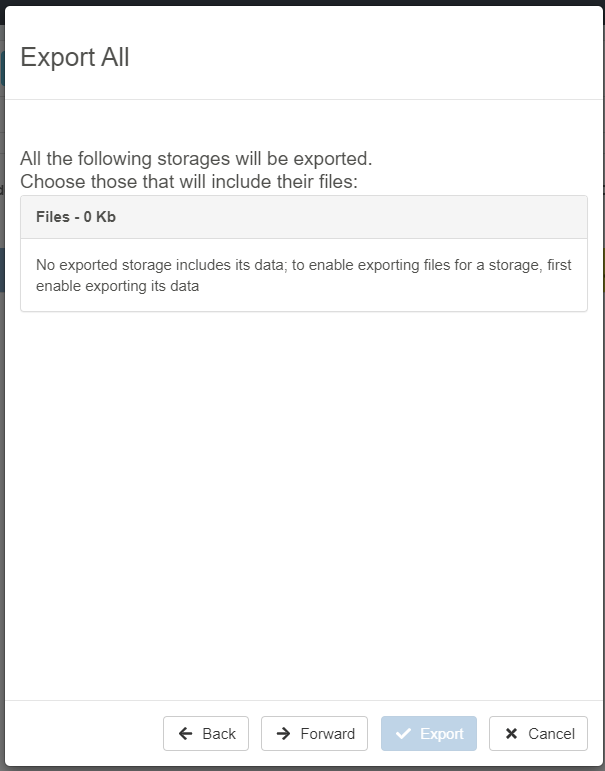
If you are satisfied, click on the Forward button or Back to go back to the previous step. Click on Cancel to abort the export.
-
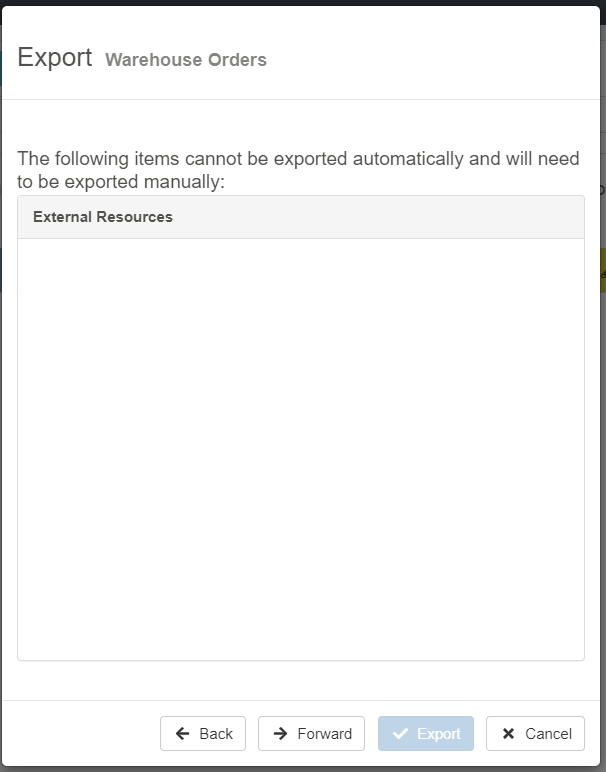
If there are External Resources like Stored Procedures and Powershell Scripts, the wizard will list what it won't be exported in this window. If there are no External Resources, the window is empty.
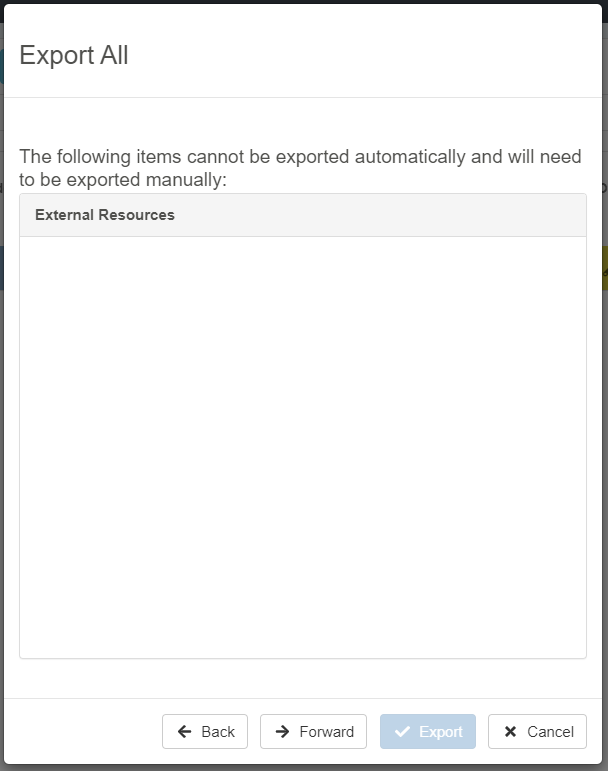
If you are satisfied, click on the Forward button or Back to go back to the previous step. Click on Cancel to abort the export.
-
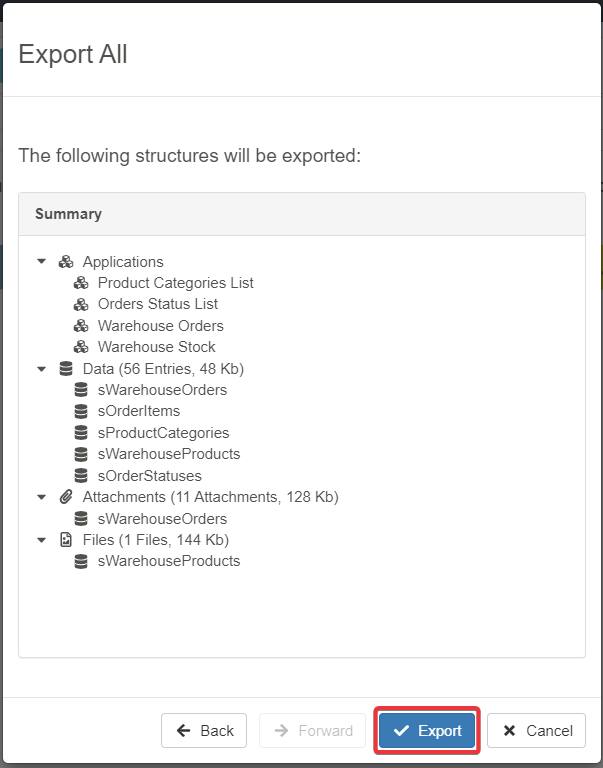
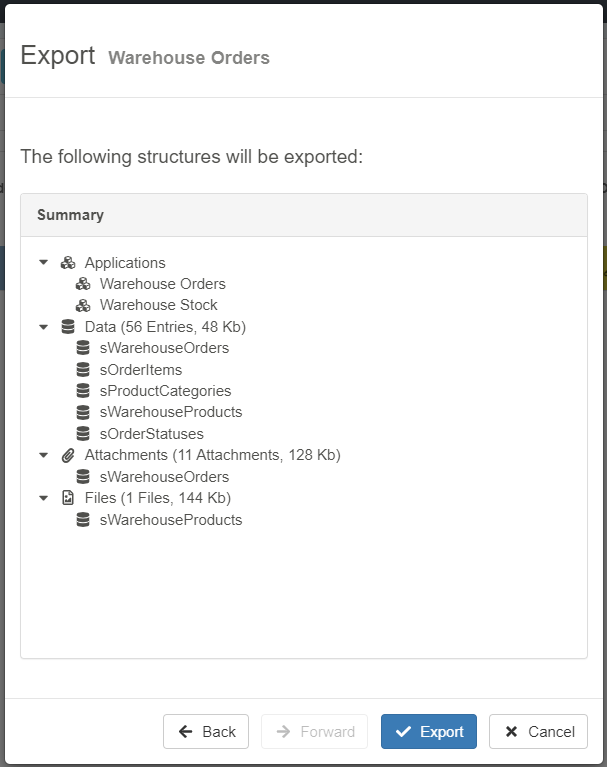
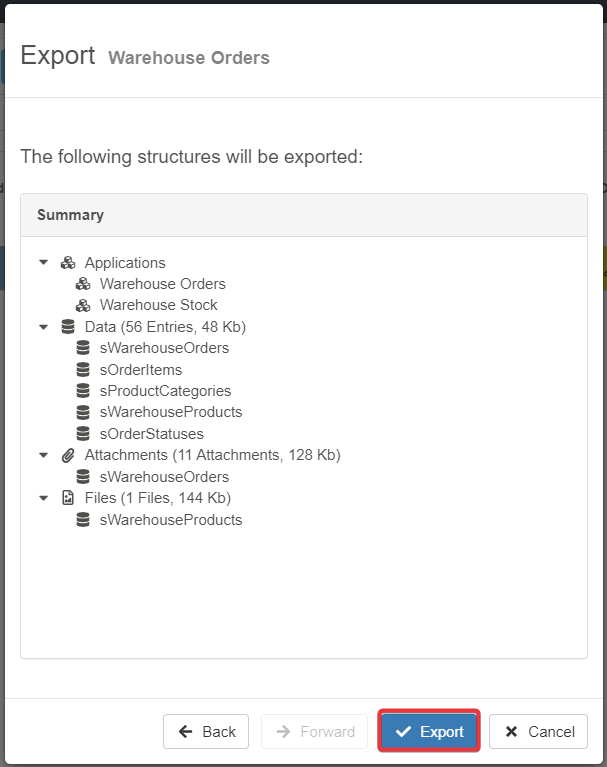
The wizard's last window summarizes everything selected for the Export.
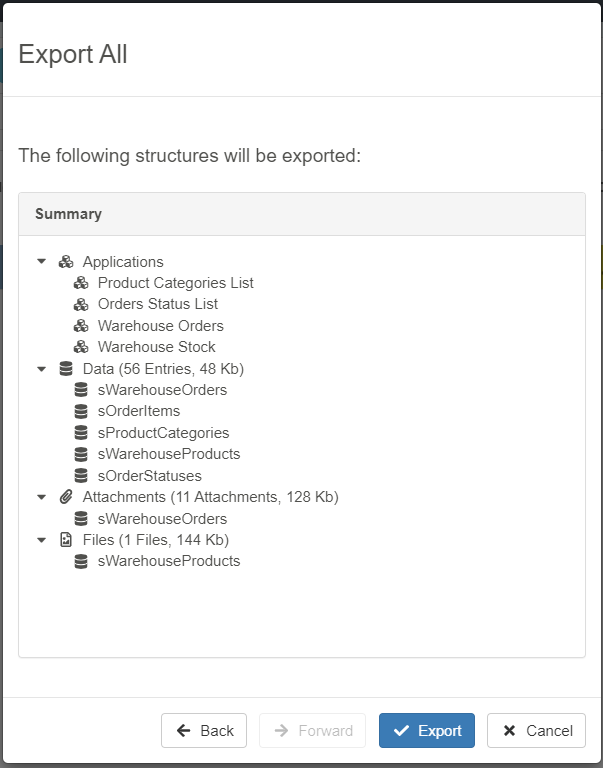
If you are satisfied, click on the Start Export button. Click on the Back button to go back to the previous step. Click on Cancel to abort the export.
-
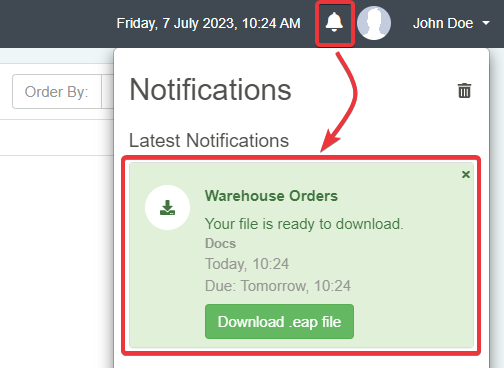
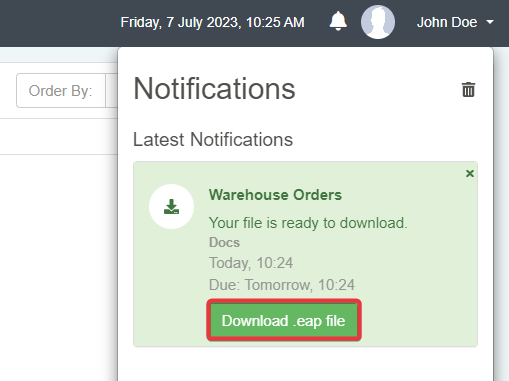
Wait for eLegere to pack all the selected elements in a .eap file. When done, a notification will warn you of the Export completition.
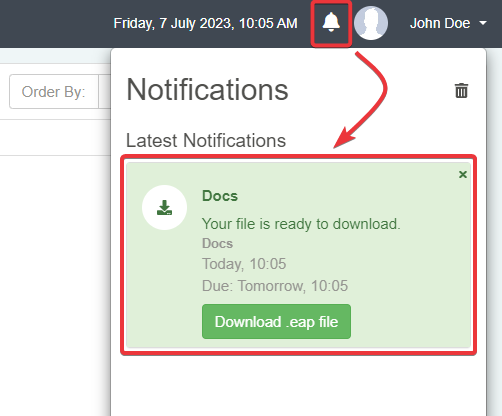
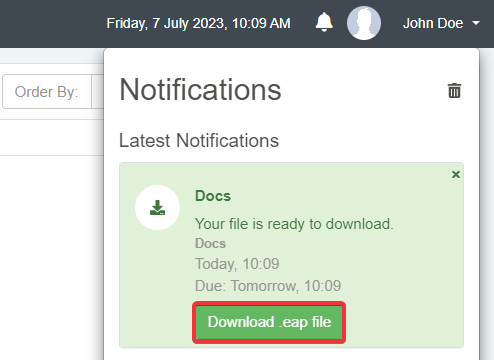
Click on the Download .eap file button in the notification to download the .eap file.
Success
You have created an .eap file that you can import in another Domain. The .eap contains all the Applications, Storages, Data, and related folders selected in the Wizard.
Export a Single Application
Learn how to export single Applications and required Storages, Data, and Folders from your Domain. If you need only specific applications, you can export only those that you need instead of all the Domain's elements.
Follow the steps below to export single applications from the Domain.
-
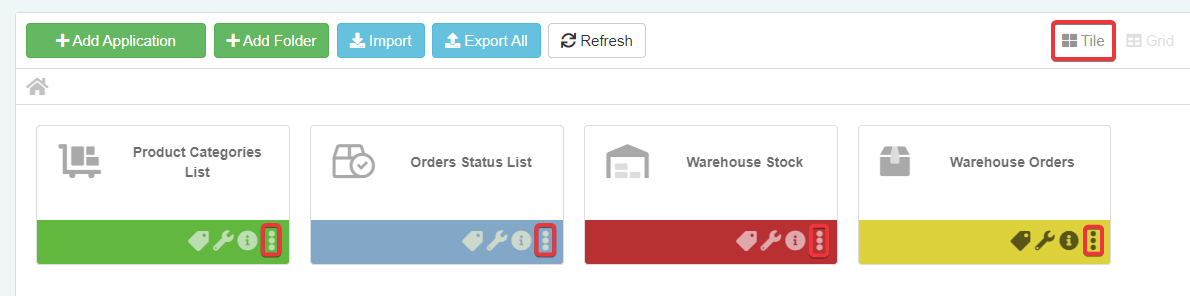
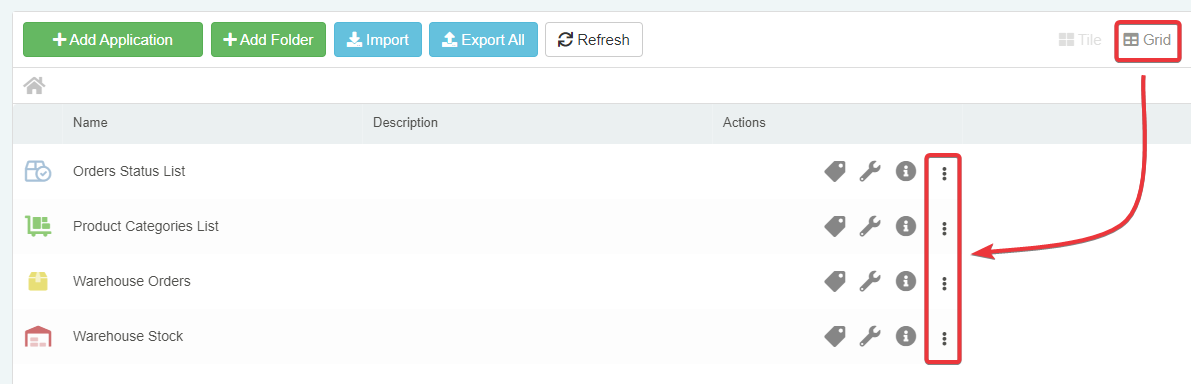
In the Home, click on the icon corresponding to the Application you want to export. You find the icon both in the Tile or Grid view.
-
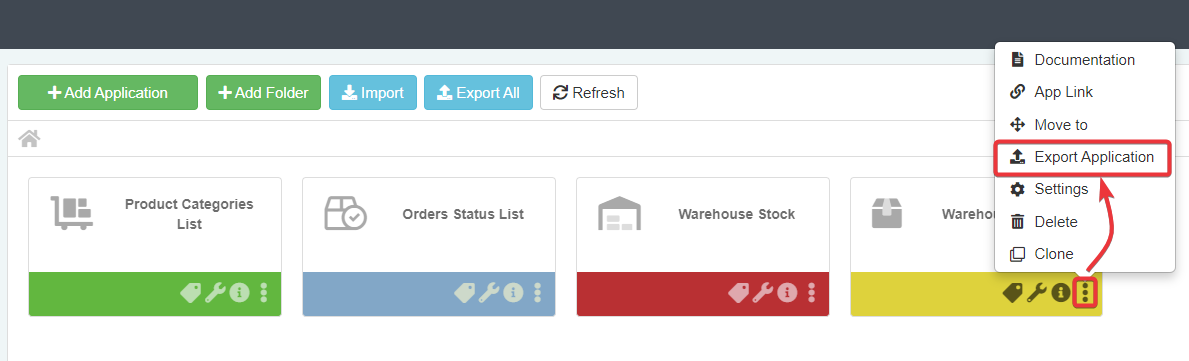
The action above opens a menu. Choose the Export Application option from the list.
-
The action above opens the Export wizard.
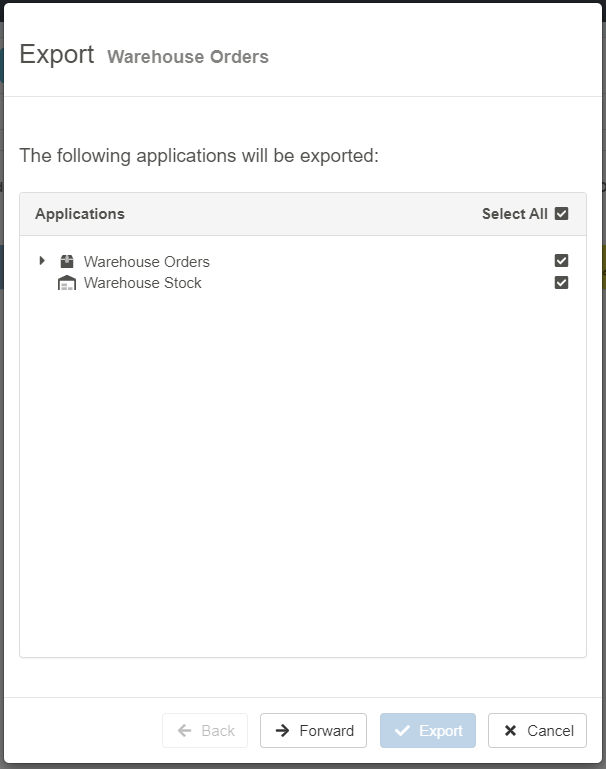
The export of a single applications includes related applications.
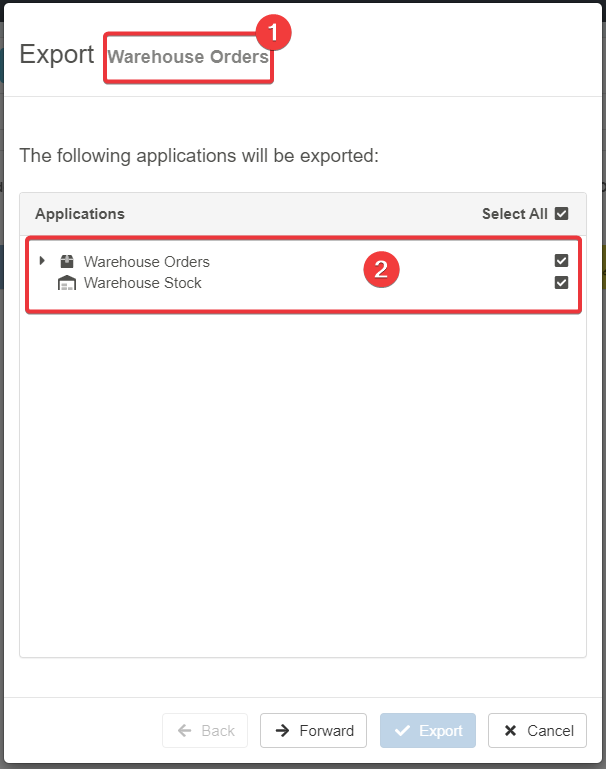
- (1) The window reports the application's name that you are exporting.
- (2) The list includes the application that you want to export and all the related applications.
If you don't want to export also the related applications, deselect the application to exclude.
If you are satisfied, click on the Forward button or click on Cancel to abort the export.
-
The next window summarizes the Storages that the wizard is going to export.
Select the Storages for which you want to export the data.
If you are satisfied, click on the Forward button or Back to go back to the previous step. Click on Cancel to abort the export.
-
In case you have selected data from the previous step, choose for which Storages you want to export the rows' attachments (if any).
Note
In case you haven't selected to export data from the previous step, this window is empty.
If you are satisfied, click on the Forward button or Back to go back to the previous step. Click on Cancel to abort the export.
-
In case you have selected data from the previous step and you have a File-type field, choose for which Storages you want to export the files (if any).

Note
In case you haven't selected to export data from the previous step, this window is empty.
If you are satisfied, click on the Forward button or Back to go back to the previous step. Click on Cancel to abort the export.
-
If there are External Resources like Stored Procedures and Powershell Scripts, the wizard will list what it won't be exported in this window. If there are no External Resources, the window is empty.
If you are satisfied, click on the Forward button or Back to go back to the previous step. Click on Cancel to abort the export.
-
The wizard's last window summarizes everything selected for the Export.
If you are satisfied, click on the Start Export button. Click on the Back button to go back to the previous step. Click on Cancel to abort the export.
-
Wait for eLegere to pack the application in a .eap file. When done, a notification will warn you of the Export completition.
Click on the Download .eap file button in the notification to download the .eap file.
Success
You have created an .eap file that you can import in another Domain. The .eap contains the single Applications and all the data and options selected during the Export.