How to Create an Application Starting from a Storage?
Required Permissions
This section requires either the Application Management permission from your Domain's administrator.
Check What are the Design Tasks? to learn more about permissions to work with Design Mode and other tools.
Learn how to create an application starting from a Storage.
When you have created a Storage of any type, you can build an application on it.
Info
Applications don't contain data. Applications retrieve data from the Storages, manipulate them, and record the changes in the Storage. You can build multiple application starting from the same Storage: different applications built on the same Storage perform different workflows on the same data set.
Attention
This section assumes that you have only the Application Management permission besides the basic permissions to access your Domain (i.e. Domain Viewer).
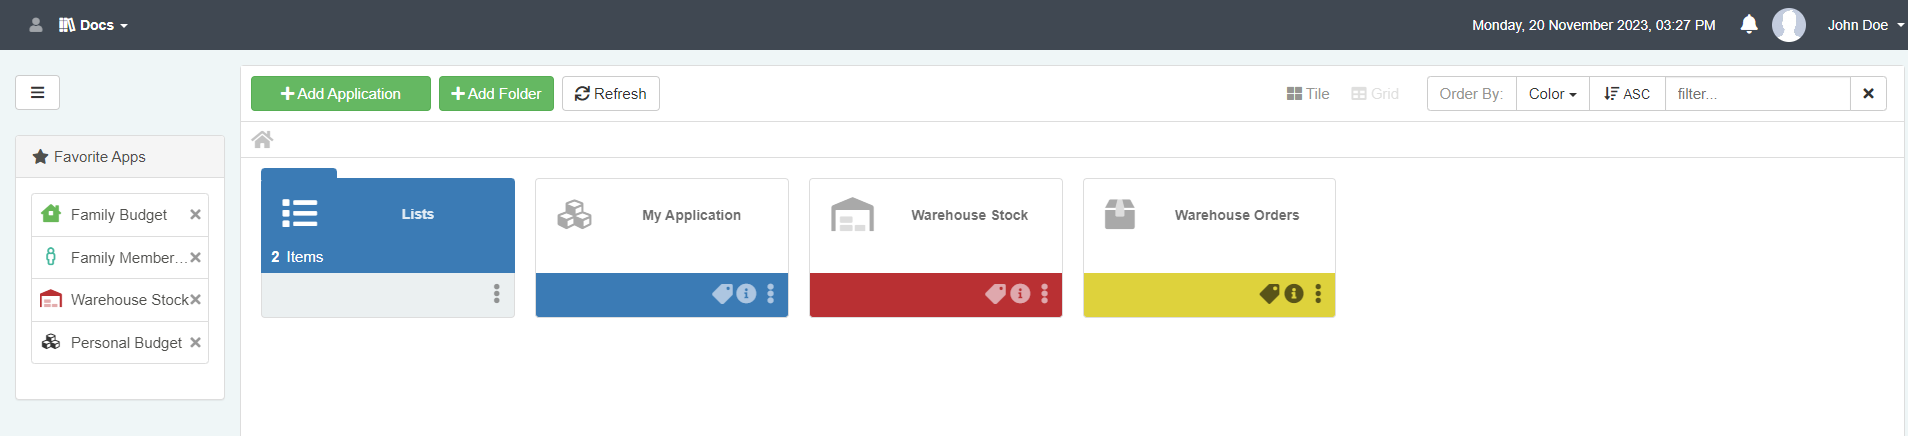
This implies that you will see only the Applications panel and the Favorite Apps sidebar.
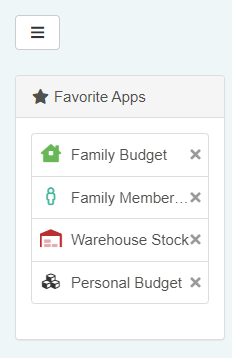
In case you have been assigned other permissions, you could see a sidebar with multiple tabs to access other panels besides the application.
Follow the steps below to create a standard application starting from a Storage.
-
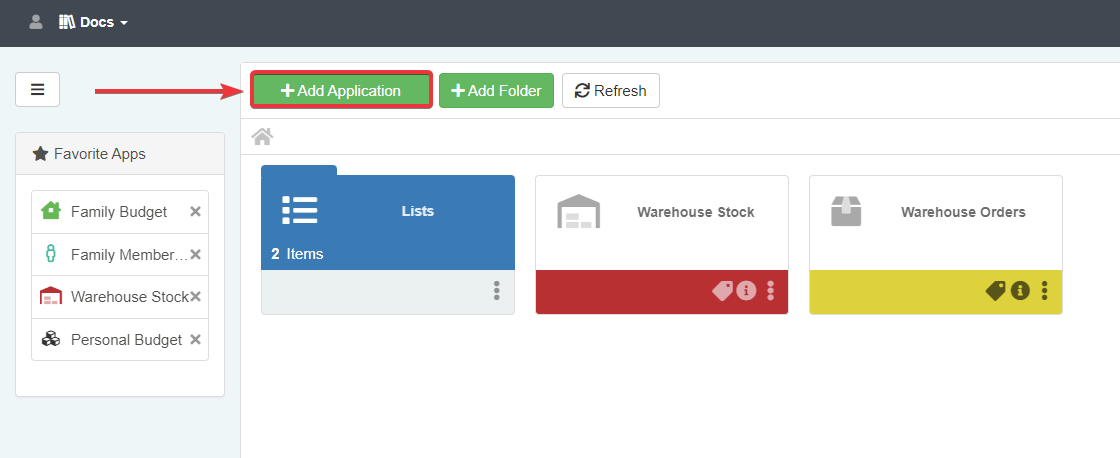
In the Applications panel in Home, click on the Add Application button above the panel.
-
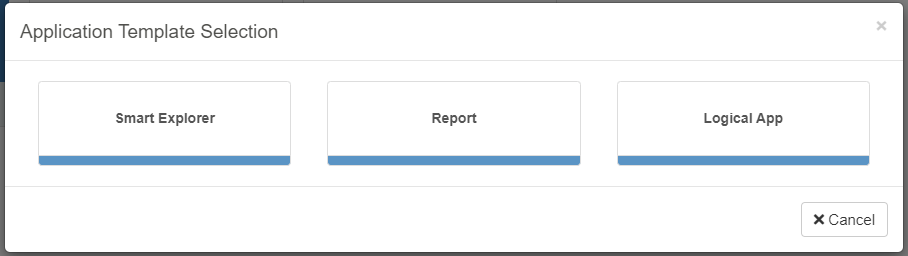
From the Application Template Selection window, choose Smart Explorer to build a standard application.
-
Choose a Storage from the window for the application to retrieve and record data.
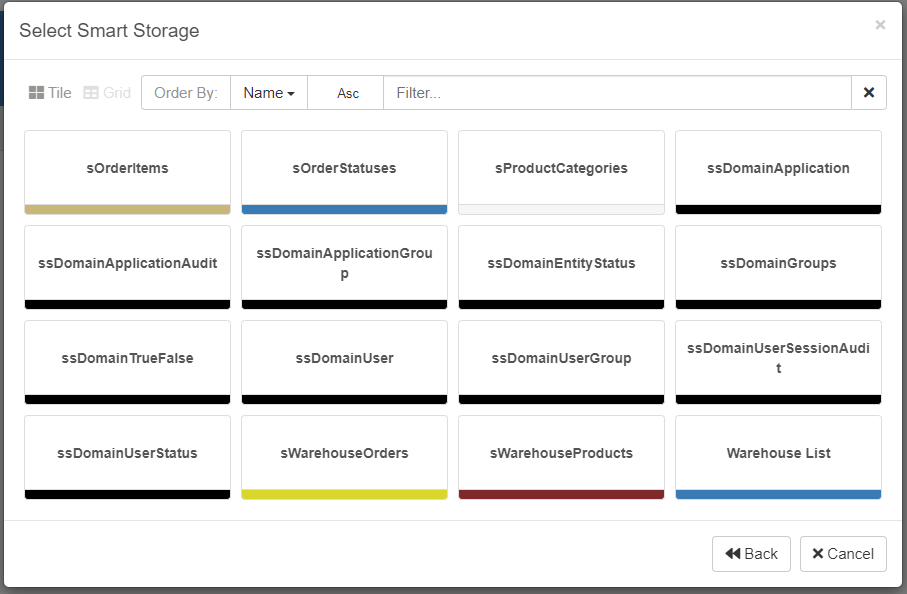
You can view the list both as Tile and as Grid. Also, you can sort the results in Ascending or Descending order according to the preferred criteria.
-
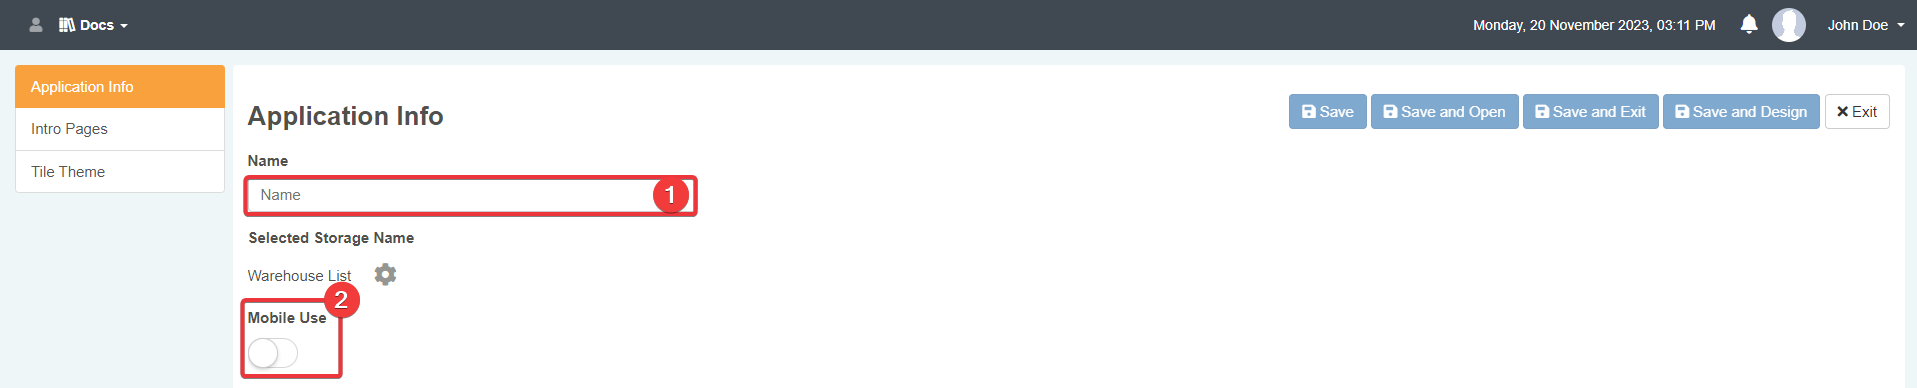
You will arrive in the application's settings. In the Application Info sub-panel, (1) choose a name for the Application and (2) enable the Mobile Use toggle switch if you want to enable the application on mobile devices.
-
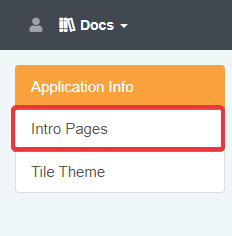
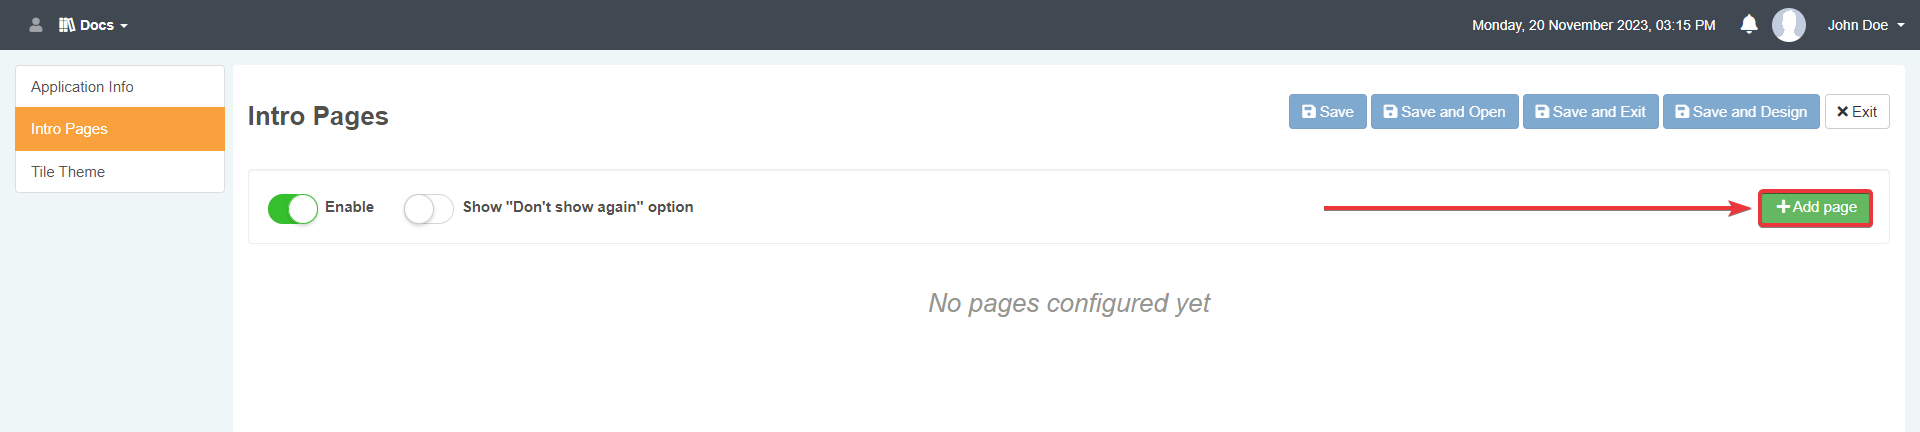
In the left sidebar, click on the Intro Pages tab.
-
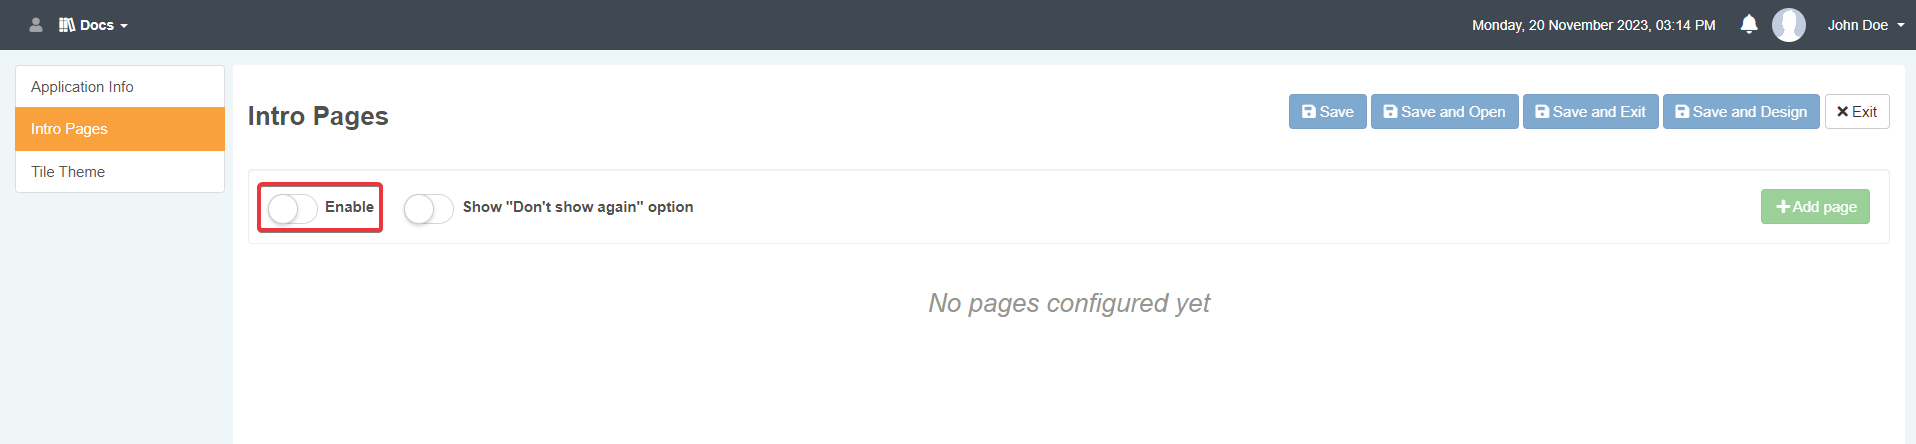
Steps from (6) to (11) are optional. You can design an Intro Page for the users when they launch the application.
Hint
A Intro Page is useful to convey information about how to use the application or other details about the workflow.
Click on the Enable toggle switch to active the Intro Pages in the application.
-
Click on the Add page button. You can add as many pages as you desire in the window that will appear when launching the application.
-
Insert the information related to the Intro Page
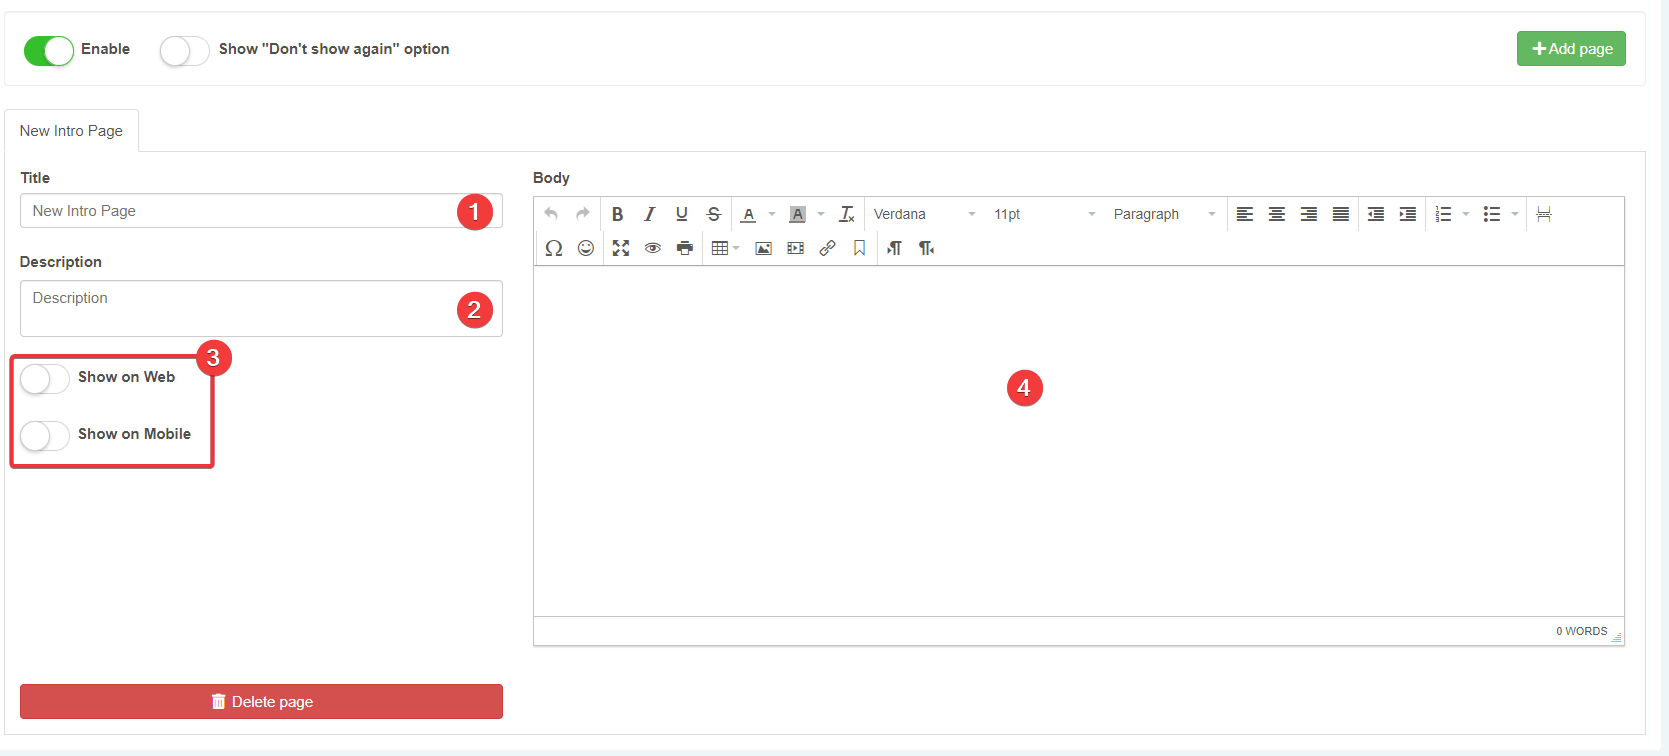
- (1) Title: The Intro Page's title.
- (2) Description: A brief description of the Intro Page for the Designer.
- (3) Turn on the Show on Web to display the Intro Page on Desktop andShow on Mobile to display on Mobile.
- (5) The editor where you can write the Intro Page and add formatting, links, images, and so on.
-
If you want to enable the user to skip the Intro Page in the later accesses, click on the Show "Don't show again" option toggle switch

-
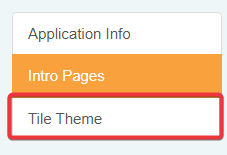
Click on the Tile Theme button in the sidebar.
-
In Tile Theme, customize the appearance option you prefer. Configure the settings below as you prefer.
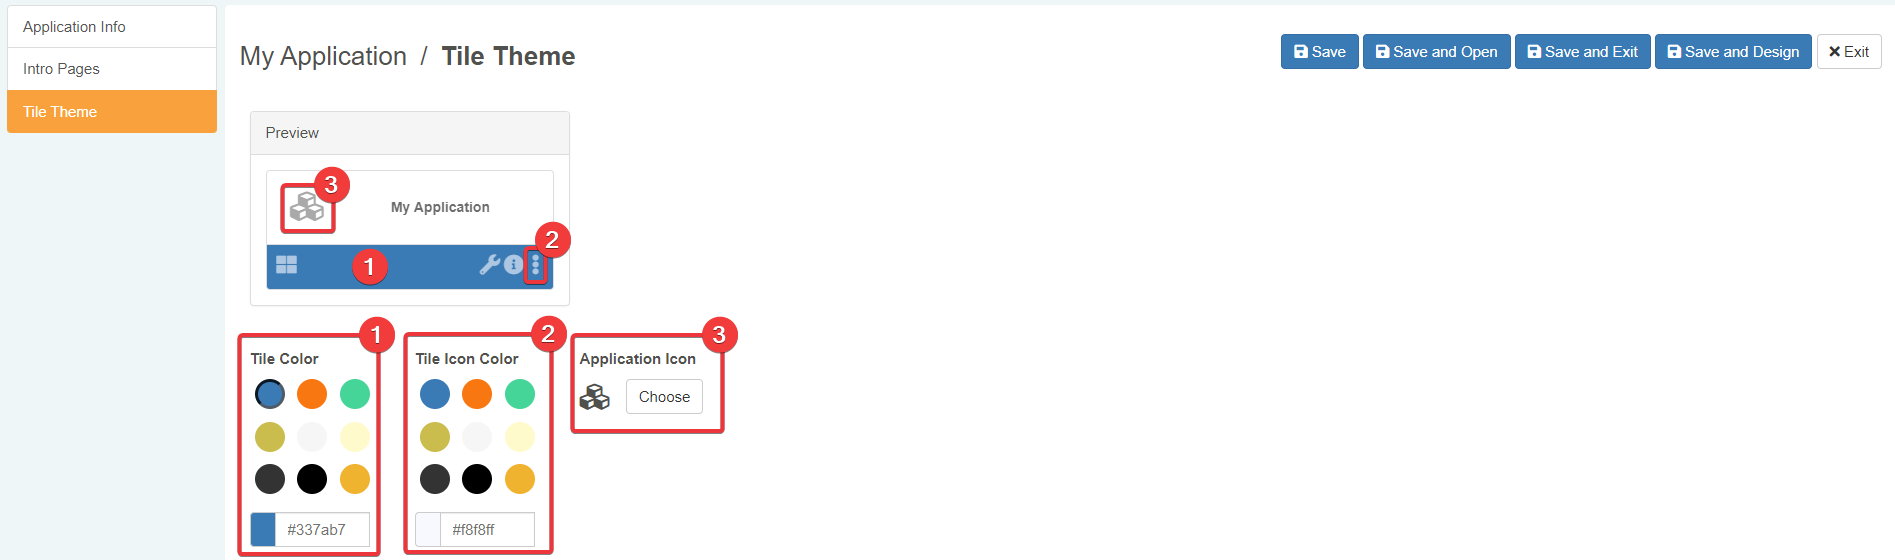
- (1) Tile Color Changes the color of the bottom of the tile.
- (2) Tile Icons Color Changes the colors of the actions' icons.
- (3) Storage Icon Opens a menu to choose a icon for the Storage.
-
In the upper right corner of the editor:

- click on Save to save the changes without leaving.
- click on Save and Open to save the changes and launch the application.
- click on Save and Exit to save the changes and going back to the Home.
- click on Save and Design to save the changes and enter the Design Mode. Requires having the Application Designer permission to work.
- click on Exit to abort any change and exit.
Whatever you choose, the application will appear in the Home.
Note
If you have to create an application to visualize a data representation through a tool outside eLegere, choose the Report type at step 2. The rest of the steps are identical to the rest of the document.
The Table panel is not the default panel when you launch the Design Mode for Report-type application. Opening the Design Mode leads directly to the Report panel. In the Report panel you can insert the info to connect an external data visualization system. How to Integrate and View a Data Visualization Report for more information about the Report panel.
How Do I Delete Applications?
You can delete Applications without affecting the Storages' fields and Relations. But deleting an Application can disrupt the users' workflow. Verify your organization's workflow before deleting an Application. You won't able anymore to use the Application.
If you want to delete an application:
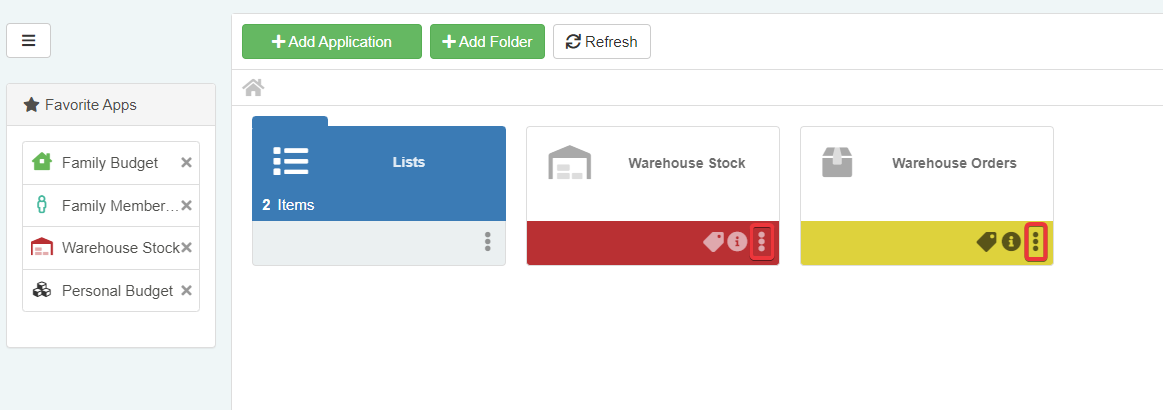
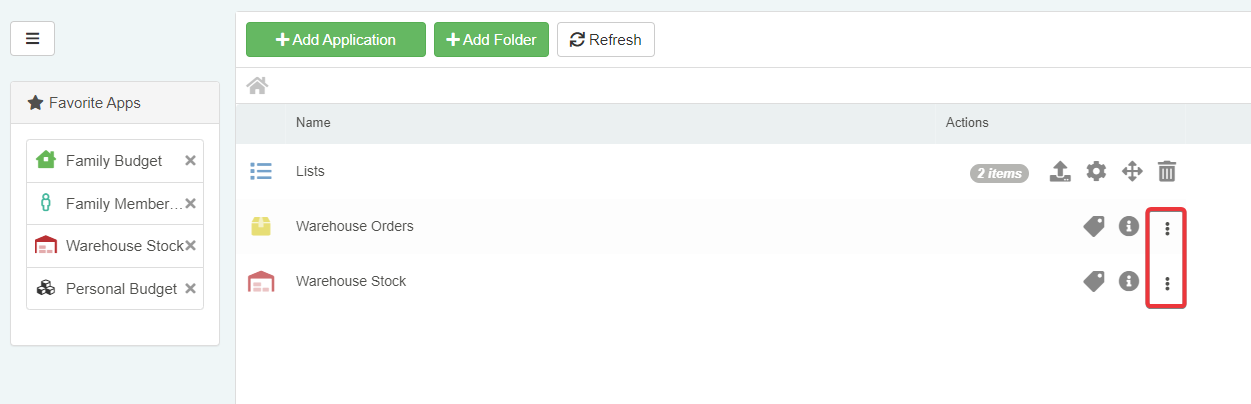
-
Click on the icon on the application in either Tile or Grid view.
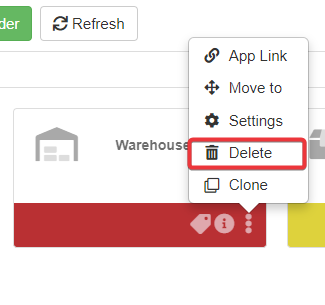
-
Choose the Delete option from the drop-down menu.
-
Click on the Delete button.
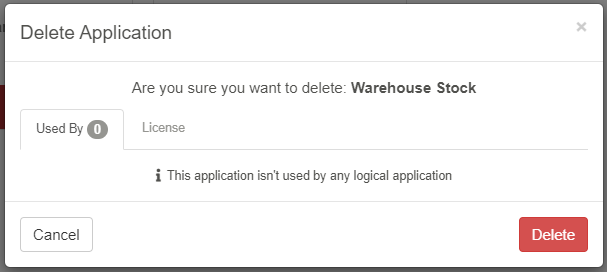
You will have deleted the application.
Success
You have created a standard application starting from a Storage.