Enable or Disable Attachments for the Rows
Required Permissions
This section requires the Application Designer permission from your Domain's administrator.
Check What are the Design Tasks? to learn more about permissions to work with Design Mode and other tools.
Learn how to enable the attachments for your applications. Enable the users to upload files as attachments for a table's row.
Sometimes, it useful for a user to attach one or more file to a row containing related data or important information.
Example
Some examples of why you might want to enable Attachments:
- You have a project management application. You must centralize the documents associated to the project's row.
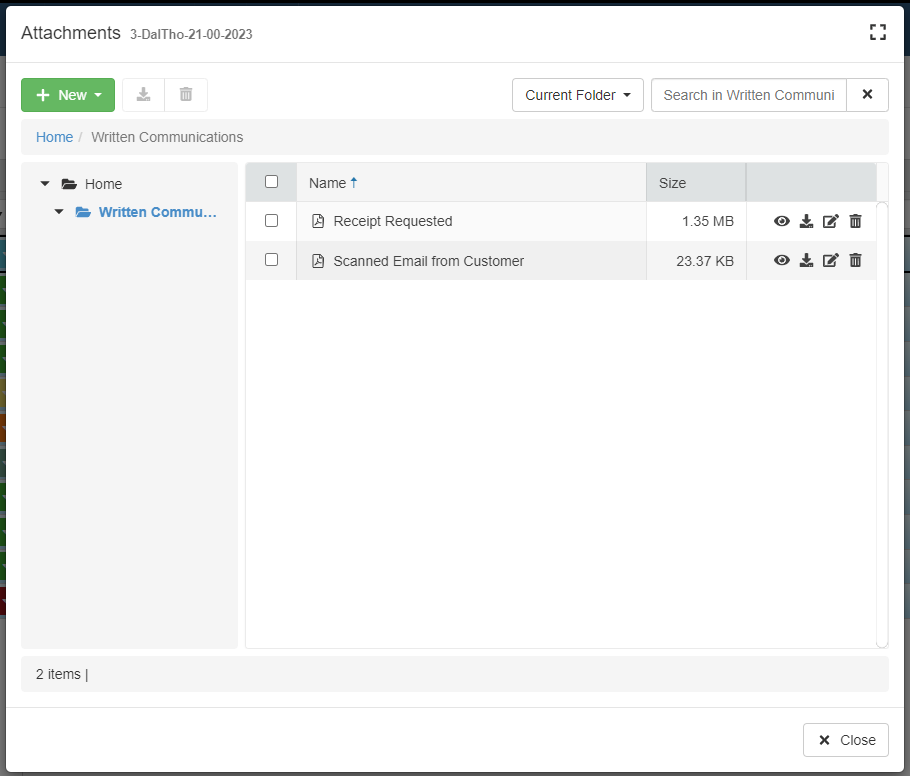
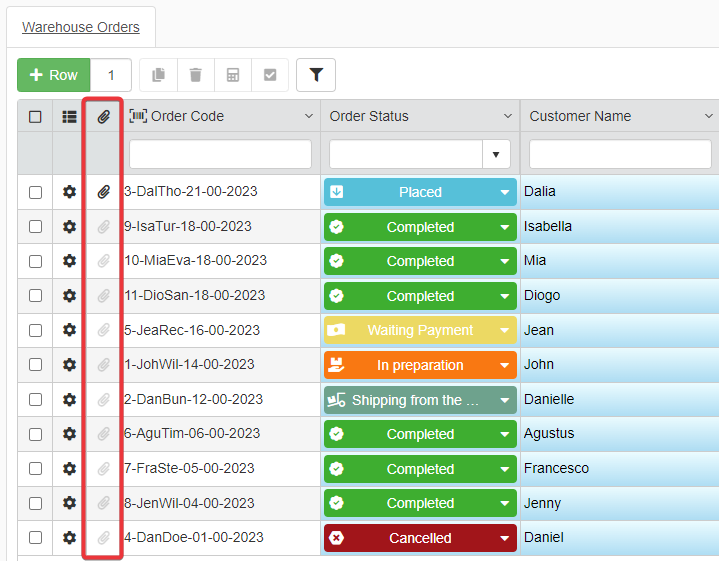
- You have an application managing orders from a warehouse. You must attach to any order's row any receipt or written communication.
- You have an application managing the estate assets. You must attach to each row the maps and blueprints of the company's buildings.
Follow the steps below to enable the Attachments and the Attachments Manager in your application.
Info
See Attachments in the User Guide for more information about the Attachments and the Attachments Manager.
-
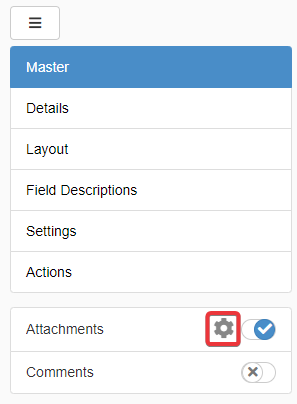
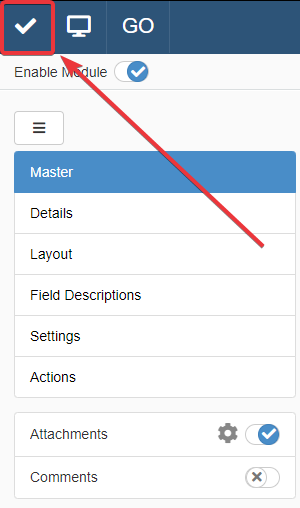
In Design Mode in the Table main panel, turn on the toggle switch Attachments.
You find the Attachments toggle switch for the Master table below the left sidebar.
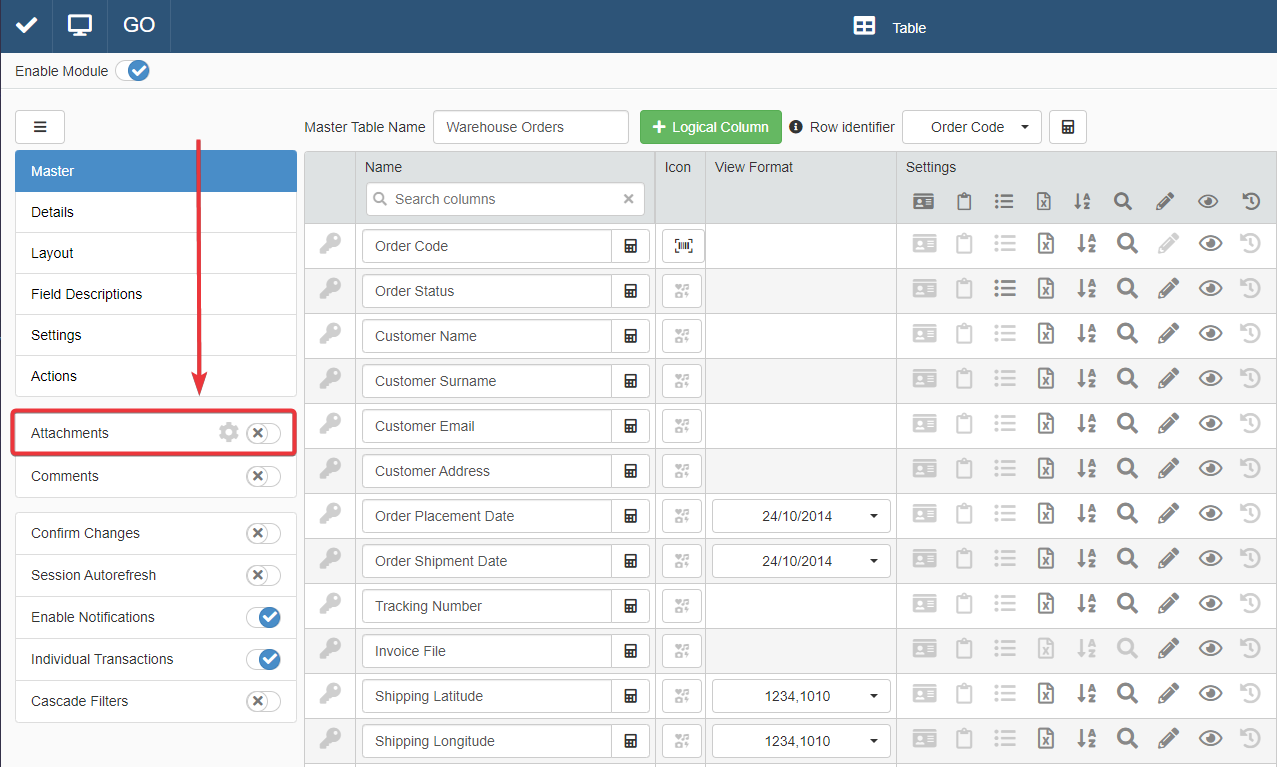
You find the option to enable the Attachments for Detail tables in the Detail sub-panel. (See How to Attach a Table with Further Information to a Row: Detail Tables for more information about the Details.)
-
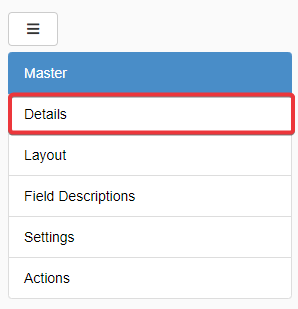
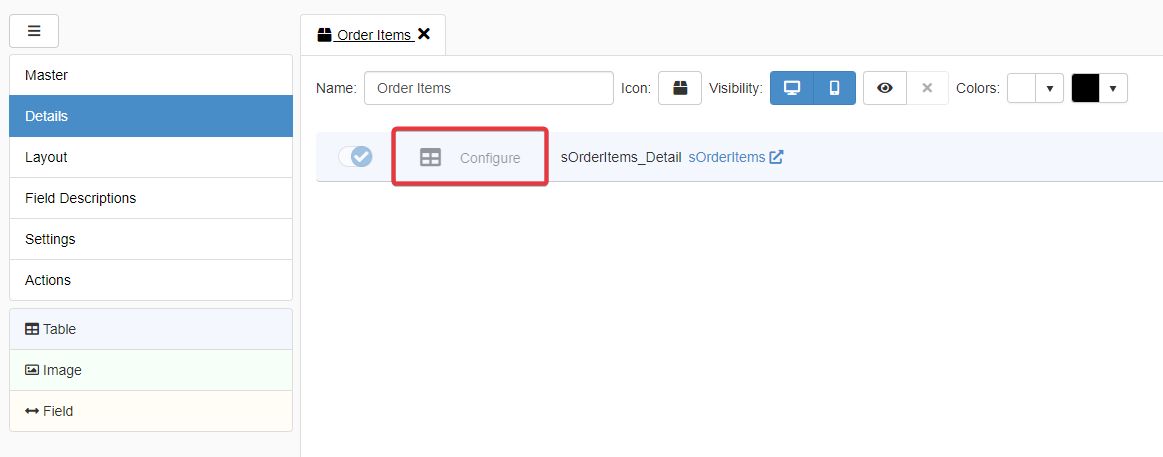
Click on Details in the left side bar.
-
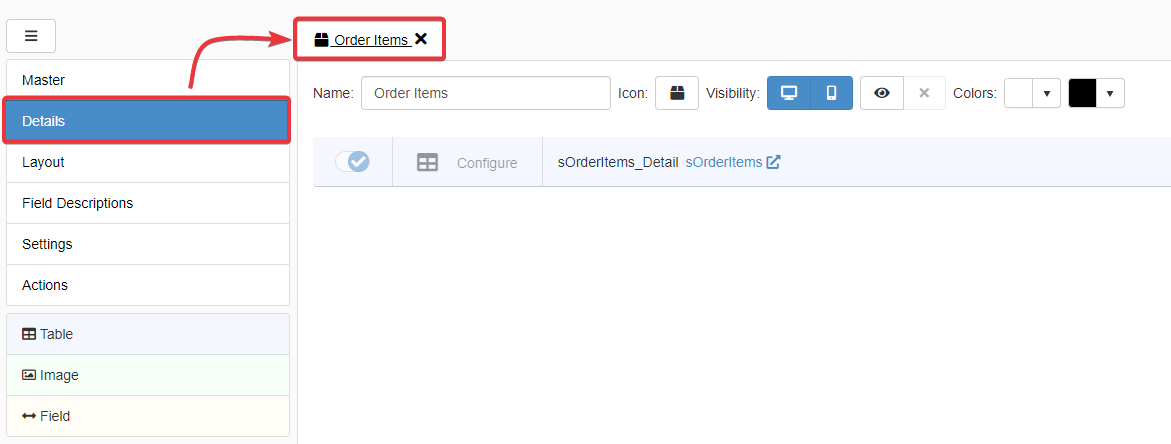
Click on the Detail table's tab for which you want to enable the Attachments.
-
Click on the Configure button.
-
You find the Attachments toggle switch and icon on top of the Detail's table settings.
For the rest, the procedure is the same from step 2 and onwards.
-
-
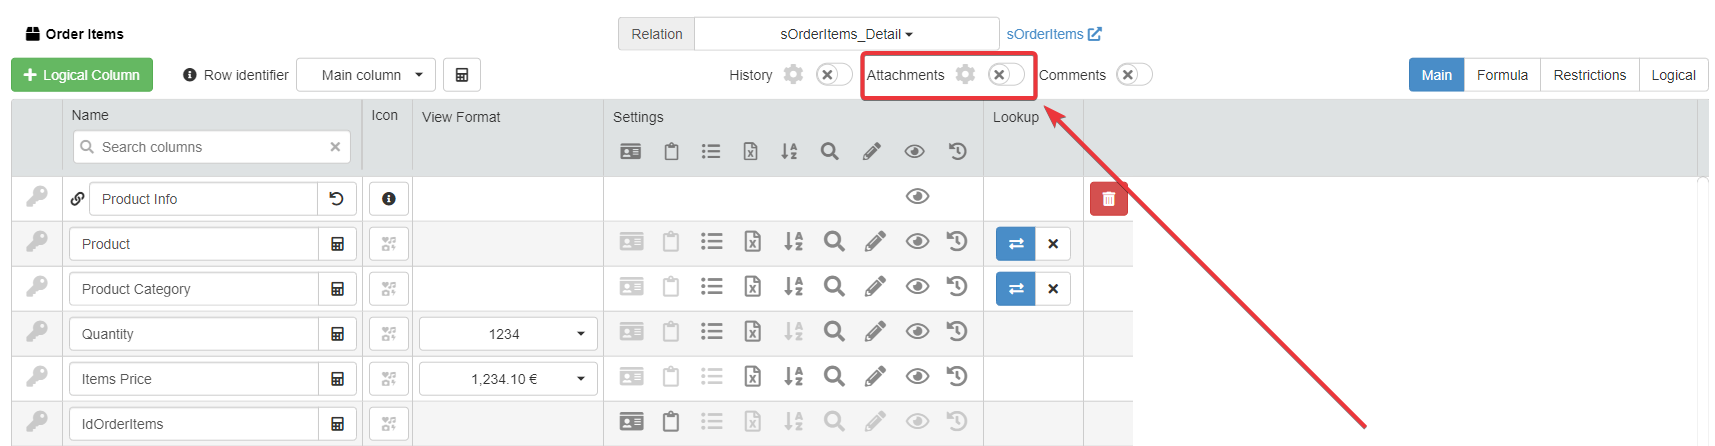
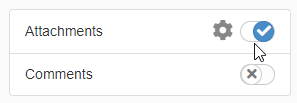
Click on the icon next to the Attachments toggle switch. The operation opens the Attachment Settings window.

-
Customize how users can interact with the attachments:
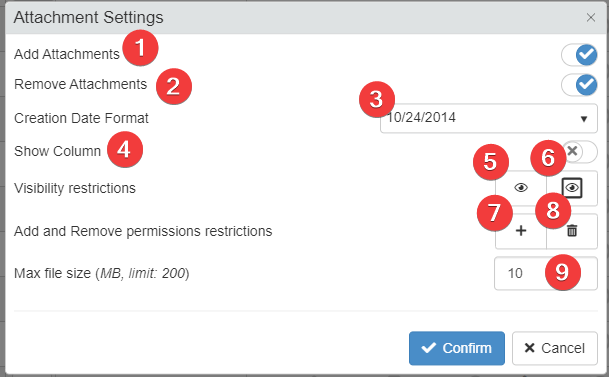
- (1) Enable or disable the upload of attachments.
- (2) Enable or disable the deletion of attachments.
- (3) Choose one of the available date formats from the drop-down list.
-
(4) If you enable the Show Column toggle switch, the Attachments Column appears on the table and displays a shortcut to open the Attachments Manger.
-
(5) Opens the Formula Editor to add a Formula to restrict the access to attachments in the application.
- (6) Opens the Formula Editor to add a Formula to restrict the access to attachments for rows taken individually.
- (7) Opens the Formula Editor to add a Formula to restrict the attachments' upload under certain conditions.
- (8) Opens the Formula Editor to add a Formula to restrict the attachments' deletion under certain conditions.
- (9) Decides the maximum Attachments size's upper limit in Mb.
Attention
The administrator of your eLegere installation could have setup a lower limit. The Designer cannot choose a limit higher than the limit set by the administrator.
Click on Confirm to confirm the changes.(Click on Cancel to abort the changes.)
-
Click on Save button. You can find the Save button in the upper-left corner of the Design Mode.
Hint
You can disable the attachments by clicking again on the Attachments toggle switch in Design Mode.
Success
You have enabled the upload and management of attachments in your applications.