How to Create a Detail and Attach It to a Row
Required Permissions
This section requires the Application Designer and Storage Management permissions from your Domain's administrator.
Check What are the Design Tasks? to learn more about permissions to work with Design Mode and other tools.
Learn how to create a table of secondary data called Detail connected to the main table's rows.
Check what is required to create a Detail in Requirements and Configure the Table in Design Mode to learn how to configure the Detail.
Example
Warehouse Orders is an application managing the orders and shipments from a warehouse. Each row of the Master table records the orders' status and information.
Warehouse Orders users must record for each order what items contains from the catalogue.
They need a Detail table attached to the Master table's rows
Requirements
You can create a Detail table in an application if you meet the following requirements.
Info
Check the section Create an Empty Storage to Be Filled to learn how to create a Storage and configure a Relation between two Storages.
Info
Check the section What are Details? to learn why you need a further Storage and a Relation from an Identity field to a Numeric field to configure a Detail table.
-
You must have a Storage that you can use as Detail table in the application.
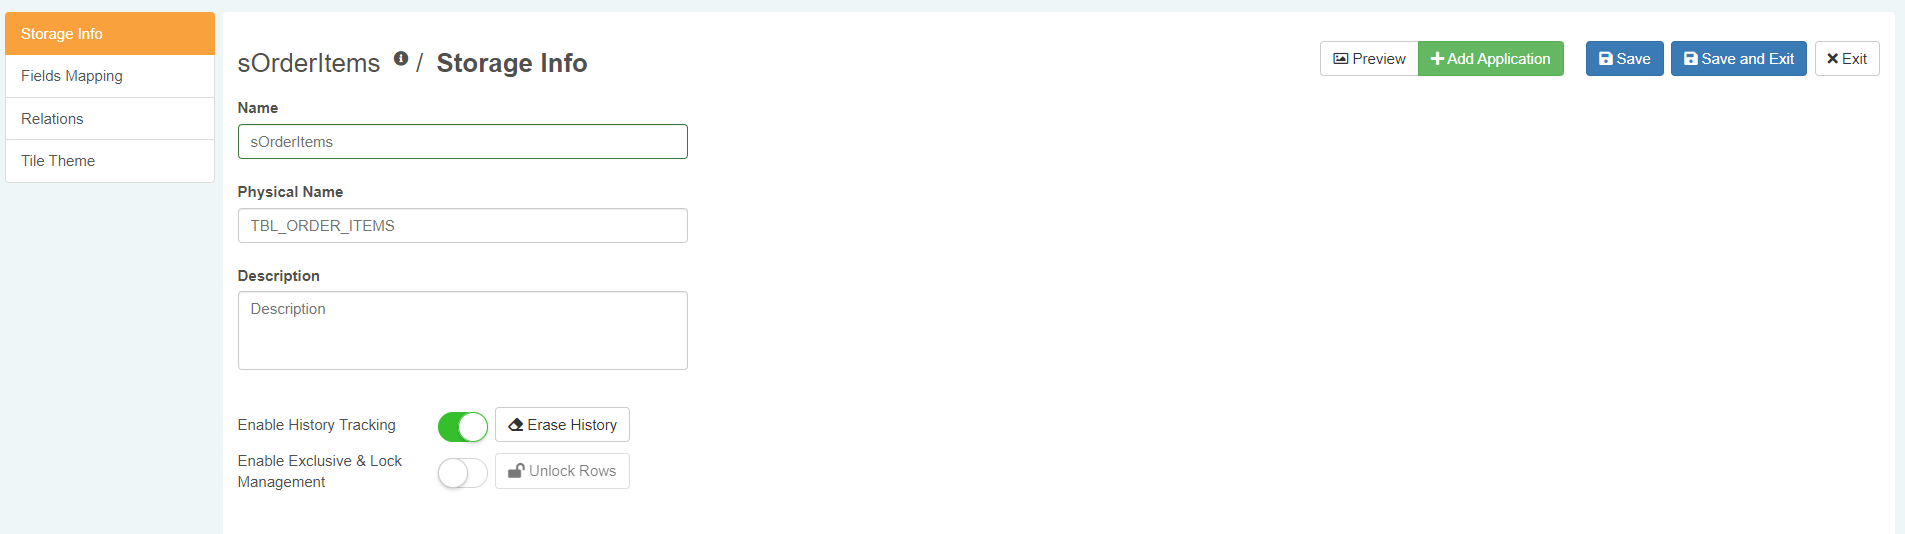
Example
sOrderItems is the Storage to be used for the Warehouse Orders's Detail table.
sWarehouseOrders is the Master table's Storage of the application Warehouse Orders.
You must build a Relation from the Master table's Storage to the sOrderItems Storage if you want to use sOrderItems as Detail.
-
A relation from the Master table's Identity field to a Numeric field on (1) the Detail Storage. (In this way, each row from the Detail table belongs to a row on the Master table.)
Example
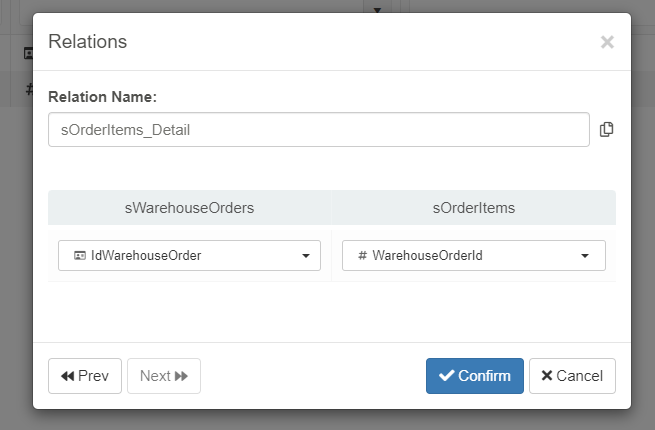
The Storage sWarehouseOrders contains the Relation "sOrderItems_Detail" that a Designer can display as Detail in the application. The Relation "sOrderItems_Detail" is from sWarehouseOrders to sOrderItems.
IdWarehouseOrderis the Identity field of sWarehouseOrders.sOrderItems is the Storage to use as Detail table.
WarehouseOrderIdis the Numeric field that records the value ofIdWarehouseOrderfrom sWarehouseOrders.
If you meet requirements (1) and (2), you can create a Detail in your application.
Configuring the Detail Table in Design Mode
Once you have satisfied the Requirements, learn how to configure a Relation between Storages as a Detail table in an application.
-
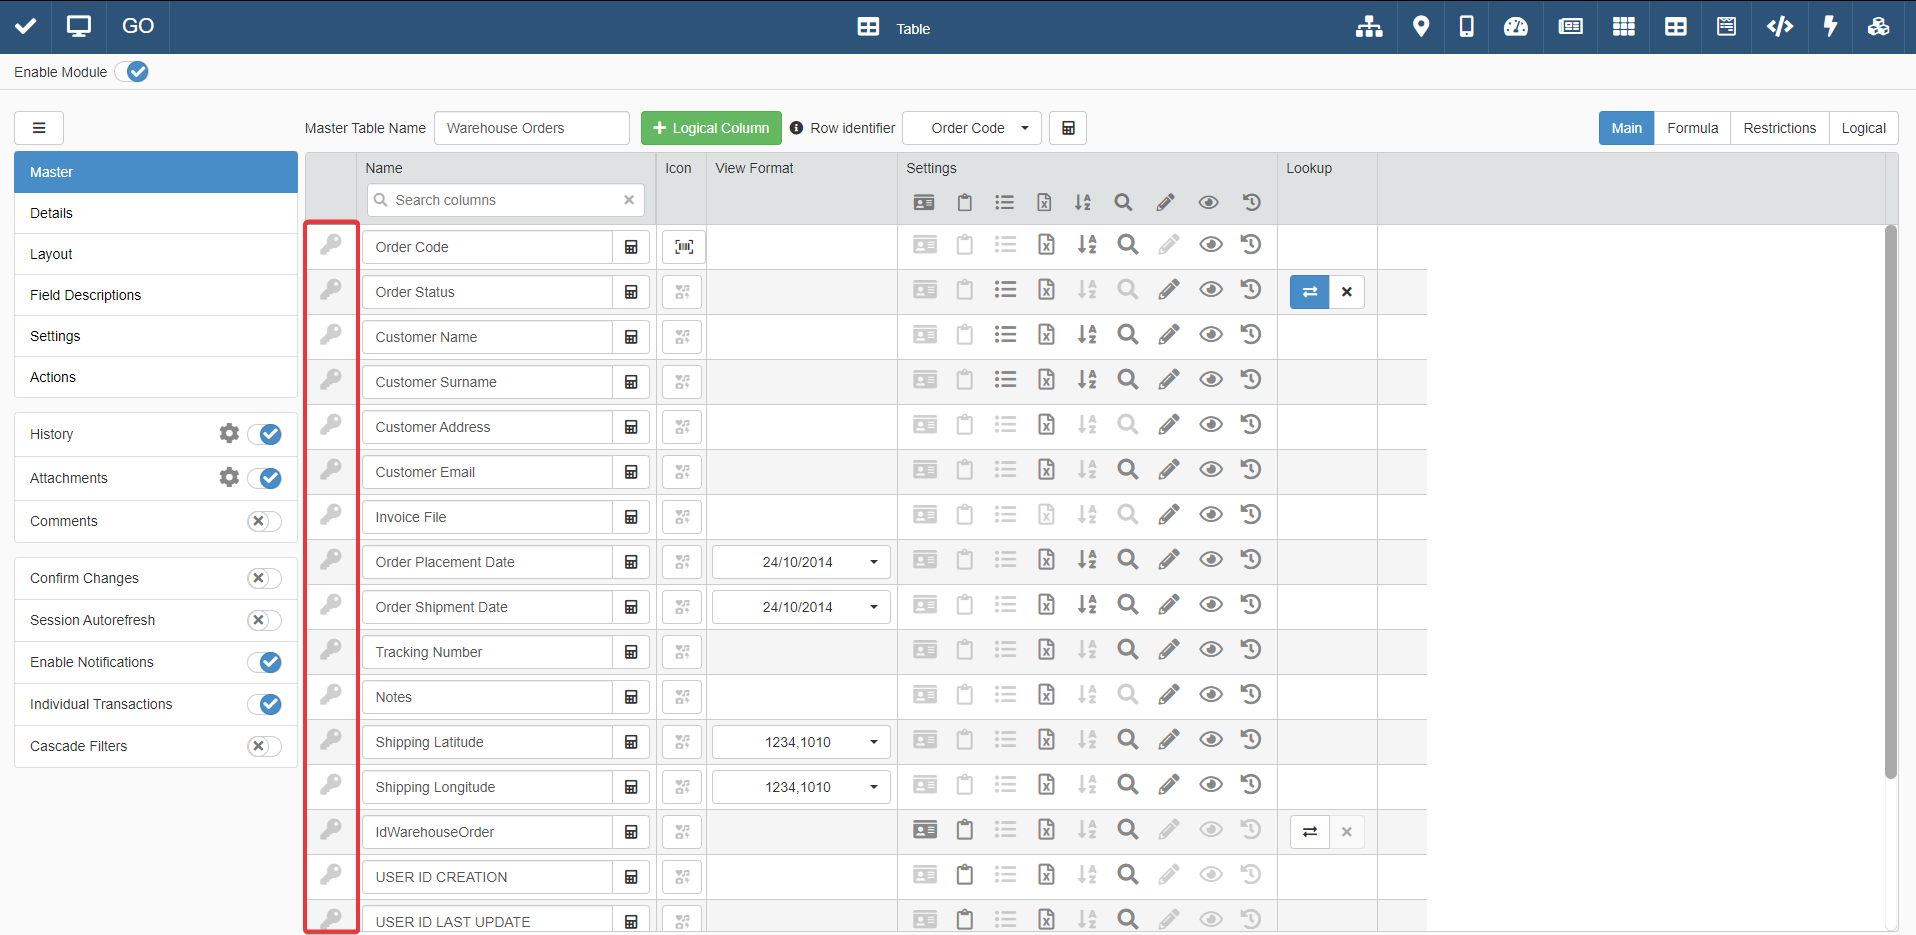
In Design Mode in the main panel Table, choose in the Master table settings a Primary Key. Click on the Is Primary Key button () next to the field's textbox in the Master Table's settings. There could be only one Primary Key.
Adding Details requires selecting a Primary Key. The application associates the Detail's entries to each Master's entry by the Primary Key.
Attention
You can set as Primary Key only fields that have Unique option enabled on the Storage. (Check the section Create an Empty Storage to Be Filled for more information.)
Unique fields avoids conflicts and ambiguities regards correspondence between Detail rows and Master rows.
Hint
It is a good practice to employ Identity type fields as Primary Keys. Identity fields are Unique fields by default.
You can recognize an Identity field through the icon.

-
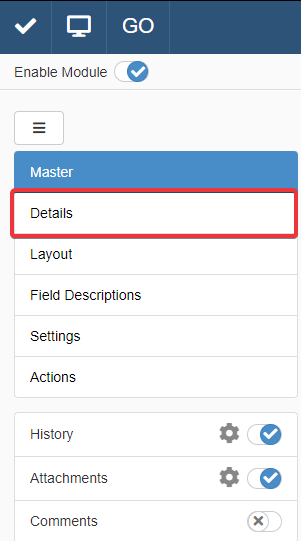
Click on the Details tab on the left sidebar.
-
You will access the Details sub-panel. Click on the Add Detail button on the upper-right corner of the sub-panel.
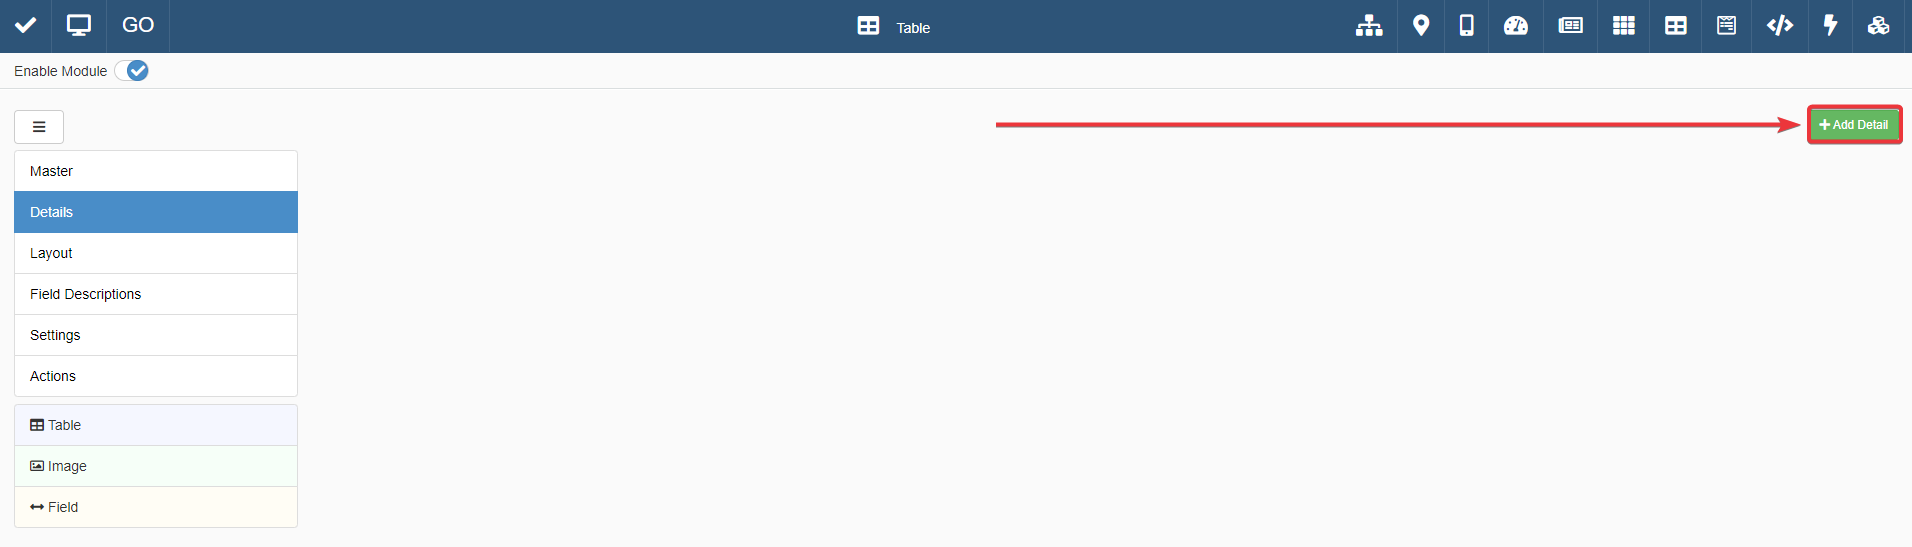
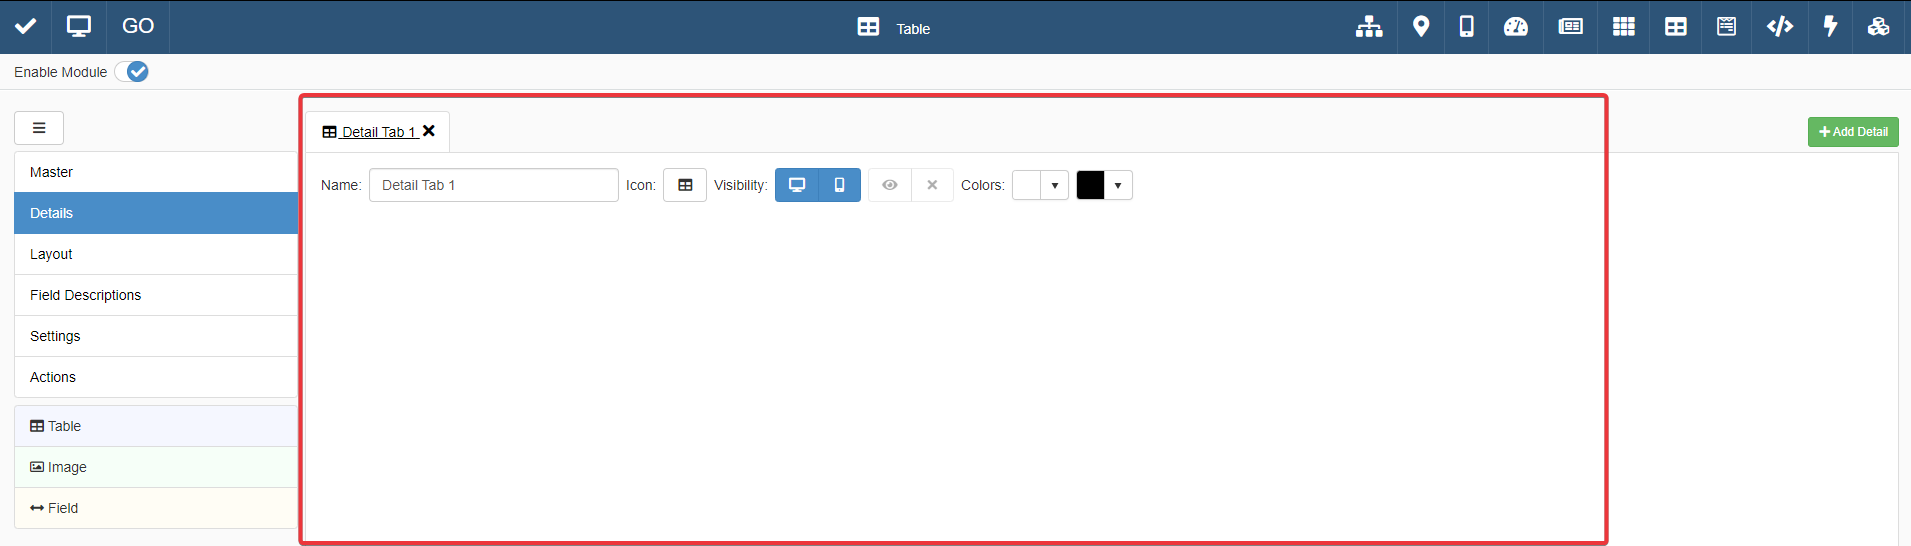
A new Detail tab will appear in the sub-panel.
-
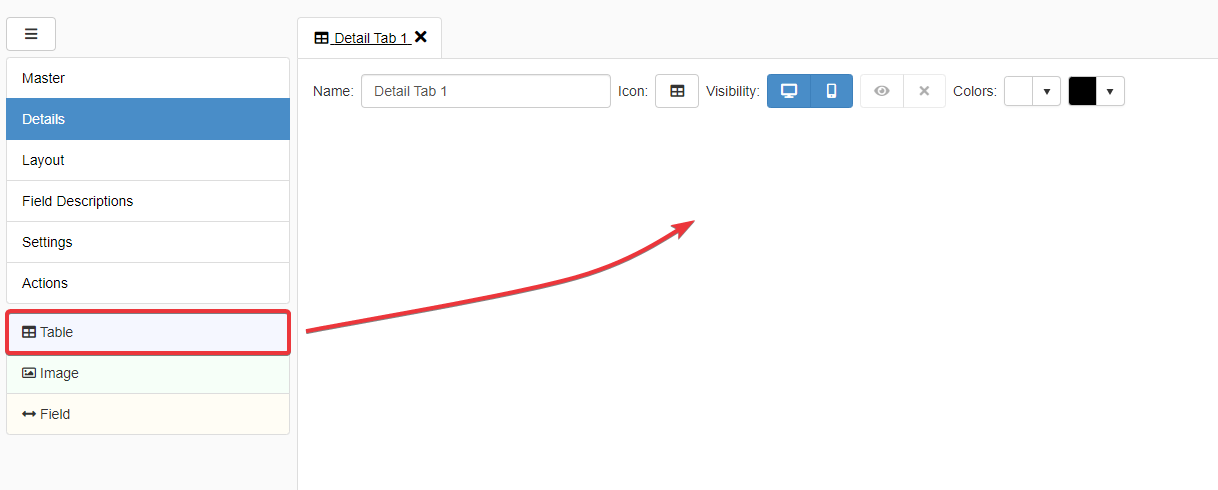
Drag & Drop the Table option () below the side bar to the center of the sub-panel.
-
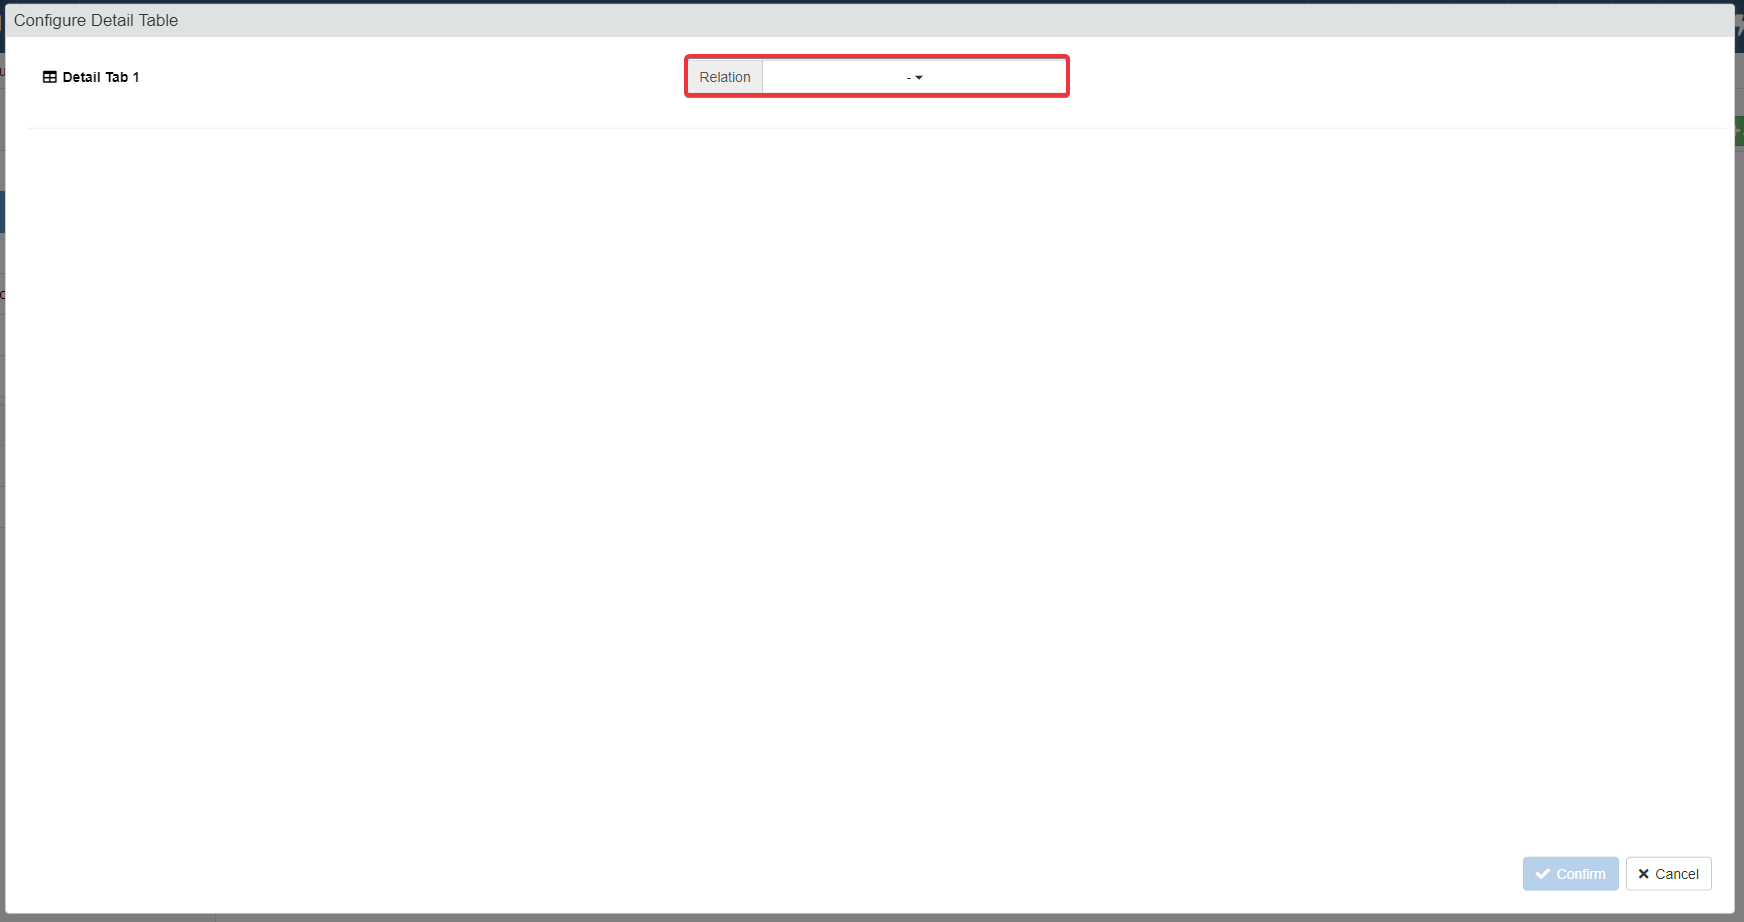
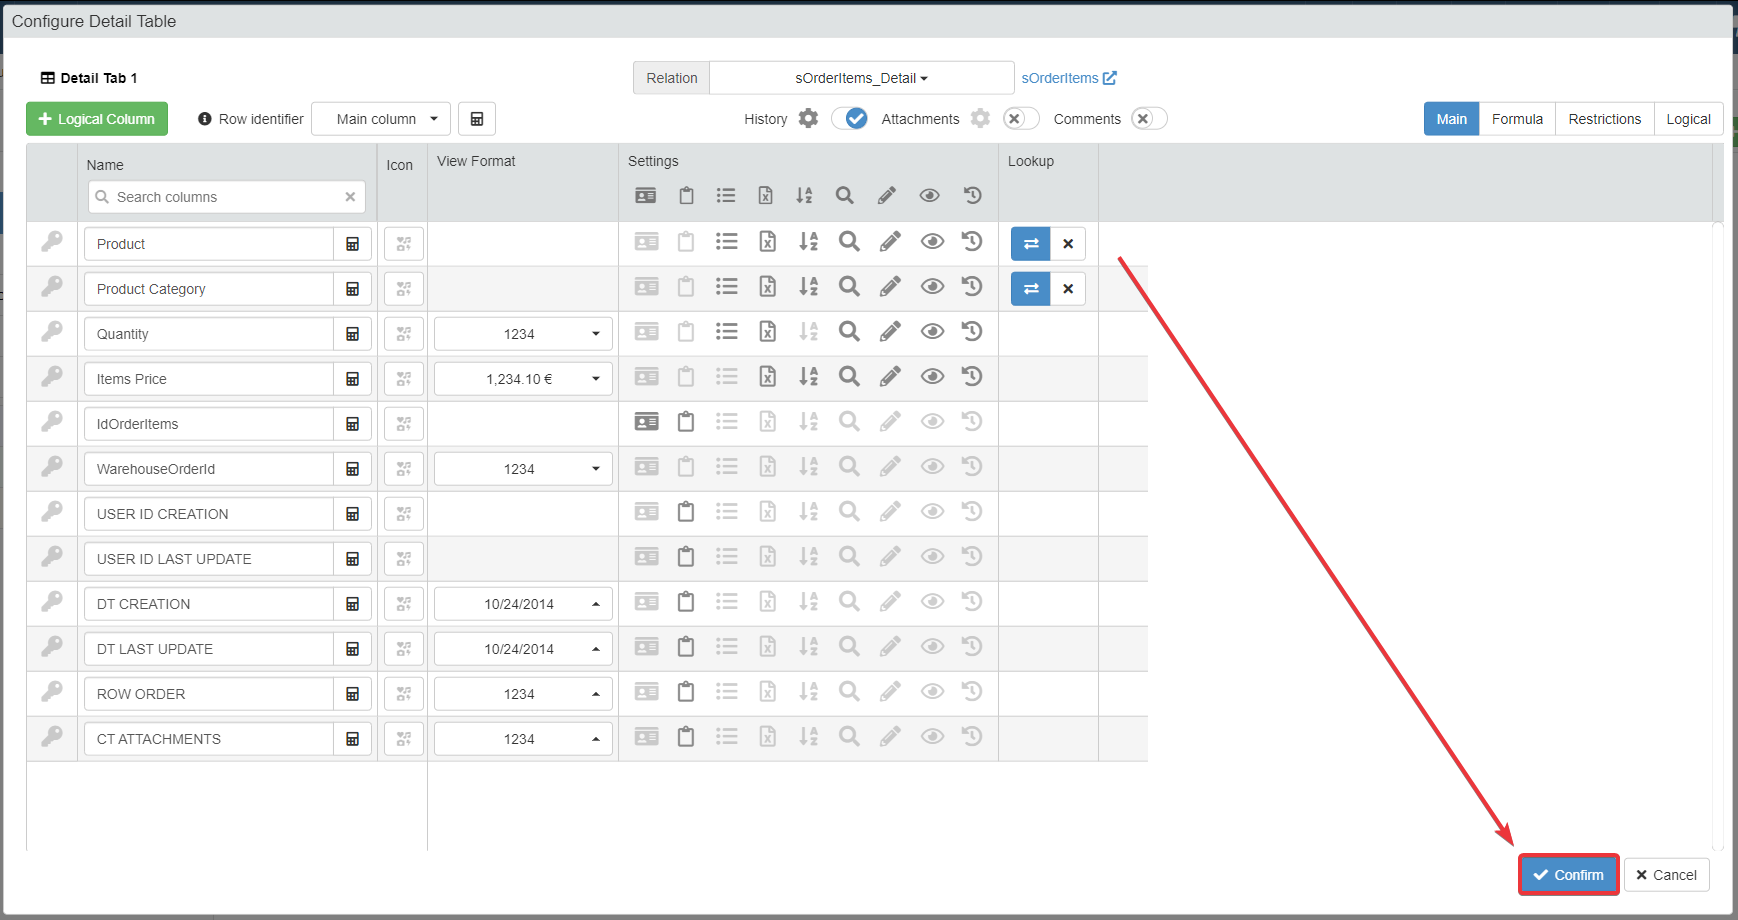
A window to choose the Relation to use as Detail table will appear: the Configure Detail Table window. Choose the Relation with the Storage you prefer as table.
-
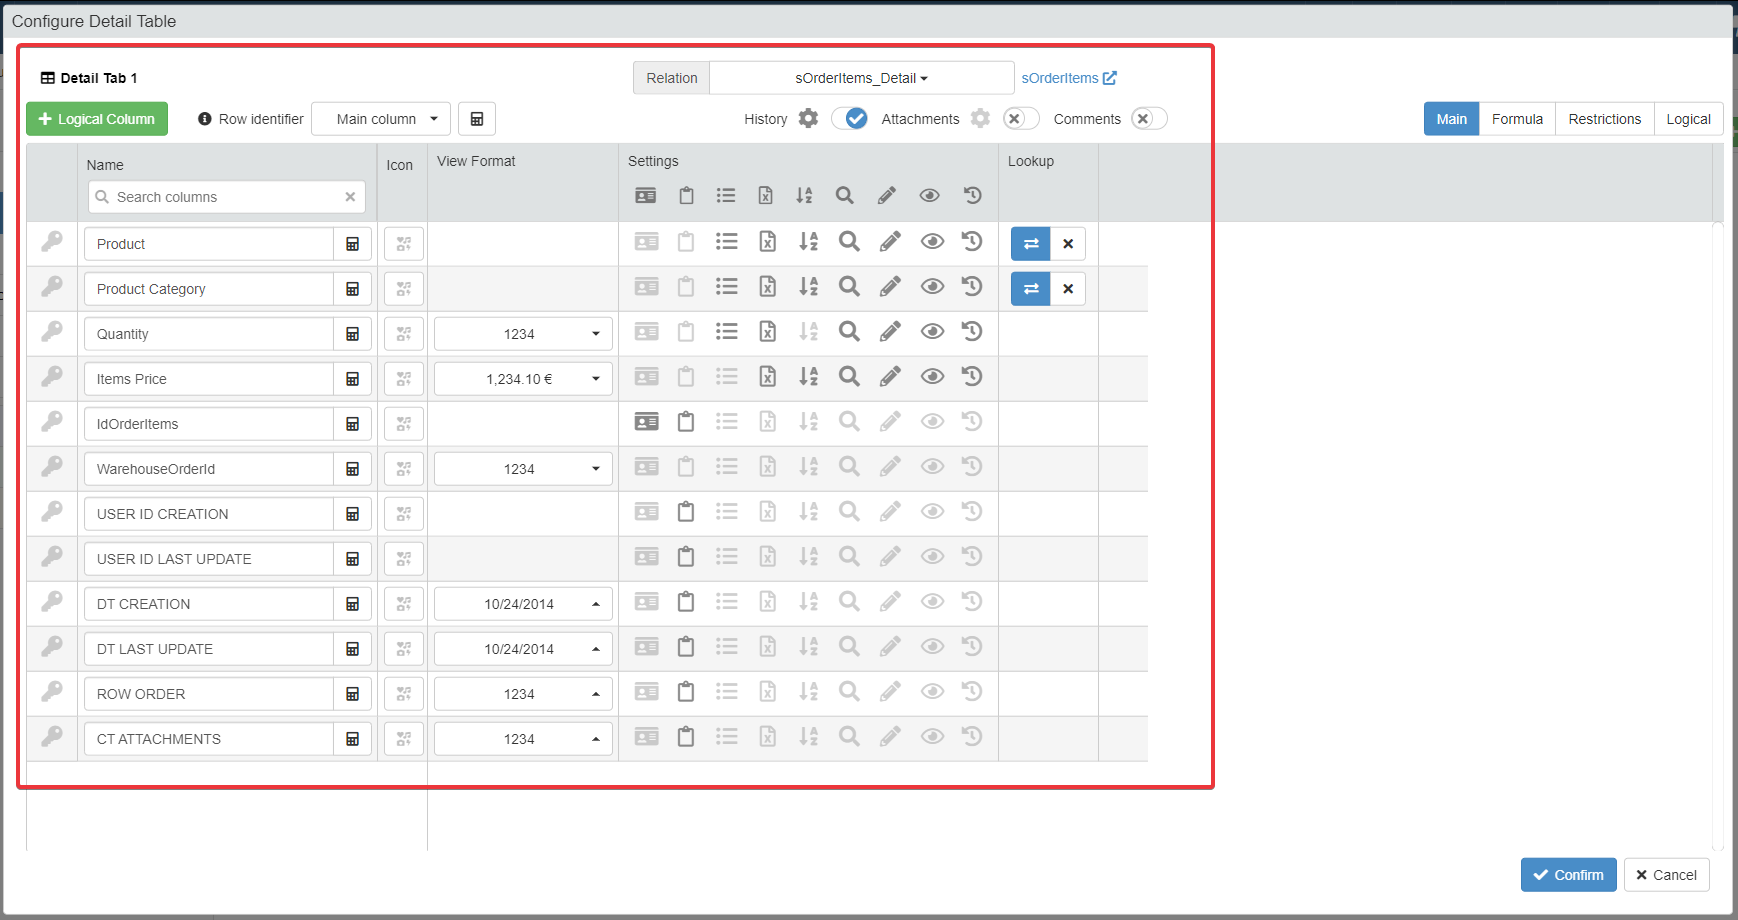
The window will display the table's settings. Customize the table's settings as you prefer. See How to Customize an Application’s Table? for more information about how to customize a table in Design Mode.
-
Click on the Confirm button to confirm the table settings.
-
In the Detail sub-panel, the table will appear in the new Detail's tab.

Choose a name for the Detail that will be also the Detail tab's name. Type the preferred name in the textbox.

-
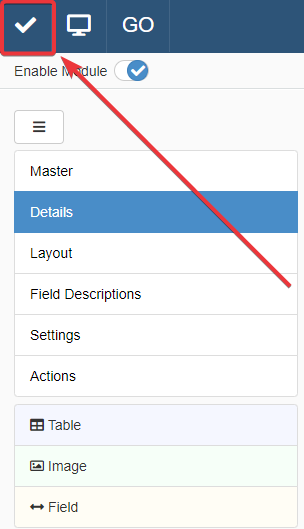
Click on the Save button in the upper-left corner of the Design Mode to save all the settings.
Note
You can edit the Detail table settings (e.g the Relation) by clicking on the Configure in the Detail's tab in the Details sub-panel. The action opens again the Configure Detail Window from step 5 of Configuring the Detail Table in Design Mode.

Afterwards, click on the Save button in the upper-left corner of the Design Mode to save the changes.
Info
If you want to delete a Detail from your application, see the How to Delete a Detail Table section.
Success
You have configured a Detail table on your application.