How to Organize the Properties in Sets to Help the Navigation - Groups
Required Permissions
This section requires the Application Designer permission from your Domain's administrator.
Check What are the Design Tasks? to learn more about permissions to work with Design Mode and other tools.
Learn how to organize Properties in Groups for better navigation and selection.
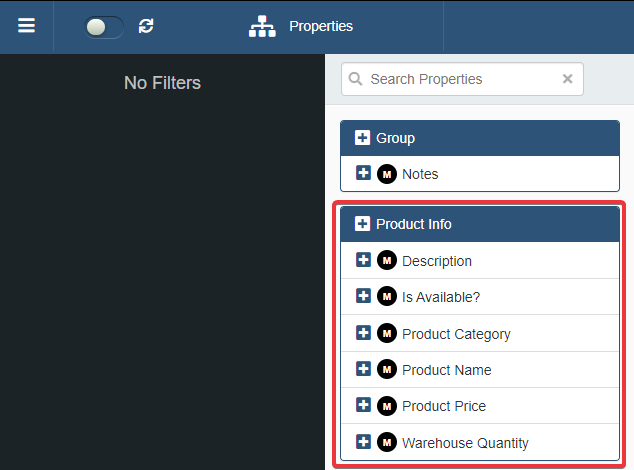
Groups are tabs to organize Properties in the application. (See What are the Groups? section in What are the Properties? for more information about Groups.)
Default Groups
Learn about the Groups that Design Mode sets by default when you enable the Properties for your application.
When you enable for the first time the Properties in an application, the Properties and Groups configurations are the following:
-
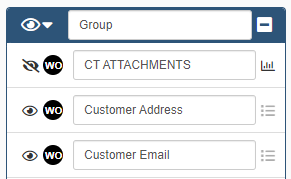
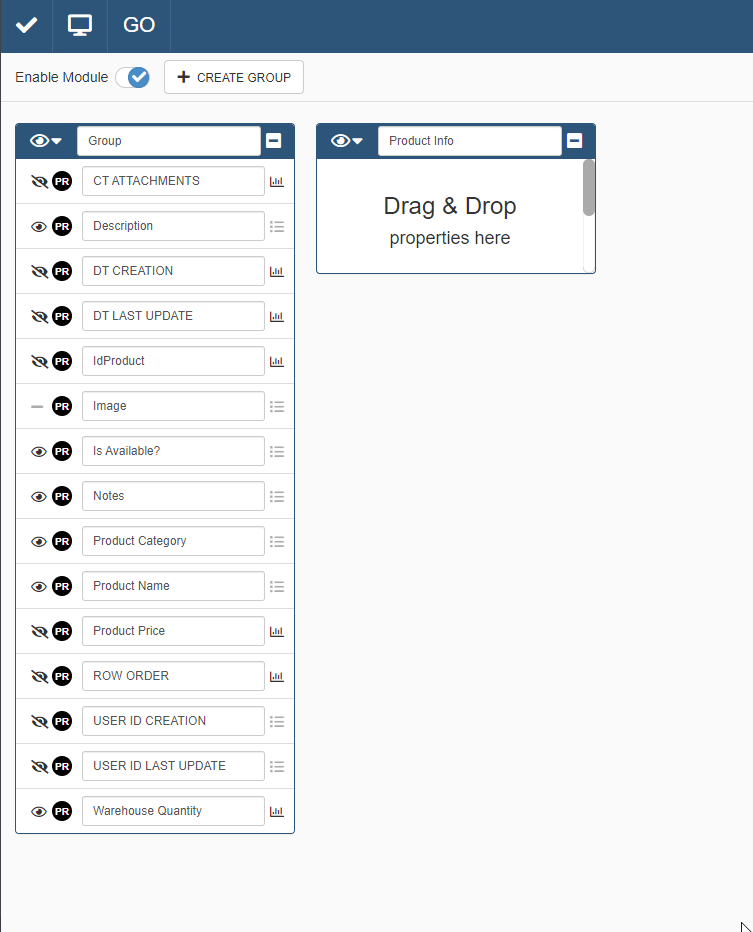
By default, the Design Mode arranges the Properties in a generic Group called "Group".
-
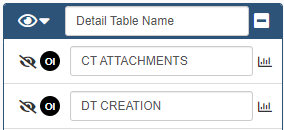
By default, if your application has Details, the panel lists the Detail table's fields available as Properties in a separated Group. Such Group has the same name of the Detail's table. (E.g. If the Detail Table's name is "Order Items", the default Group's name for that Detail Table will be "Order Items".)
Note
Groups lists their Properties in alphabetical order.
Note
If you don't find the default Groups in the application's Properties panel, don't worry. Other Designers having access to the application might have already renamed the Default Groups or replaced them with custom Groups. (See How to Create a Group to learn how to create Groups different from the default ones.)
How to Create a Group
Learn how to create a Group in the Design Mode within the Properties panel.
Follow the steps below to create a new Group.
-
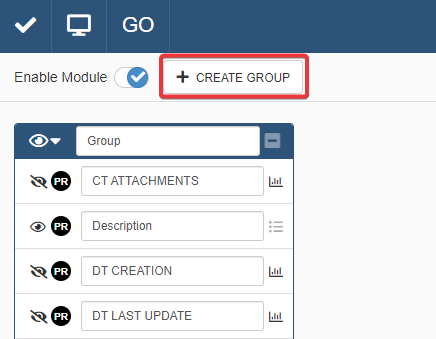
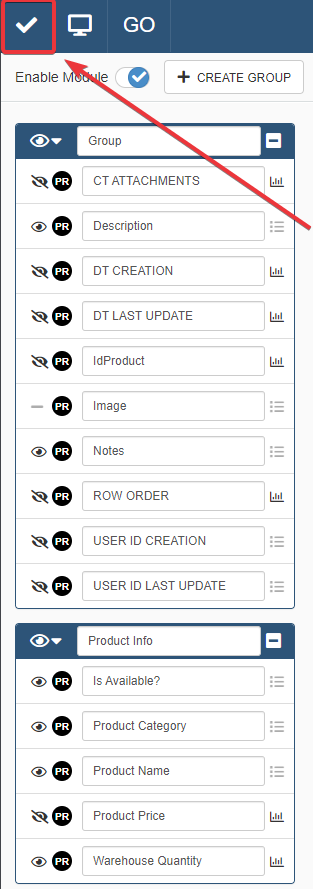
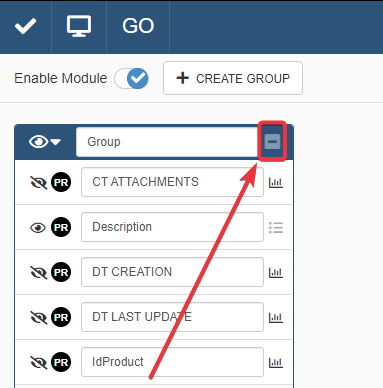
In Design Mode, click on the icon on the top-right corner of any panel. You will access the Properties panel.

-
In the Properties panel, click on the Create Group button on the panel's top-left side. The action creates a new Group.
-
Type a name for the Group in the dedicated textbox (or leave the default name).
-
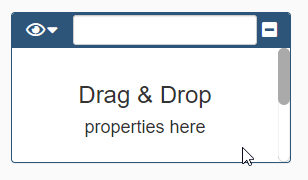
After steps 1-3, you will have an empty Group. Drag & drop the Properties that you want to organize in the Group from other Groups.
Hint
A small icon with the table name's initials points to what table a Property belongs to.
This element helps when you have removed the default Groups and you have only custom Groups in the panel.
-
When finished with the Group's creation, click on the Save button () on the Design Mode's top-left corner. The action saves the new Group.
Success
The new Group appears with its Properties in the application's Properties.
Example
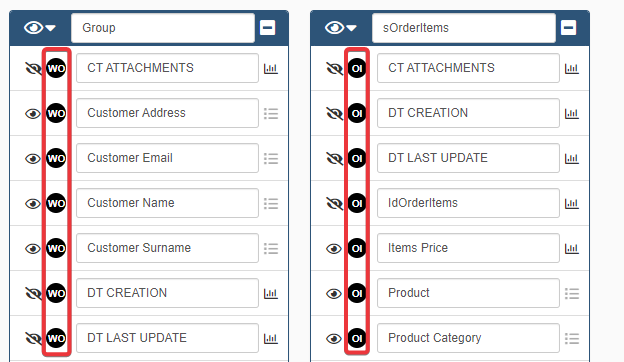
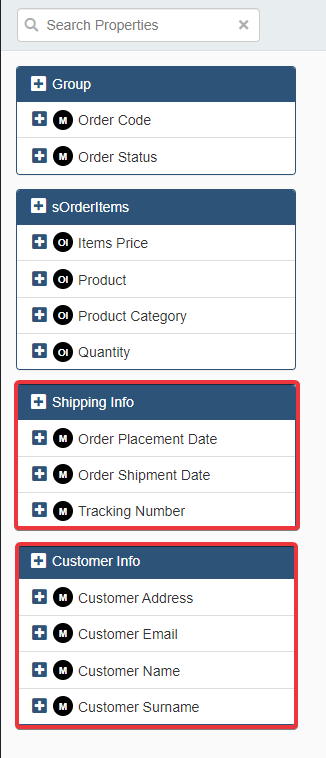
The Warehouse Orders application manages orders from a warehouse.
The Designer wants to arrange information in two Groups: one group for the Customer's Info, the other group for the shipping's information. This speeds up how the Users navigate and choose the Properties.
The Designer goes to the Properties panel. They click twice on the Create Group button to create two Groups.
The Designer calls the first Group Customer Info and the second Group Shipping Info.
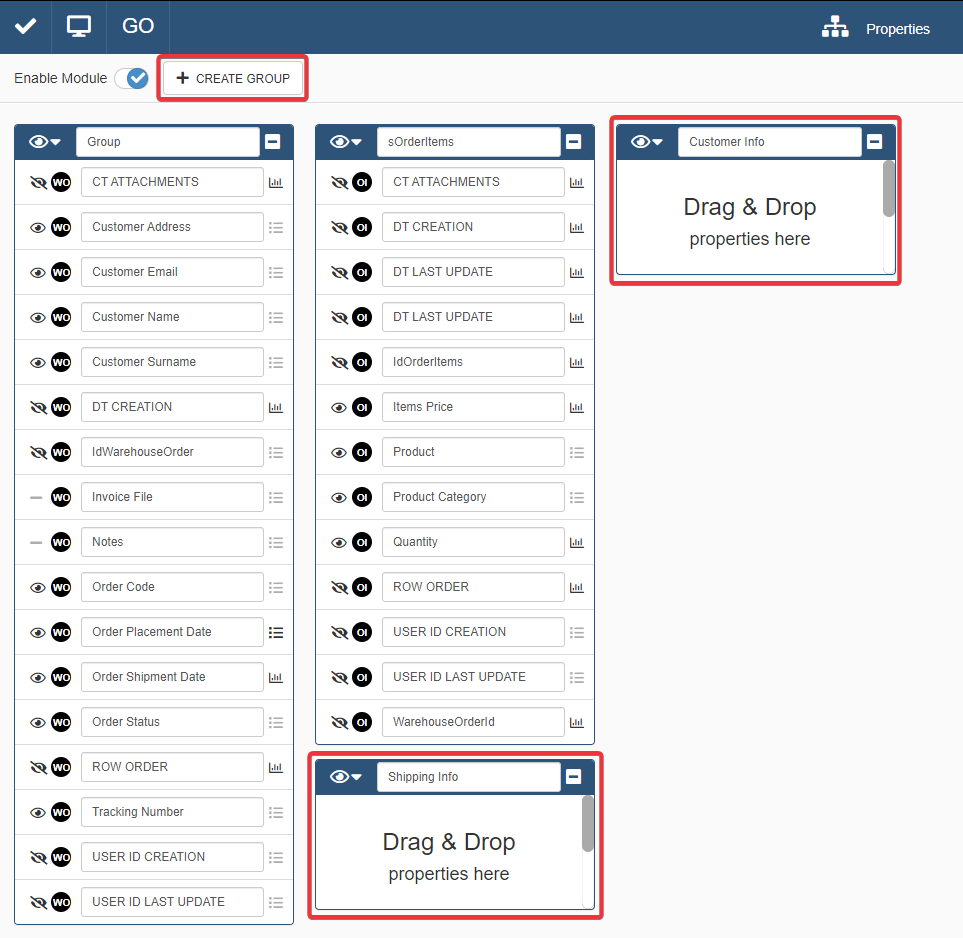
The Designer drags and drops in Customer Info the following Properties from the default Group "Group".
- Customer Address (String)
- Customer Email (String)
- Customer Name (String)
- Customer Surname (String)
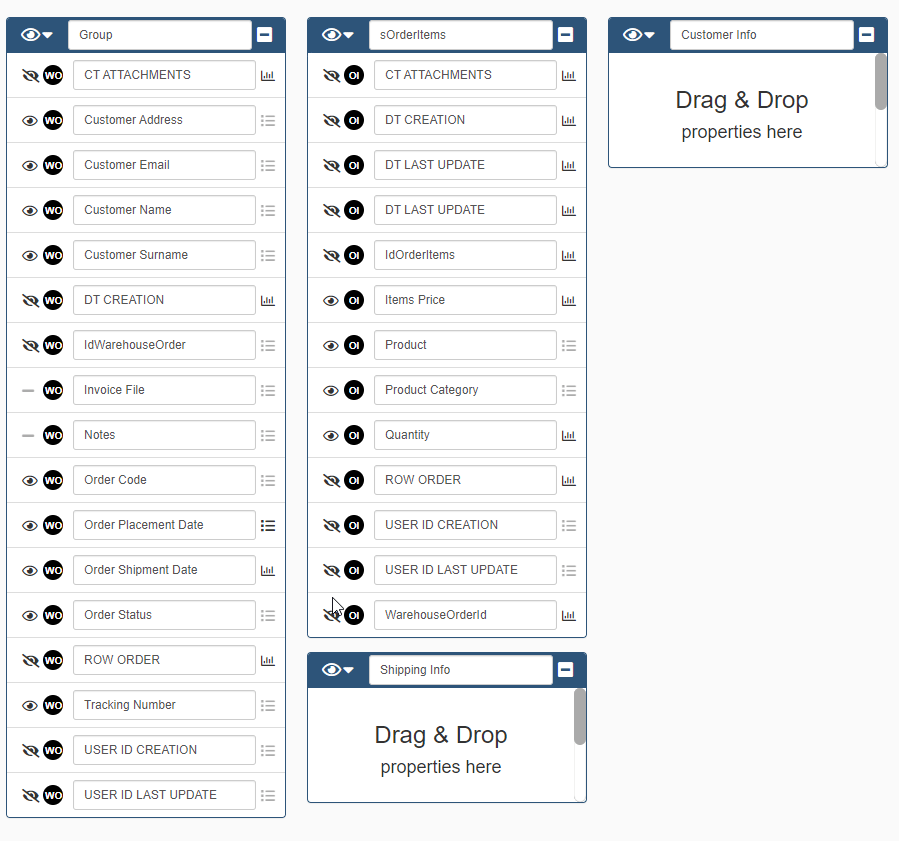
After Customer Info, the Designer proceeds with dragging the Properties inside Shipping Info from the default Group "Group".
- Order Placement Date (Date)
- Order Shipping Date (Date)
- Tracking Code (String)
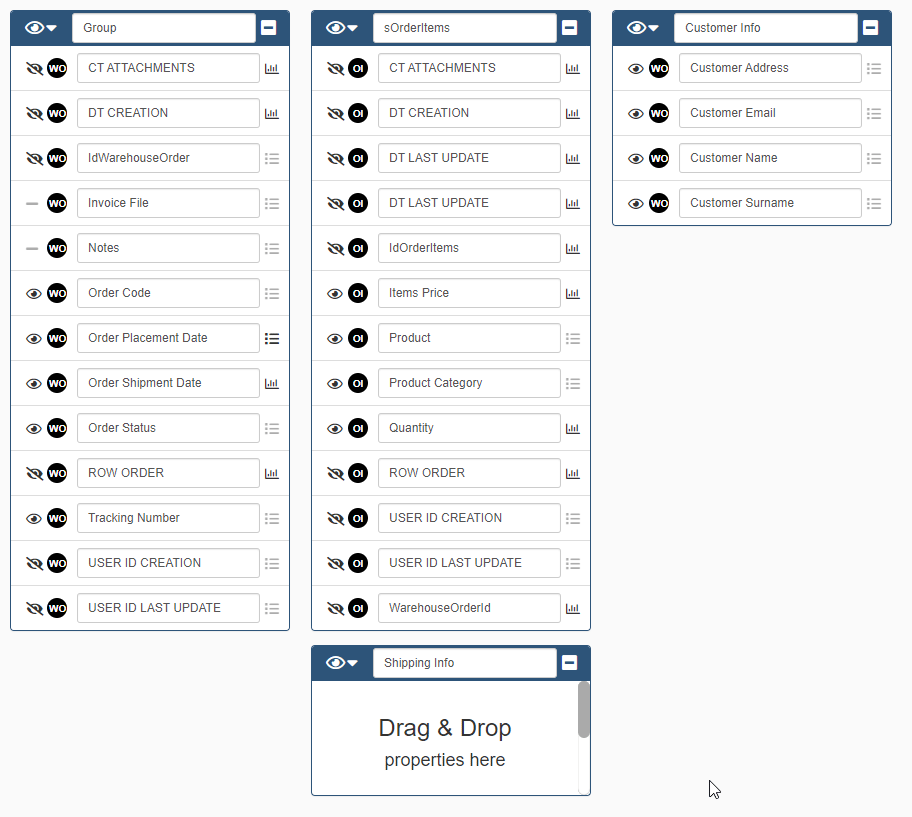
The Designer saves the changes by clicking on the Save button ().
Customer Info and Shipping Info will appear in Warehouse Orders.
How to Hide a Group
Learn how to hide a Group and its Properties from an application without deleting it.
-
In Design Mode, click on the icon on the top-right corner of any panel. You will access the Properties panel.
-
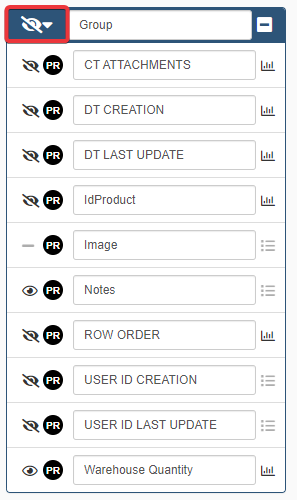
The icon flags Groups as visible in the application. Click on the icon next to the Group's name to hide the Group from your application.

The icon will point that you have hidden the Group in the application.
-
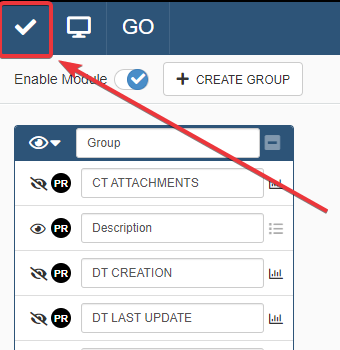
Click on the Save button () on the Design Mode's top-left corner. The action saves your choice.
Hint
If you want to display the Group again, repeat the steps 1-3 above. Click on the to make the Group visibile again. The icon replaces and points that the Group is visible again.
Success
The application hides the Group from the available Properties without deleting it.
Example
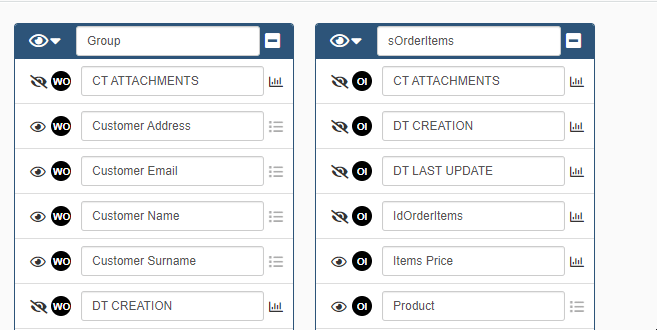
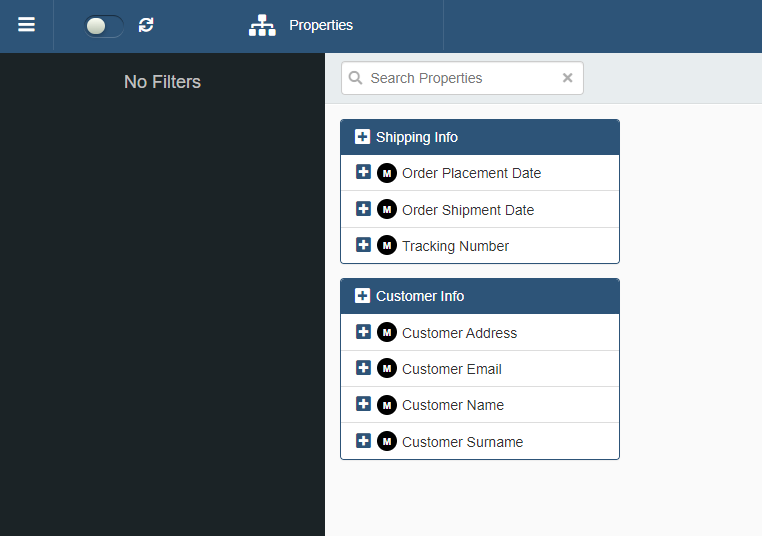
After the creation of the Groups Customer Info and Shipping Info, the Designer doesn't need anymore the Default groups. The Default Groups are "Groups" and "sOrderItems" (the Group collecting the Detail Table's Properties).
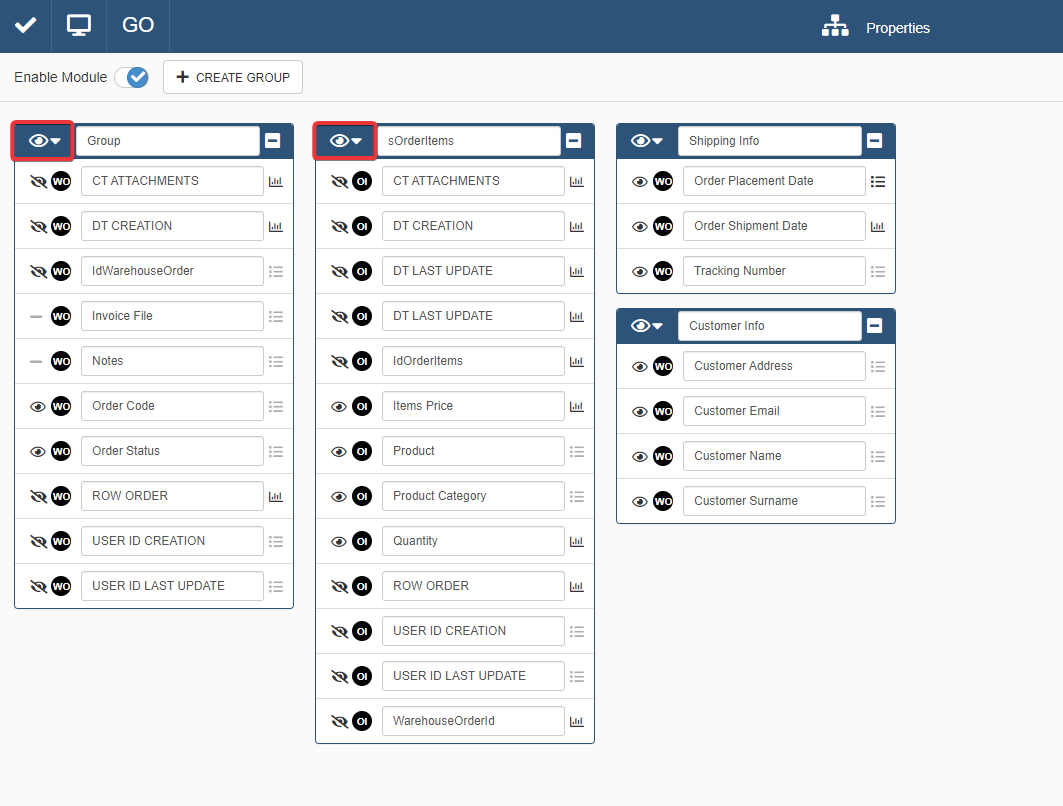
They click on the icon next to "Group" and "sOrderItems" and saves the changes.
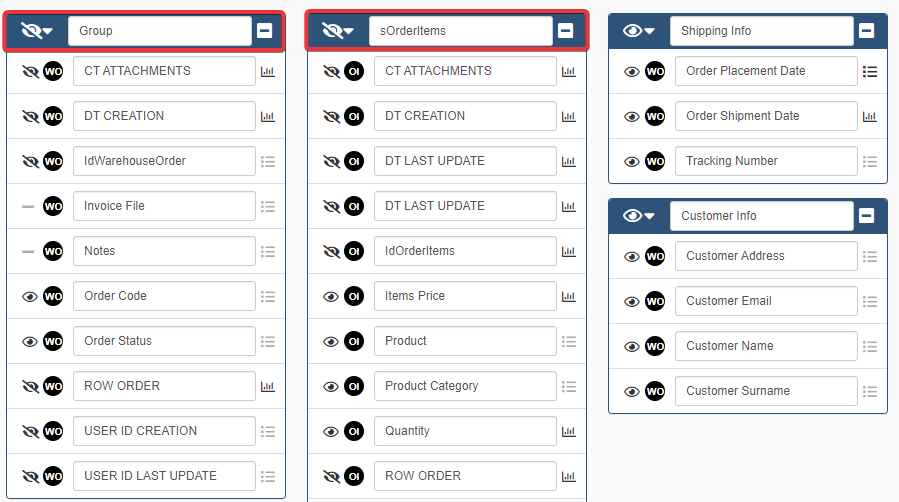
Only Customer Info and Shipping Info Groups will appear in the application after the action.
How to Delete a Group
Learn how to delete a Group from an application.
Note
When you delete a Group, the Design Mode moves the deleted Group's Properties to the first Group available from the left of the panel.
-
In Design Mode, click on the icon on the top-right corner of any panel. You will access the Properties panel.
-
In the Properties panel, click on the icon next to a Group's name to delete the Group.
Note
If there is only one Group left in the Properties panel, the deletion button won't be available for the last Group. You will have to create another Group to delete it.
-
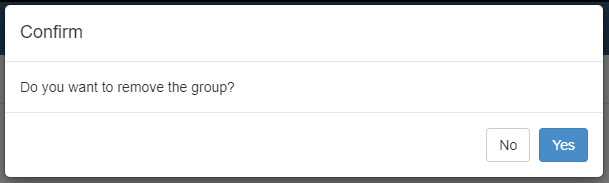
A window will ask for confirmation. Click Yes to confirm or No to abort the deletion.
Note
The Properties that belonged to the Group will be organized in the first Group from the left.
-
After the deletion, click on the Save button () on the Design Mode's top-left corner. The action saves the deletion.
Success
You have deleted the Group. The Group won't appear anymore in the application.